When we first started managing our WordPress blog, we ran into a frustrating problem. Our readers kept telling us they couldn’t find the specific content they wanted.
They’d land on our blog page and see this massive list of posts about completely different topics all jumbled together.
We knew we had organized everything into categories on the backend. But our readers? They had no easy way to actually use those categories to find what they needed.
That’s when we discovered category filtering. It changed everything for our blog’s usability.
In this article, we’ll show you how to filter blog posts by category in WordPress.
Why You Need to Filter Blog Posts by Category?
Picture your blog archive as a massive library where all the books are randomly scattered on the floor. That’s what an unfiltered blog feels like to your visitors.
When readers land on your blog, they’re usually looking for something specific. Maybe they want to read only your tutorials, or perhaps they’re interested in your product reviews.
Without category filters, they have to scroll endlessly, skipping past dozens of irrelevant posts.
We’ve seen this problem firsthand on our own sites. Visitors would bounce away within seconds, and finding content felt like searching for a needle in a haystack.
The content was there, organized into neat categories, but readers had no way to access it easily.
With filters, you put control in your readers’ hands, letting them show only the posts they care about with a single click. This means they spend more time reading your content instead of hunting for it.
That said, let’s look at an easy way to set up category filters for your WordPress site.
Set Up Category Filters for Blog Posts in WordPress
The easiest way to add filters to your WordPress site and sort content by categories is by using WPFilters.
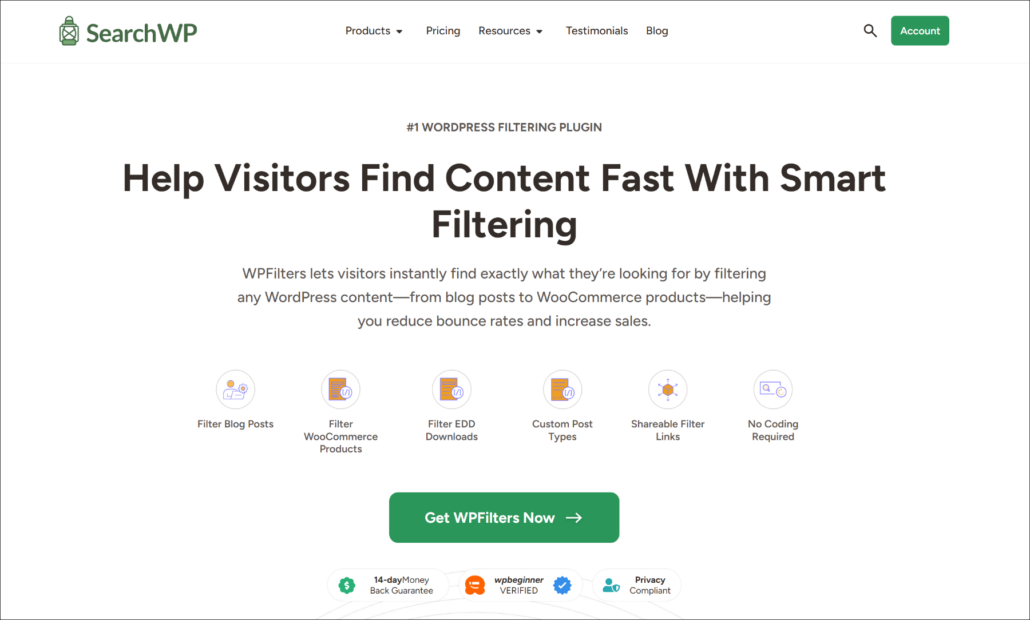
It is the best WordPress filtering plugin that is beginner-friendly to use and set up.
Created by the team behind SearchWP, WPFilters offers powerful features that help you create different types of filters for your site.
For instance, you can filter blog posts based on categories, tags, post type, and more. Similarly, it also lets you sort eCommerce products, downloads, and other custom content.
That’s not all. WPFilters also offers different customization options, such as choosing the type of filter (checkbox, radio, dropdown, search, slider, and more).
Let’s look at the steps you can follow to filter blog posts by category in WordPress.
Step 1: Install and Activate WPFilters
First, you’ll need to visit the SearchWP website and sign up for a WPFilters account.
Once you’ve created an account, simply head to your account area and go to the ‘Downloads’ tab.
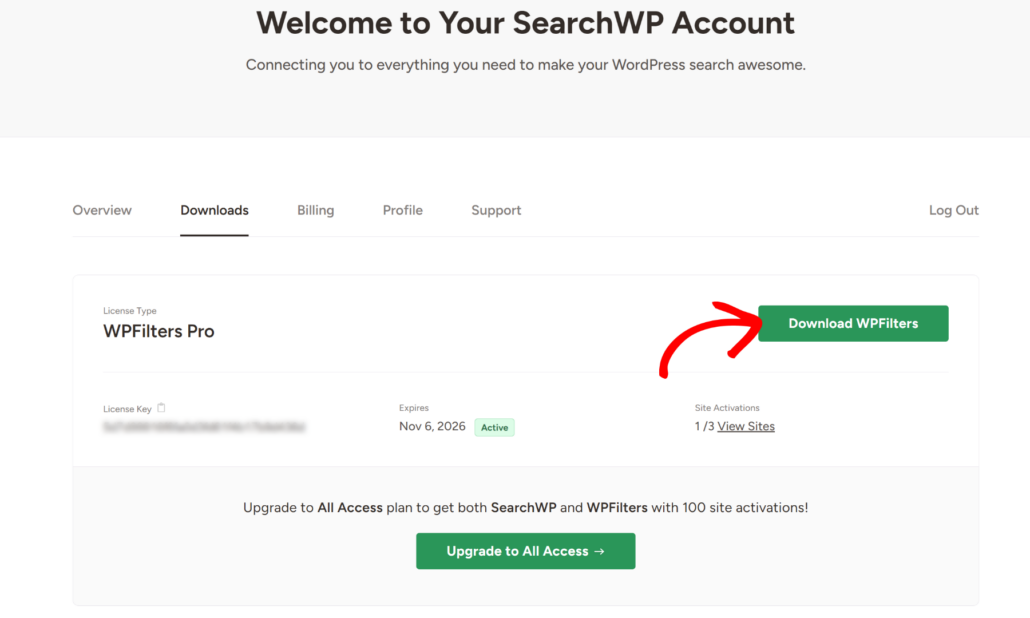
From here, you’ll need to click the Download WPFilters button and save the plugin files on your computer.
We also recommend copying the License Key, as you’ll need it to set up the plugin.
Next, you can upload the WPFilters plugin files to your WordPress site and install the plugin. If you need help with this, then please see this guide on how to install a WordPress plugin.
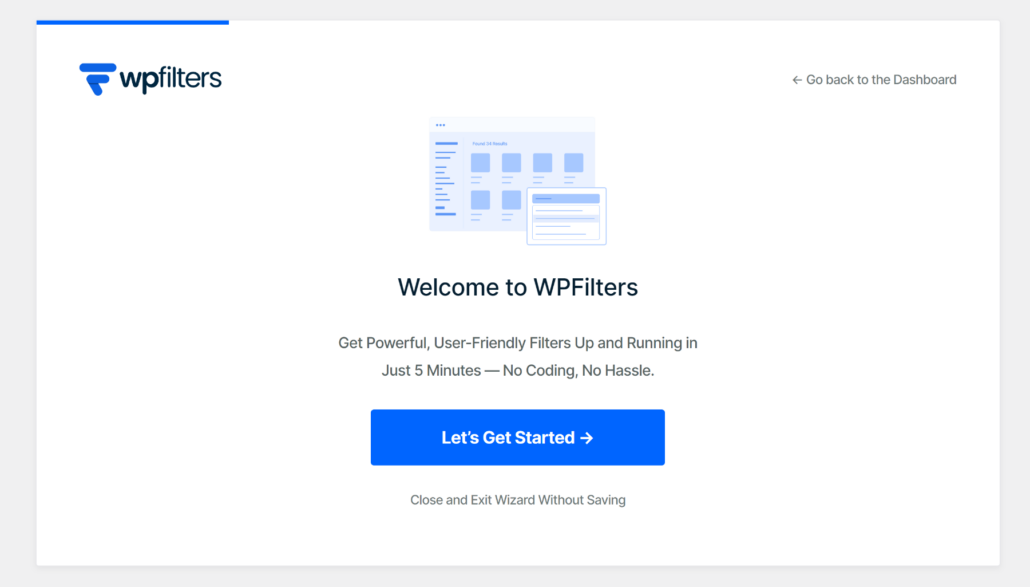
After activating the plugin, you will see the WPFilters setup wizard. Go ahead and click the ‘Let’s Get Started’ button and follow the onscreen instructions.
Step 2: Add a New Element in WPFilters
Next, you can add a new element in WPFilters to filter content by categories.
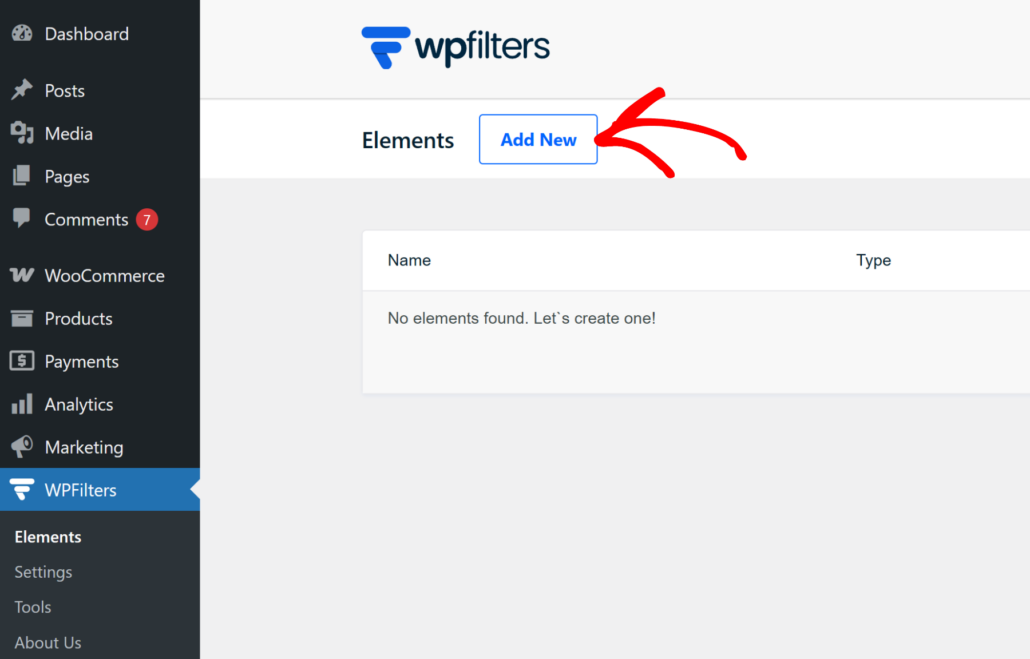
To start, head to WPFilters » Elements from the WordPress dashboard and simply click the ‘Add New’ button.
On the next page, you can set up a new filter for your site.
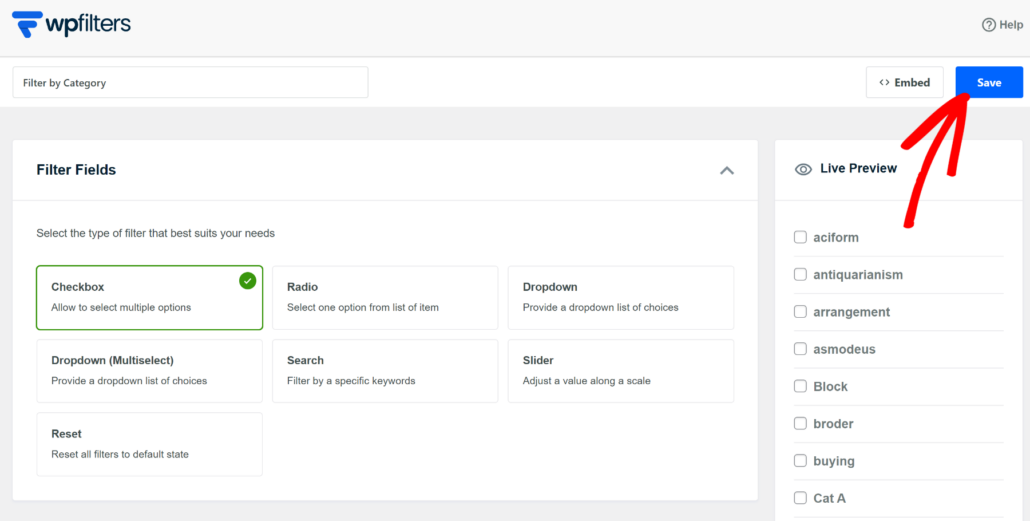
To start, you can edit the name of the element at the top.
After that, you’ll need to select the type of filter you want to create. WPFilters offers multiple options, such as a checkbox, radio list, dropdown, search by keywords, slider scale, and more.
For this tutorial, we’ll use the ‘Checkbox’ option.
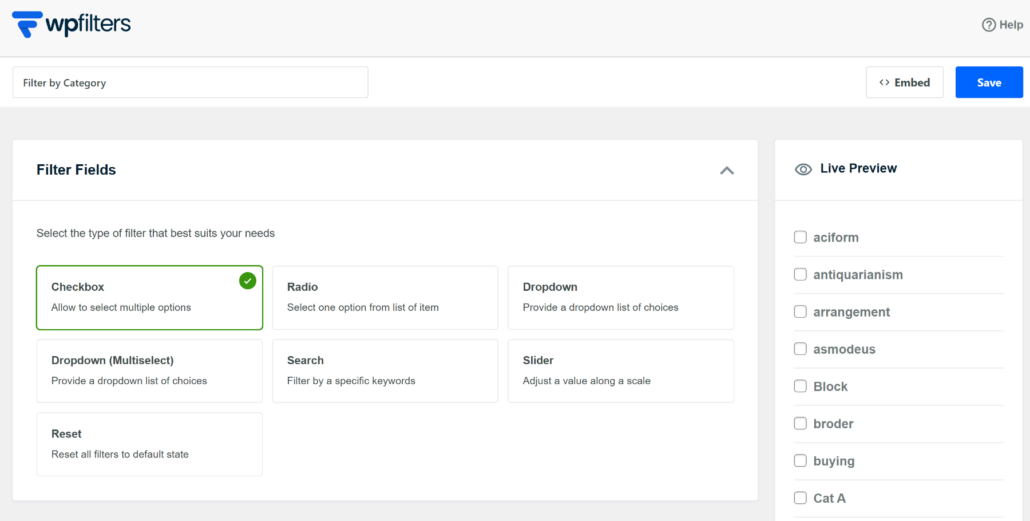
You can also see a preview of the filter type in the right-panel.
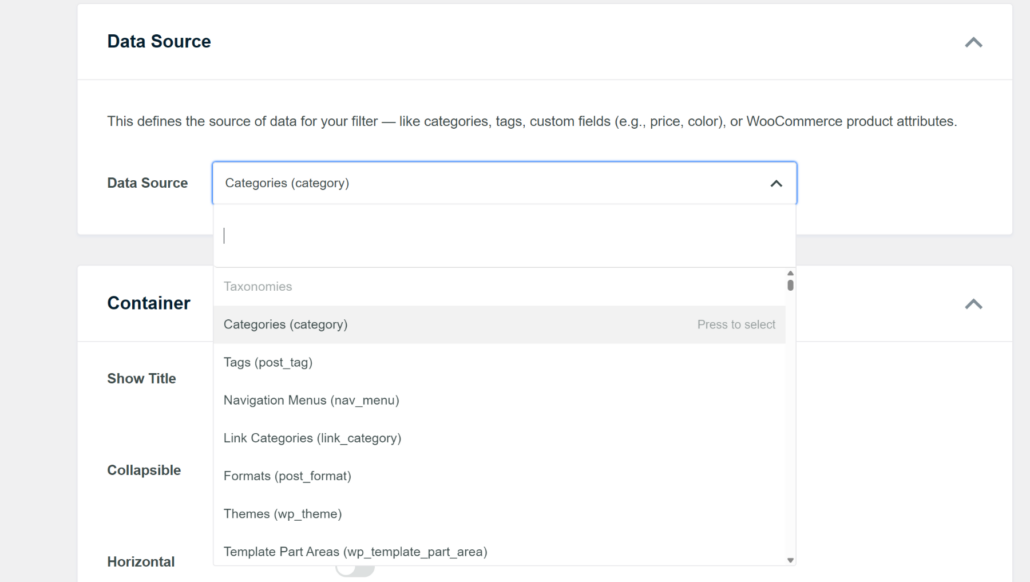
Next, you’ll need to scroll down and select a ‘Data Source.’ Since we want to create a category filter, go ahead and select the Categories option.
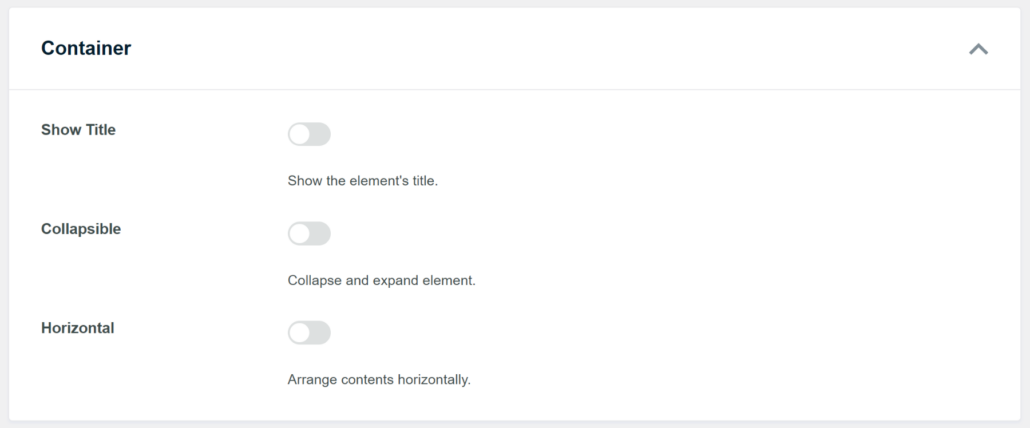
From here, you can further customize your filter by scrolling down to the ‘Container’ section.
Here, you’ll see options to show title, make the element collapsible, and arrange contents horizontally.
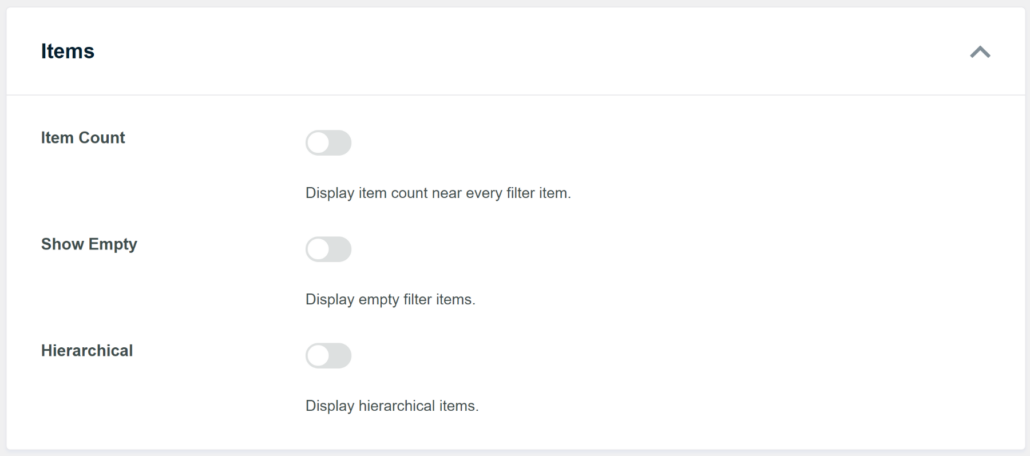
WPFilters also lets you edit the ‘Items’ in the filter.
For example, there are options to show item count, display empty filter items, and display hierarchical items.
When you’re finished customizing your category filter, simply scroll to the top.
From here, go ahead and click the Save button to store your changes.
Step 3: Embed Category Filter in WordPress
Now, the next step is to add the filter you just created to your WordPress site.
WPFilters makes this process super simple by offering multiple embed options.
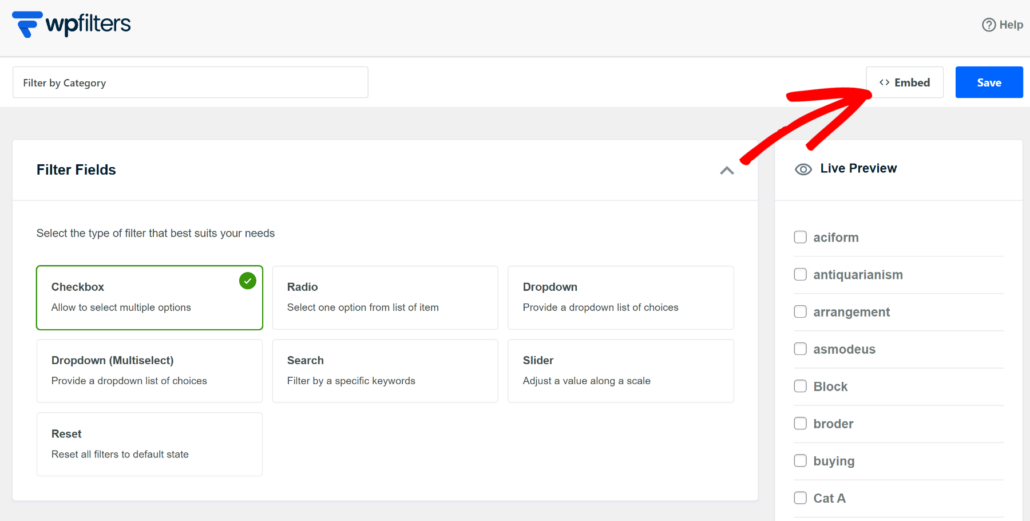
First, you’ll need to click the Embed button on your Elements page.
Next, you will see a new window popup with different embed options.
For instance, you can use a Gutenberg block, shortcode, or PHP code.
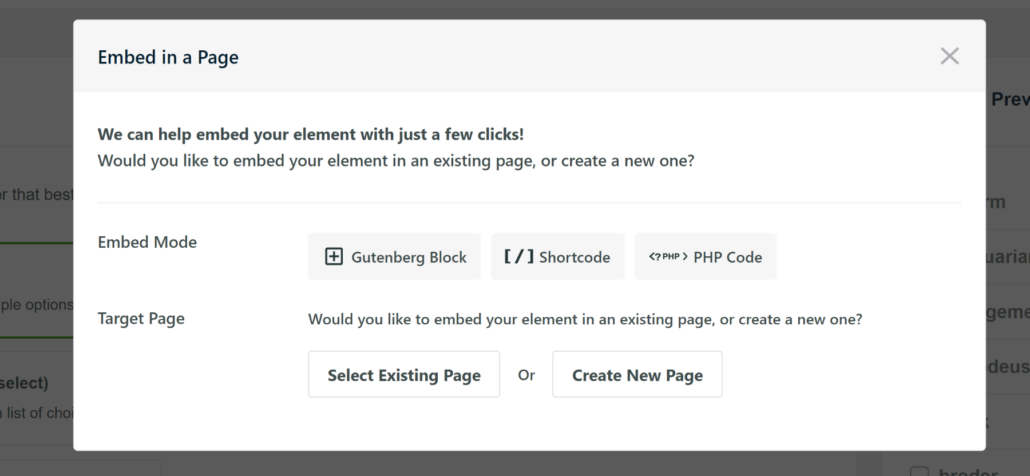
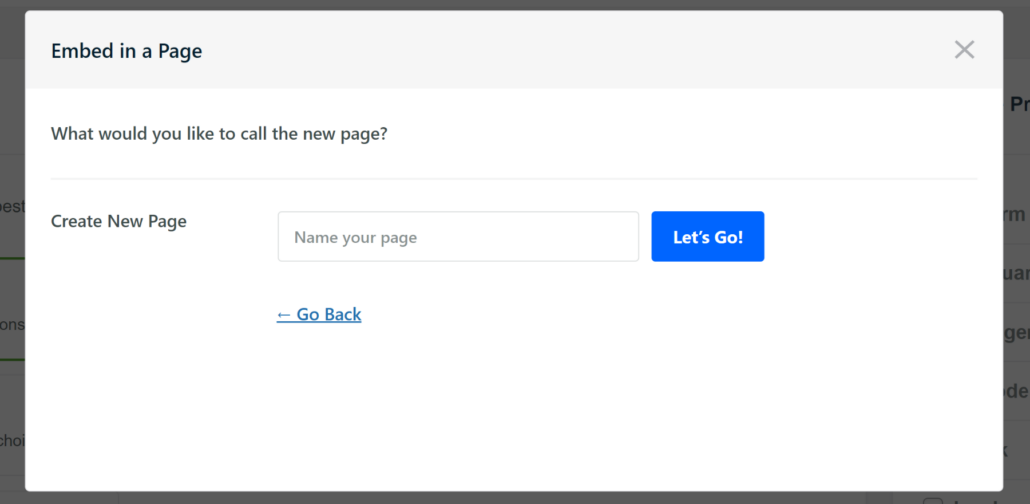
For this tutorial, we will use the ‘Gutenberg Block’ option and add the filter to a new page.
After that, you’ll need to enter a name for your new page and click the ‘Let’s Go’ button.
Next, you will see the filters on your new page in the content editor.
If you’re satisfied with the way they appear, go ahead and Publish your page.
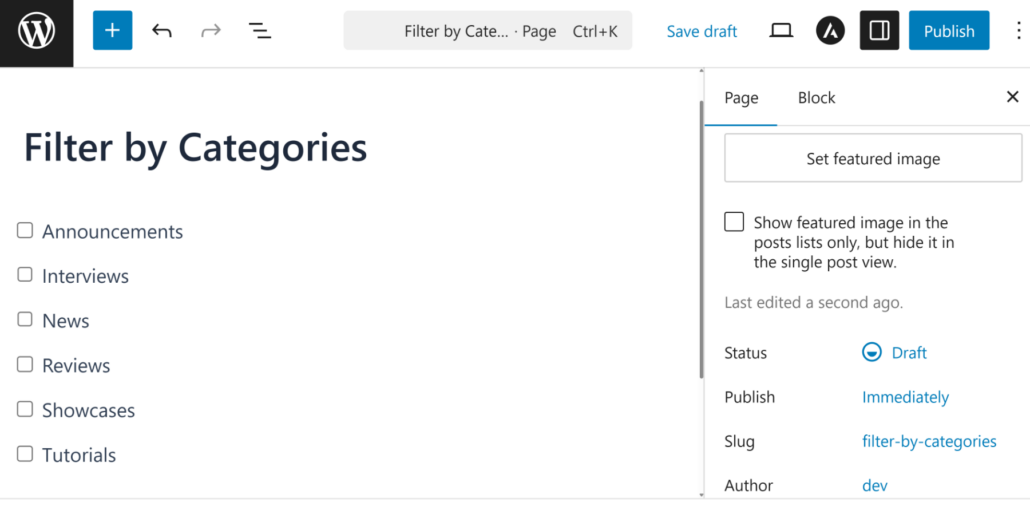
Next, you can visit your website to see the new filters in action.
From here, you can simply test it and see if the filters are working correctly.
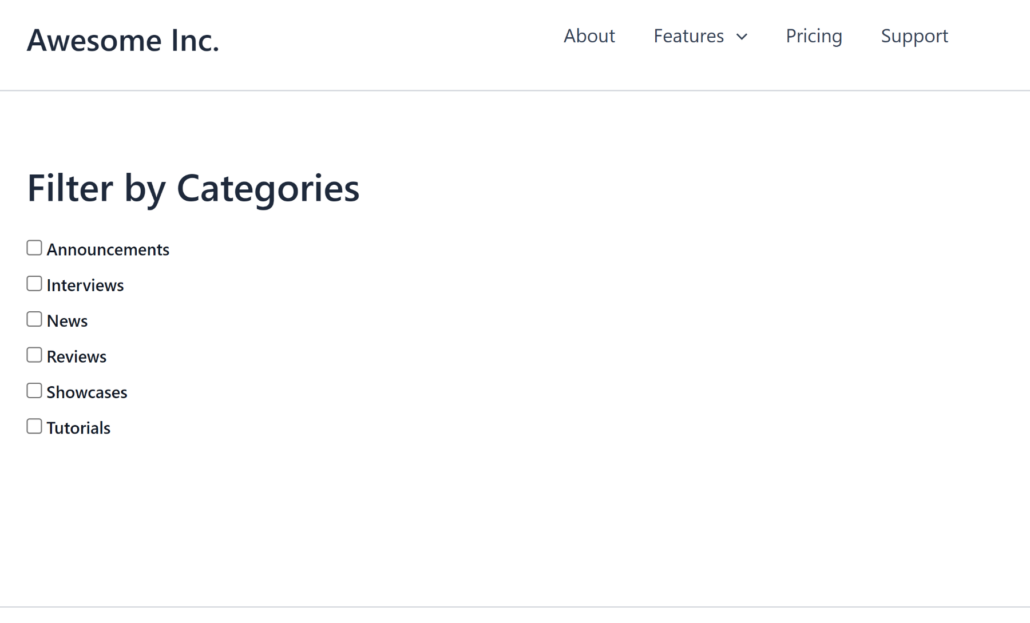
For example, let’s say you want to filter blog posts that are only in the ‘Tutorials’ category.
Simply select your category from the checkbox list and all the posts within that category will appear.
We hope this article helped you learn how to filter blog posts by category in WordPress. You may also want to see our guides on how to add a search box to a WordPress page and the best backup plugins for WordPress.
Ready to create a smart filters and add it to your pages? You can get started with WPFilters here.
