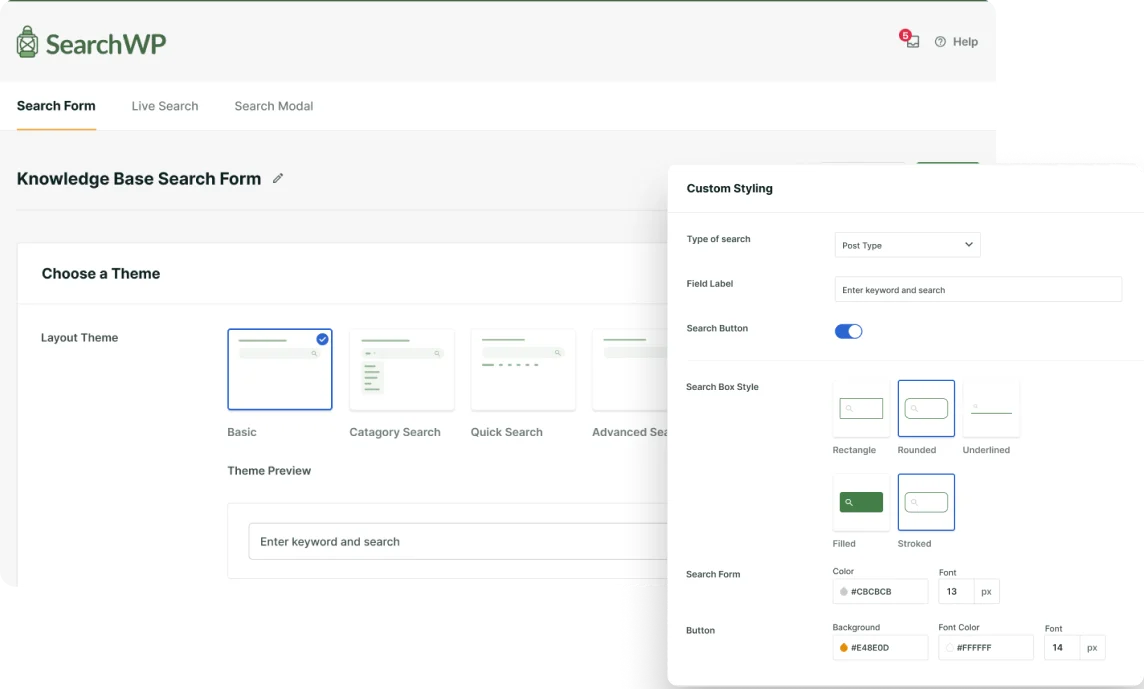
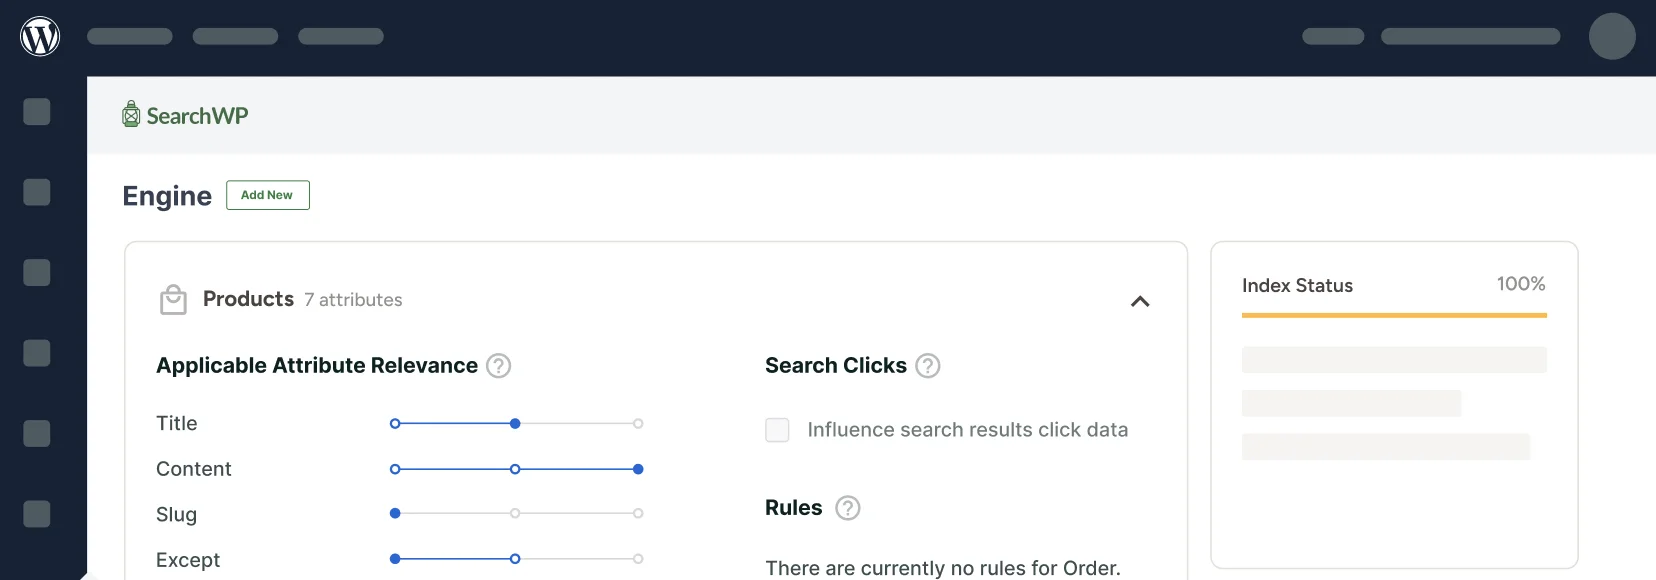



We came across a situation recently where a visitor searches “chicken” on a recipe blog and lands on a results page with forty matching recipes spanning a dozen categories. They want gluten-free dinner recipes, but nothing on that results page lets them narrow the list down to just those.
WordPress’s native search returns a flat list of matches and stops there. It doesn’t give visitors any built-in way to filter that list by category, tag, or any other detail, so they’re left scrolling through everything themselves.
SearchWP is the best WordPress search plugin, trusted by 50,000+ website owners, and its WPFilters companion plugin adds a filter sidebar to those results. Together, they turn a flat list of matches into a results page visitors can actually narrow down.
In this article, we’ll show you how to add a filter sidebar to your WordPress search results page.
What Is a Search Results Filter Sidebar?
A search results filter sidebar is a column of clickable controls, like checkboxes, dropdowns, or sliders, next to a list of search results that let visitors narrow that list without typing a new search.
Instead of scrolling through forty chicken recipes, a visitor can check “Dinner” and “Gluten-Free” and watch the list shrink to match.
What changes once it’s set up comes down to this: visitors filter for themselves instead of guessing at a better search term, which keeps them reading your content instead of bouncing back to a search engine for a better answer.
It’s the same idea behind searching WordPress by category, just applied to every filterable field at once instead of one at a time.
Why a Filter Sidebar Matters
We’ve watched visitors give up on a search results page the moment scrolling starts to feel endless, and a missing filter sidebar is usually why. Skipping it costs a site more than a few extra clicks from a frustrated visitor.
- Fewer visitors leave empty-handed. A broad search term like “chicken” can return dozens of unrelated matches, and visitors who can’t narrow that list down by category or tag often leave instead of scrolling through all of it.
- More time spent on your site. Visitors who can filter down to exactly what they want, like a gluten-free dinner recipe, stay on the page instead of bouncing back to a search engine for a better answer.
- Fewer duplicate archive pages to maintain. Instead of building a separate page for every combination of category and tag, one search results page with filters handles all of them.
- Better visibility into what visitors actually want. Which filters people click, and which combinations return zero results, show gaps in your content that a plain search log can’t surface as clearly. That data pairs well with the broader tactics in our guide on optimizing the WordPress search results page.
SearchWP and WPFilters solve all of this together. Let’s see how you can easily set up a filter sidebar in WordPress.
Setting Up a Filter Sidebar in WordPress
We recommend SearchWP and WPFilters as the easiest way to add a filter sidebar to your WordPress search results page.

SearchWP is the best WordPress search plugin, trusted by 50,000+ website owners.
It improves WordPress’s limited default search with a relevance-ranked engine you control, and its WPFilters companion plugin adds powerful filtering that turns a list of matches into a results page visitors can narrow down for themselves.
Here’s what makes this pairing the right fit for a filter sidebar:
- Relevance-ranked search. SearchWP scores every result by how well it matches the query, so the most relevant match stays on top no matter how visitors filter afterward.
- Faceted filter elements (All Access). WPFilters ships free with SearchWP’s All Access plan, or as a standalone plugin, and lets you build checkbox, dropdown, and slider filters sourced from categories, tags, custom fields, and more.
- Search-aware filtering. When both plugins are active, WPFilters’ own search-type filters route through SearchWP’s relevance engine instead of WordPress’s native search.
- Filtering that doesn’t undo relevance ranking. Narrowing the results with a filter doesn’t reset SearchWP’s relevance sort, so the best match still surfaces first inside the narrowed list.
With that, let’s see how you can use SearchWP and WPFilters to add a filter sidebar to your search results.
Step 1: Install and Activate SearchWP
To get started, head over to the SearchWP website and sign up for a plan. WPFilters ships free with the All Access plan, so we recommend starting there if you don’t already have a license.
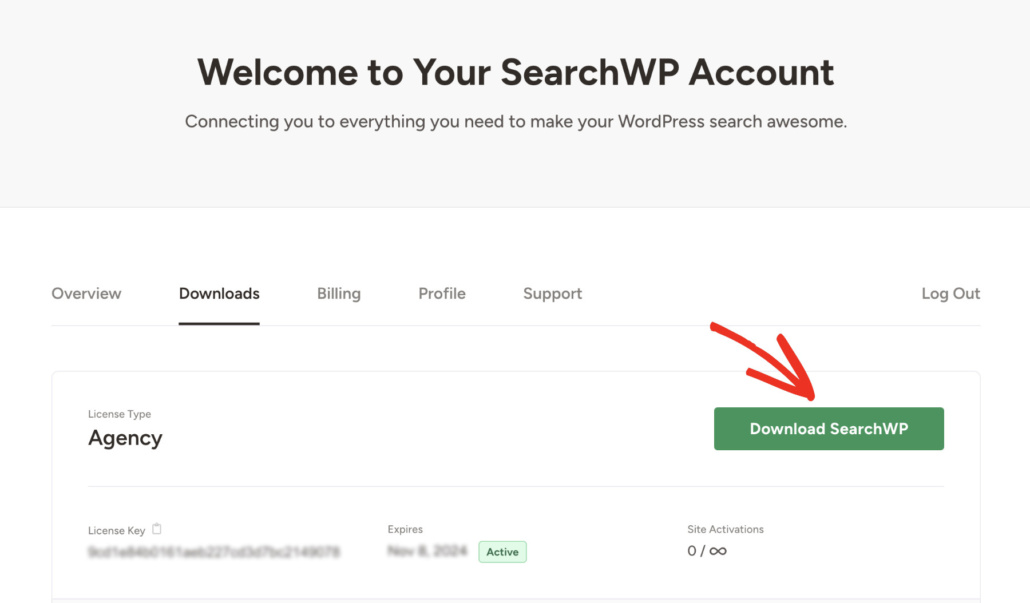
Once you’ve signed up, go to the Downloads tab in your account dashboard. From there, click Download SearchWP and save the ZIP file to your computer, then copy your license key from the same screen.
Next, you’ll need to install and activate the plugin in WordPress.
If you’re new to this, then please see this step-by-step guide on how to install a WordPress plugin.
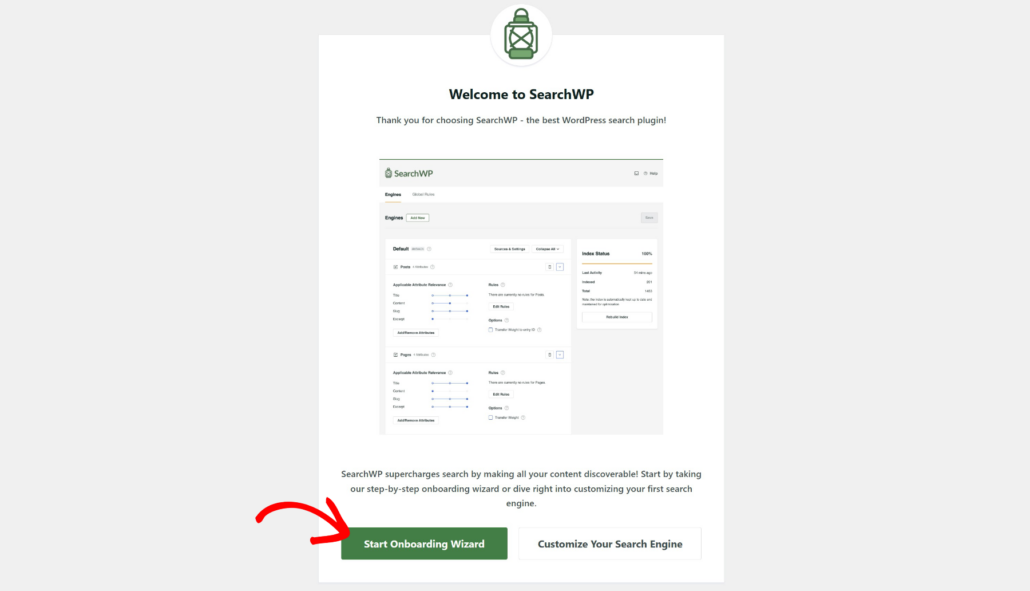
After the installation completes, go ahead and activate the plugin. Then click Start Onboarding Wizard in the setup wizard and follow the on-screen steps.
SearchWP is now active and ready to configure. You’ll notice a new SearchWP menu in your WordPress admin sidebar.
Step 2: Install and Activate WPFilters
WPFilters is a standalone plugin with its own installer, so it doesn’t show up under SearchWP » Extensions the way Live Search or Metrics do.
To start, go to the Downloads tab in your account dashboard and click the ‘Download WPFilters’ button to save the ZIP file.
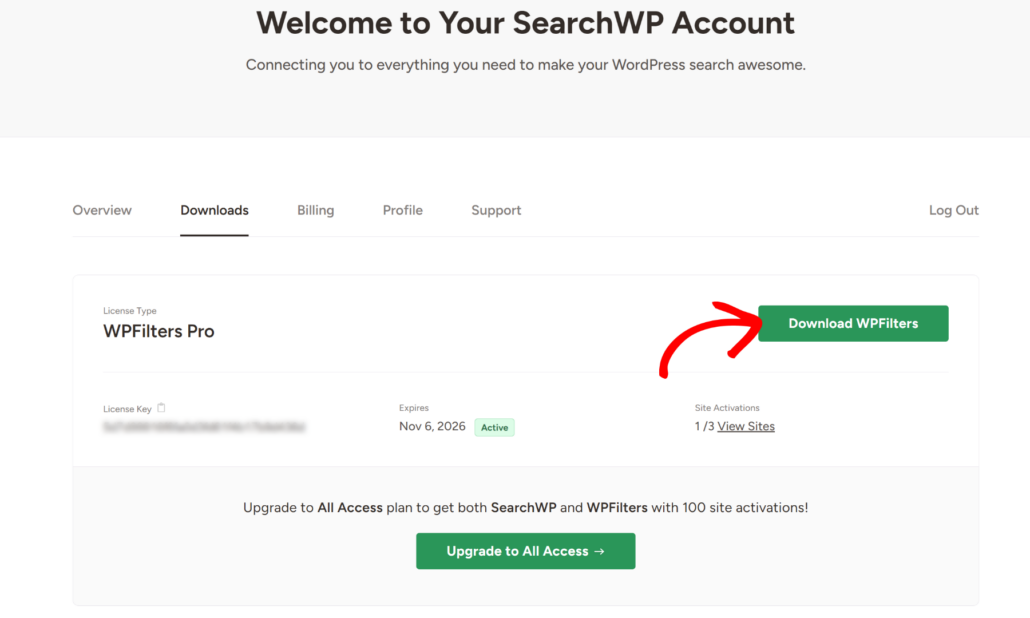
Next, you can upload and install the plugin to your website.
If you need help with this, then please see this step-by-step guide on how to install a WordPress plugin.
Once you activate it, WPFilters redirects you to its onboarding wizard. Simply click Let’s Get Started on the welcome screen and follow the onscreen instructions.
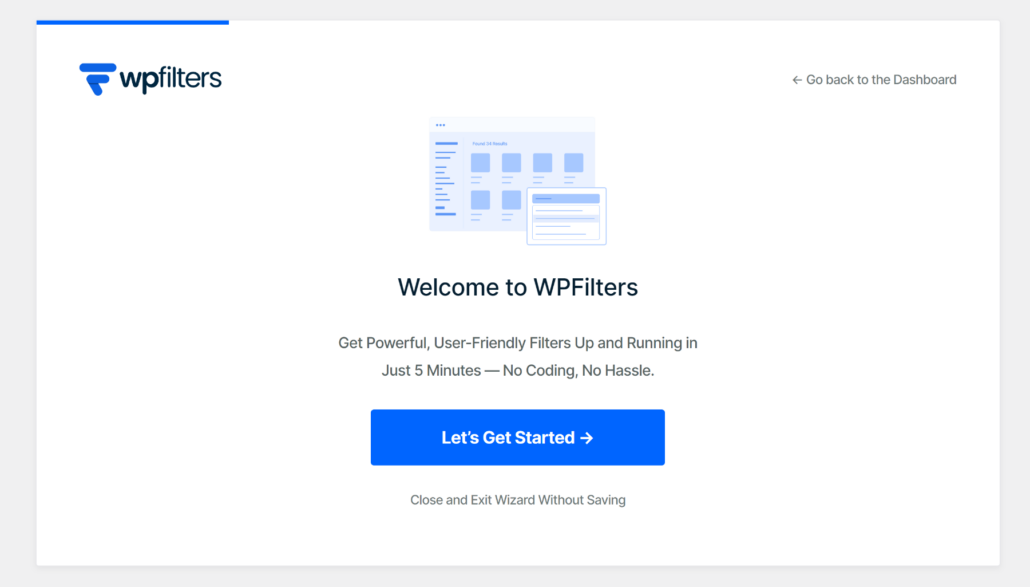
Step 3: Create Your Filter Elements
Next, you will need to navigate to WPFilters » Elements and click Add New to build your first filter.
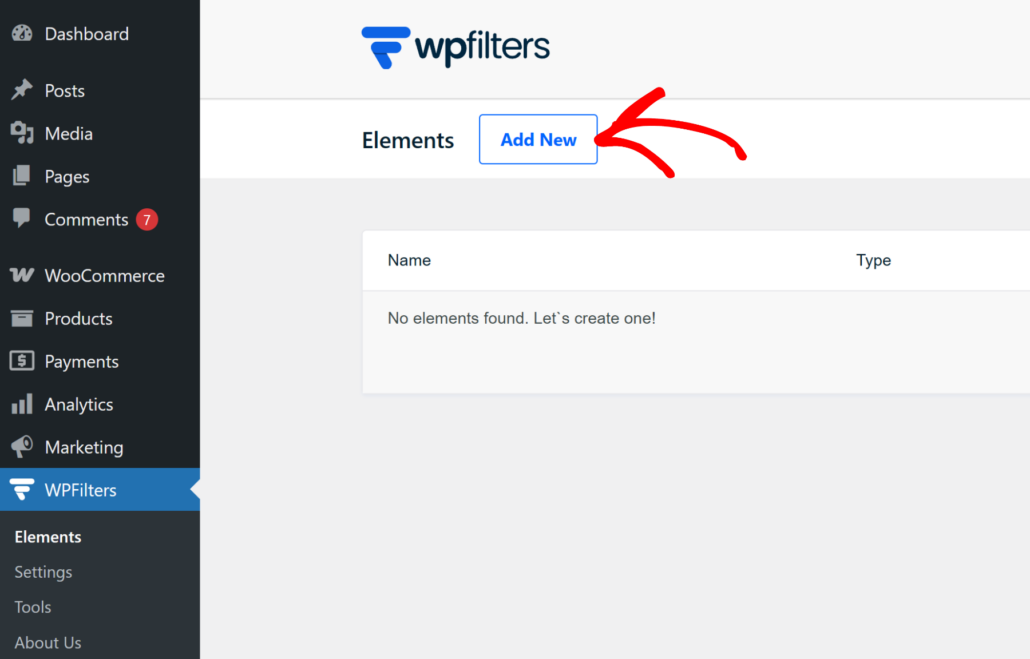
From here, you can select a filter type in WPFilters.
For instance, let’s set its filter type to Checkbox.
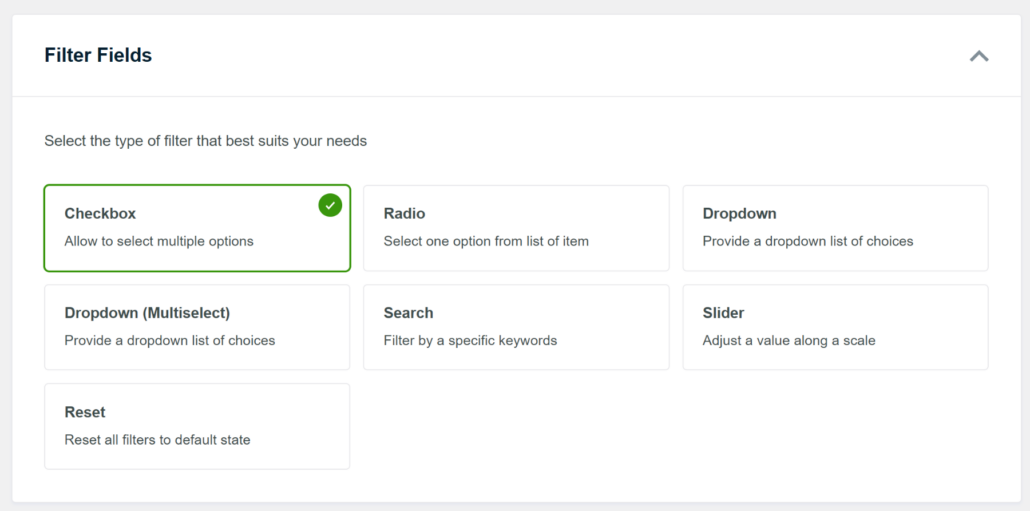
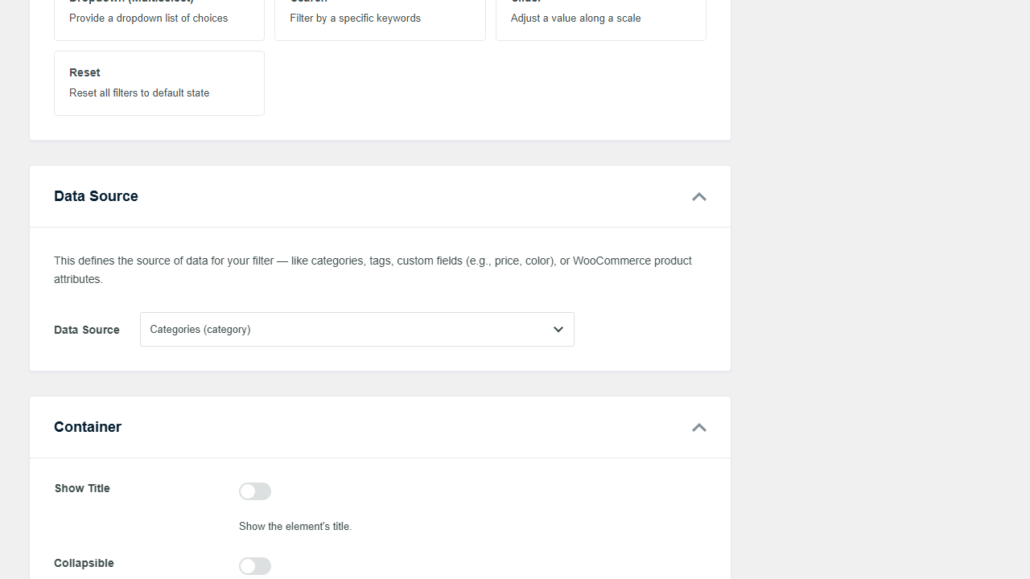
After that, you can scroll down to the Data Source section.
From here, click the dropdown menu and set its data source to the Taxonomies group, then choose Categories (category) so visitors can filter by recipe category.
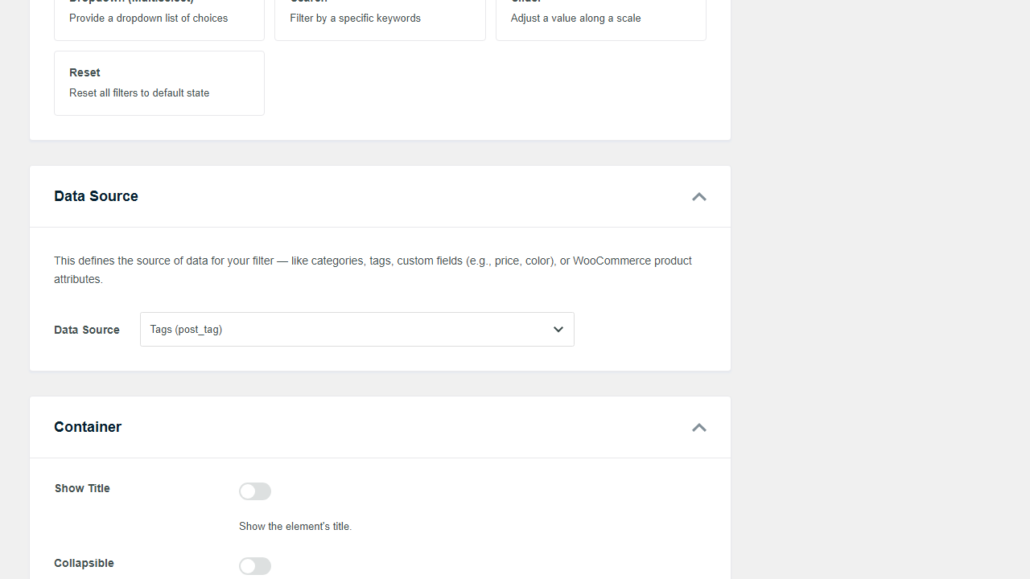
Repeat the same process for a second filter, this time setting the filter type to Dropdown and sourcing it from Tags (post_tag).
Two filters are enough to see a real sidebar working, and you can always add more later.
To learn more, please see our guide on how to filter blog posts by category in WordPress.
Step 4: Add the Filter Sidebar to Your Search Results Page
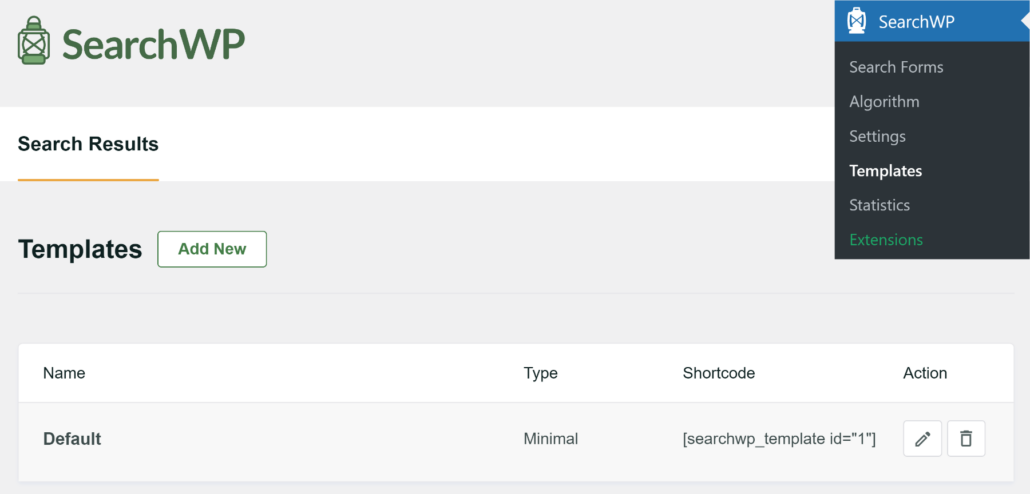
With your filters built, you can head to SearchWP » Templates and open the results template your search form uses.
Next, scroll down to the Custom Styling section and open WPFilters Integration.
Then, you can check Enable WPFilters and save the template.

Note: The Enable WPFilters toggle needs WPFilters 1.1.0 or later. If it’s greyed out, update WPFilters first.
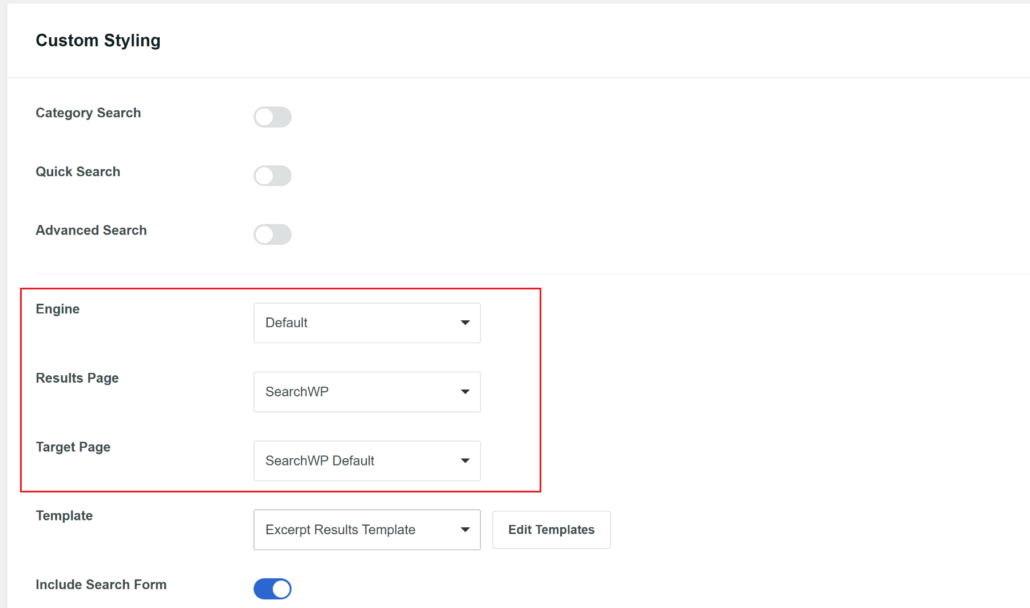
This only works if your search form’s Target Page is set to SearchWP Default, since that’s what tells SearchWP to build its own dedicated results page instead of rendering results inside a page you’ve laid out yourself.
Head to SearchWP » Search Forms, open your form, set Results Page to SearchWP, and confirm the Target Page field that appears is set to SearchWP Default.
Once that’s confirmed, go to Appearance » Widgets.
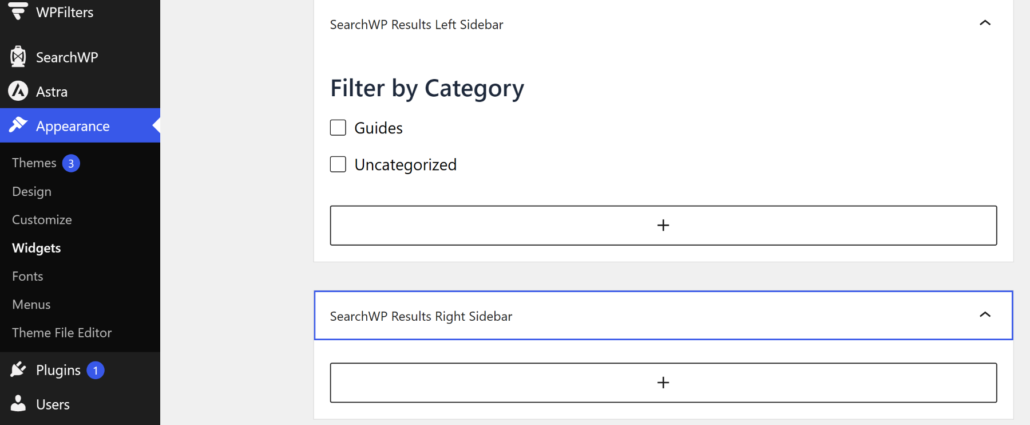
You’ll see two new widget areas, SearchWP Results Left Sidebar and SearchWP Results Right Sidebar, since SearchWP registers these specifically for this integration.
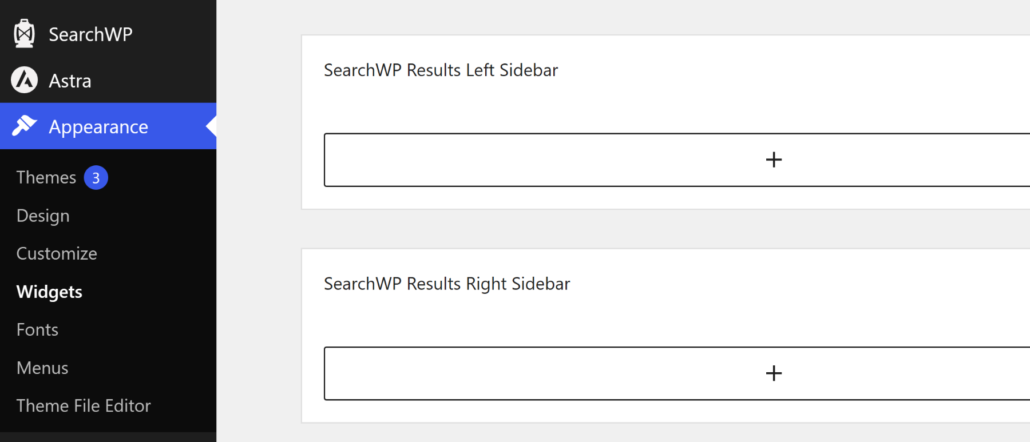
Open whichever side you’d rather the filters sit on and add a WPFilters Element block.
Each block asks you to pick which element to display, so choose your category filter in one block and your tag filter in the other.
Final Step: Test Your New Filtered Search
With everything saved, visit your site and run a search for a category from the sidebar.
You can then repeat this step for the tags filter as well.

If the sidebar doesn’t appear, double-check that Enable WPFilters is checked on your results template and that your search form’s Target Page is still set to SearchWP Default.
Frequently Asked Questions
Do I need WPFilters to filter WordPress search results?
Yes. WordPress’s native search returns a list of matches, and SearchWP’s own search engine returns a relevance-ranked one, but neither includes a filter sidebar on its own. WPFilters is the plugin that adds the checkbox, dropdown, and slider controls that let visitors narrow that list down.
Does WPFilters ship with SearchWP?
WPFilters ships free with SearchWP’s All Access plan, or you can buy it as a standalone plugin without SearchWP. Either way, it needs its own install and its own license key, since it isn’t listed under SearchWP » Extensions like Live Search or Metrics.
Will filtering my search results affect SearchWP’s relevance ranking?
No. WPFilters narrows the list of matches first, and SearchWP’s relevance ranking still applies within that narrowed list, so the best match stays on top. We’ve found this handled cleanly by the Enable WPFilters toggle in your results template’s Custom Styling section, which is what tells the two plugins to work together.
Why isn’t my filter sidebar showing up?
The SearchWP Results Left Sidebar and SearchWP Results Right Sidebar widget areas only appear on the dedicated results page SearchWP builds automatically, which requires your search form’s Target Page to be set to SearchWP Default. If you pointed Target Page at a page you built yourself, add your WPFilters Element blocks directly to that page’s layout instead of the Widgets screen.
What’s Next…
Your WordPress search results page now has a working filter sidebar that lets visitors narrow down their own results without typing a new search. SearchWP handles the relevance ranking and WPFilters handles the narrowing, and the two stay in sync automatically once the integration is turned on.
We hope this article helped you learn how to add a filter sidebar to WordPress search results. You may also want to see our guides on how to filter by multiple taxonomies in WordPress and how to customize the WordPress search results page to take your search experience even further.
Ready to help visitors find exactly what they’re looking for? You can get started with SearchWP today.