The WordPress Query Loop block already comes with a Filters panel, but none of it is meant for your visitors.
Those taxonomies, authors, and keyword options live in the editor’s block settings, where they decide which posts the loop shows before anyone loads the page.
That means a travel blog with a grid of 60 posts shows the same 60 posts to every reader. Someone planning a trip to Portugal still has to scroll past every Japan and Mexico guide to find the one they came for.
To add filters to the WordPress Query Loop block that visitors can click, you need to add custom code or hire a developer. But a plugin like WPFilters puts a category filter next to your Query Loop, updates the results without a page reload, and gives you a filtered link you can share.
In this article, we’ll show you how to add filters to the WordPress Query Loop block without coding.
Why the Query Loop Block’s Built-In Filters Aren’t Enough
The Query Loop block displays a dynamic list of posts, pages, or other content on any page or template.
You decide what goes into that list from the block settings, including the post type, the order, and how many posts appear per page.
The Query Loop block’s Filters panel narrows that list even further by category, tag, author, or keyword.
You make those choices while editing the page, and visitors only ever see the result.
There’s no checkbox or dropdown on the front end that lets a reader change what the loop shows.
Visitor filters put those checkboxes and dropdowns on the front end, so readers can narrow the loop themselves.
Why Add Visitor Filters to a Query Loop?
We’ve noticed that a long Query Loop grid works fine until a site grows past a few dozen posts.
Four problems show up once the grid gets long:
- Readers can’t narrow the list. The editor-side filters are fixed, so every visitor gets the same grid no matter what they came looking for.
- Long grids bury your best content. A reader who has to scroll through page after page of posts often gives up before reaching the one they wanted.
- The code route needs a developer. WordPress lets developers change Query Loop results with the query_loop_block_query_vars hook, but that means writing and maintaining PHP.
- Full page reloads slow browsing down. Every time a filter reloads the whole page, the reader loses their place and waits for everything to load again.
A filter plugin adds clickable filters next to your existing Query Loop, so you don’t have to change its settings or write PHP.
How to Add Filters to the WordPress Query Loop Block With WPFilters
We recommend WPFilters as the easiest way to add visitor filters to a Query Loop block.
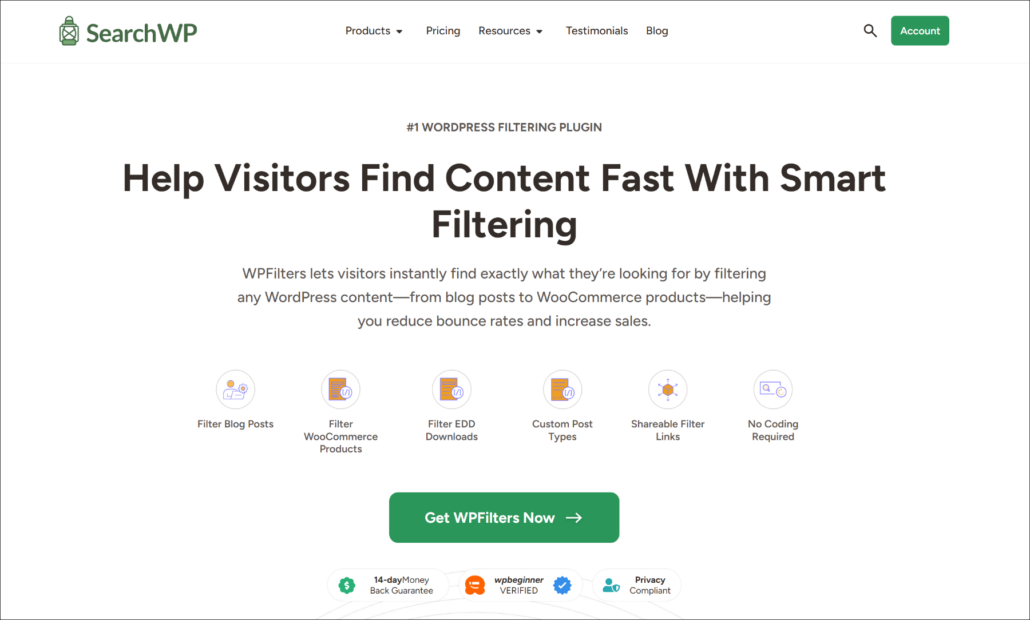
WPFilters is the best filtering plugin for WordPress, built by the same team behind SearchWP.
It lets you build filters from the categories, tags, and custom fields your site already has, then place them next to any Query Loop without writing code.
Here are some of the features that make WPFilters a good fit for Query Loop pages:
- Works with the Query Loop block. WPFilters connects to the Query Loop block automatically, so there’s no extra setting to turn on.
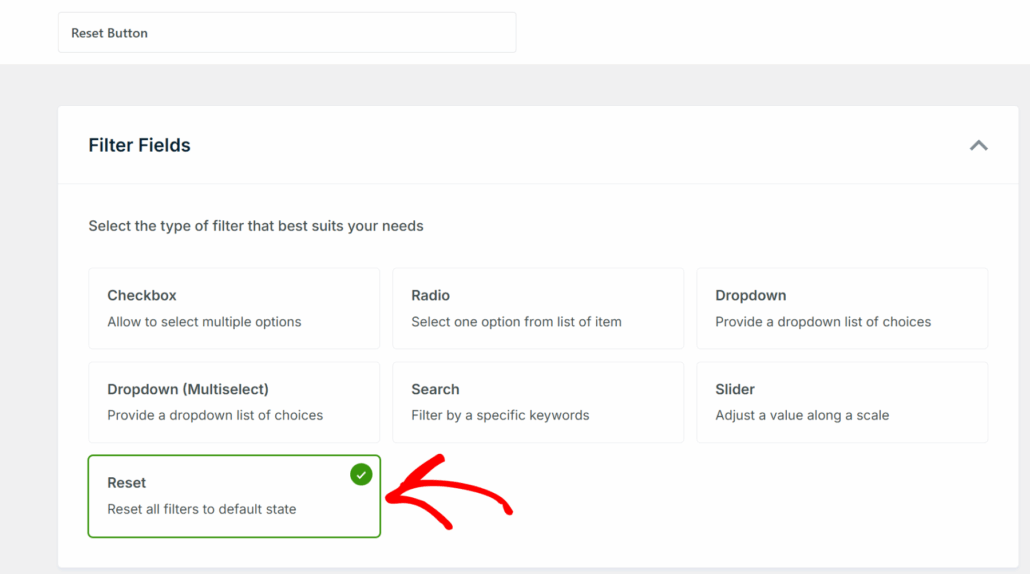
- Seven element types. You can choose from Checkbox, Radio, Dropdown, Dropdown (Multiselect), Slider, Search, and Reset, depending on how you want visitors to narrow the list.
- No page reloads. When a visitor ticks a filter, WPFilters uses AJAX to update the Query Loop results in place.
- Shareable filter URLs. Each selection is saved in the page URL, so a reader can bookmark or share a filtered view.
With that, let’s see how you can use WPFilters to add filters to your Query Loop block.
Step 1: Install and Activate WPFilters
To start, you can sign up for a WPFilters plan on the SearchWP website.
Once you’re signed up, you can head to the Downloads tab in your account dashboard.
From there, go ahead and download the WPFilters plugin ZIP file.
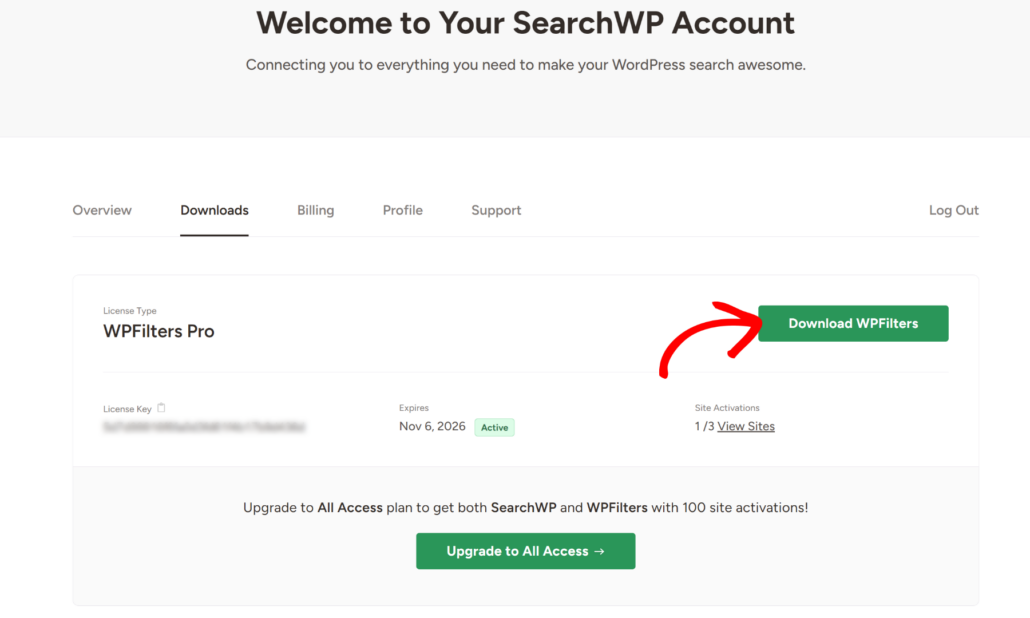
While you’re there, copy your license key too, since you’ll need it in a moment.
Next, you can log in to your WordPress dashboard and install the plugin.
If you’ve never installed a plugin from a ZIP file before, see this step-by-step guide that walks you through it.
After activation, the onboarding wizard will open. You can click Let’s Get Started and follow the on-screen prompts to get started.
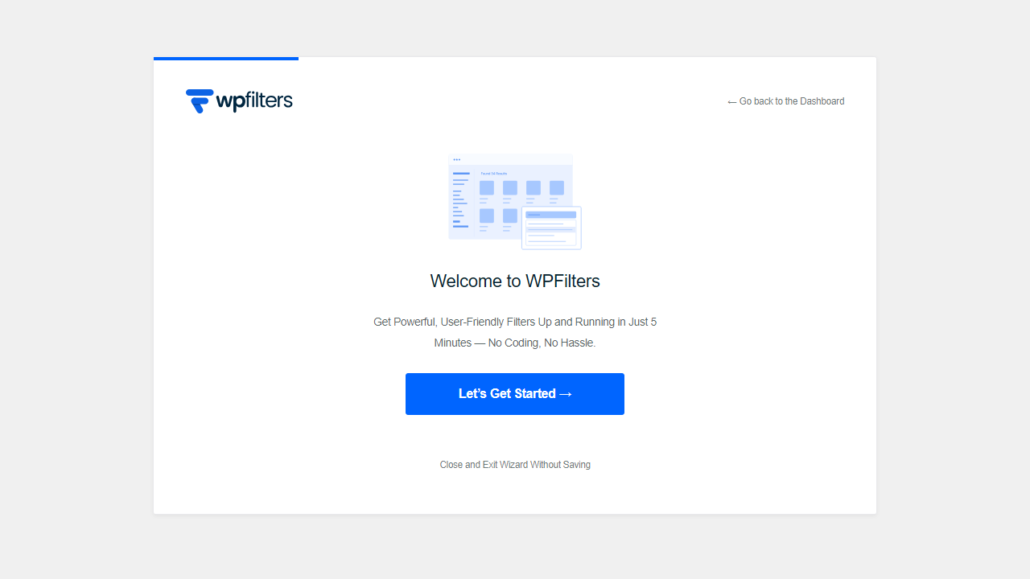
With that done, WPFilters is ready, and you can build your first Query Loop filter.
Step 2: Create a Category Filter Element
To create the filter, you can head to WPFilters » Elements from your WordPress dashboard.
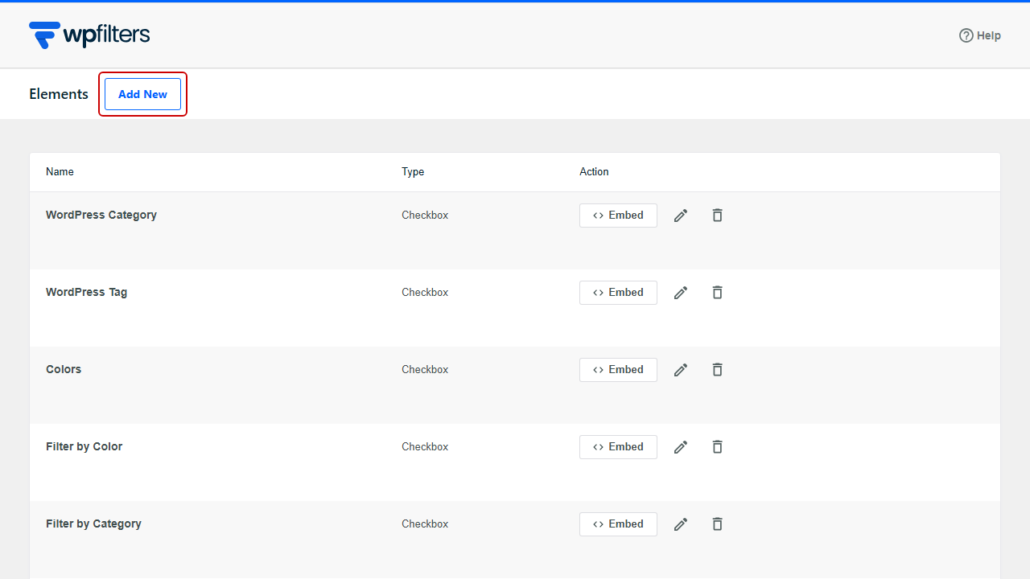
From there, go ahead and click the Add New button at the top of the screen.
A new element opens with a default title, and you can click the pencil icon next to it to rename it to something clear, like “Filter by Destination.”
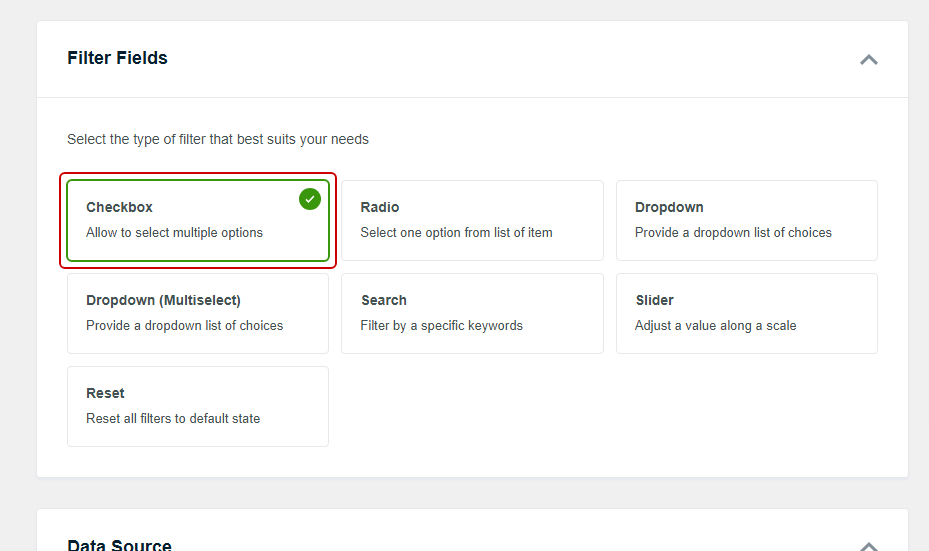
Next, you can find the Filter Fields section and select Checkbox.
We like Checkbox for Query Loop pages because it lets readers pick more than one category at a time, like Portugal and Japan together.
After that, you can scroll down to the Data Source section and open the dropdown.
Under the Taxonomies group, go ahead and select Categories (category).
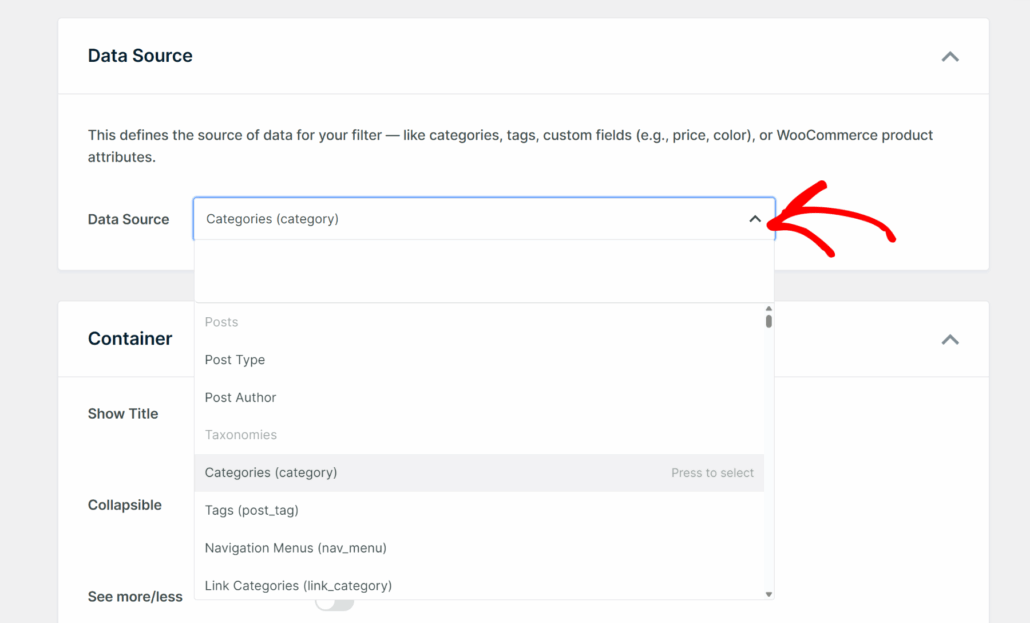
Once your data source is set, you can adjust how the filter looks.
In the Container settings, you can turn on the Show Title toggle so visitors see a label above the checkboxes.
The Collapsible and Horizontal toggles are there too, if you’d like a filter that folds away or sits in a single row.
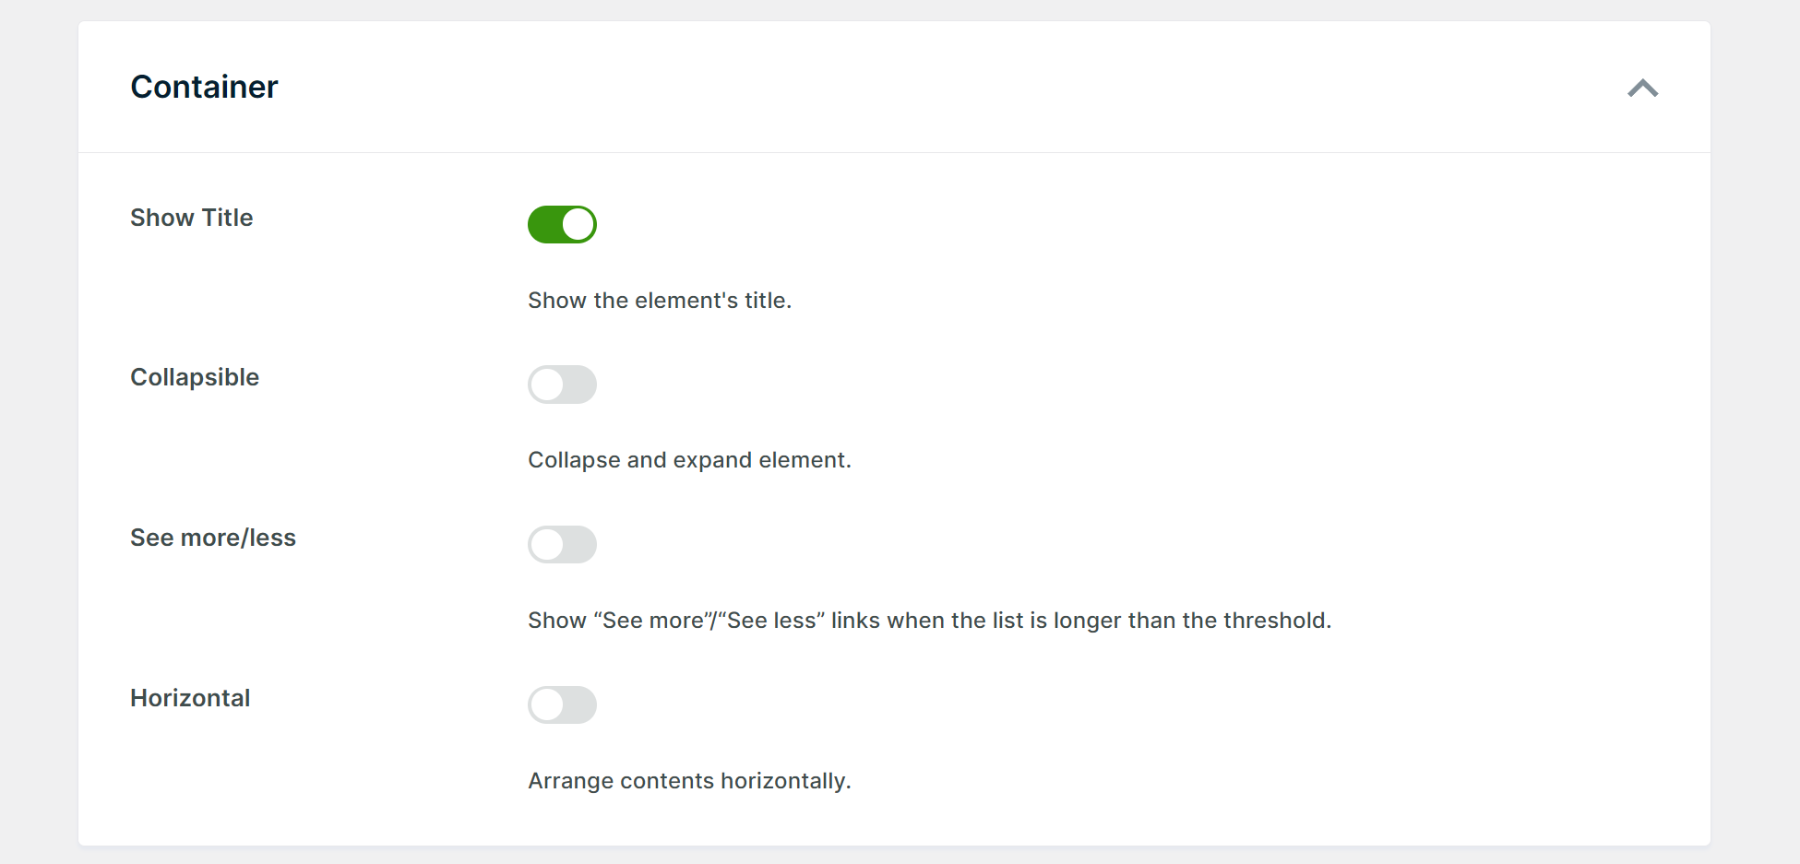
In the Items settings, we recommend turning on Item Count, which shows how many posts sit in each category.
You can also leave Show Empty off, so categories with no posts stay hidden.

As you change these settings, the Live Preview panel shows what the filter will look like.
When you’re happy with it, go ahead and click Save.
Step 3: Add the Filter Next to Your Query Loop Block
Next, you can open the page where you want the filter in the block editor (Gutenberg).
If the page doesn’t have a Query Loop yet, you can add a Query Loop block and set it to show your posts.
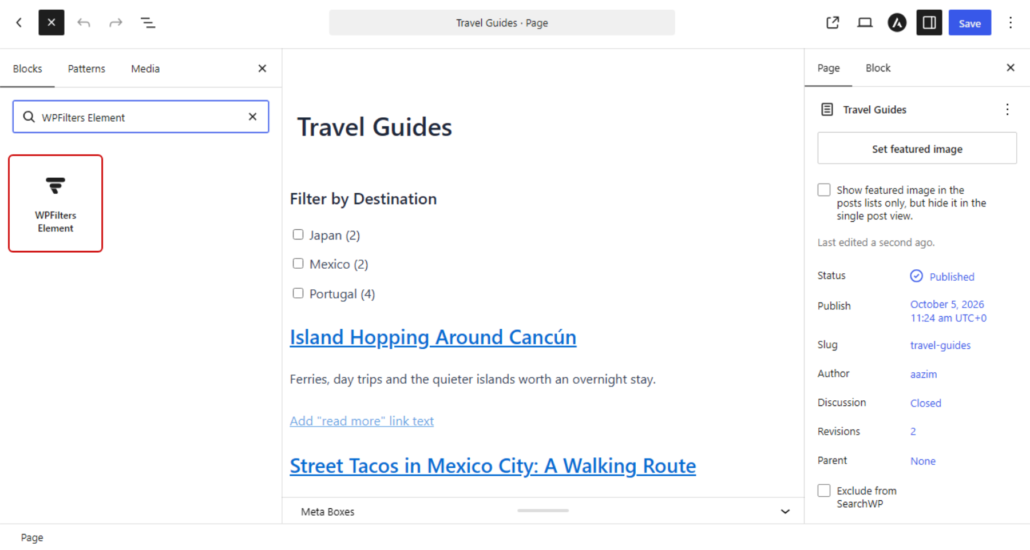
After that, click the + inserter above the Query Loop and search for the WPFilters Element block.
Once the block is on the page, you can open Select Element in the block settings and choose “Filter by Destination.”
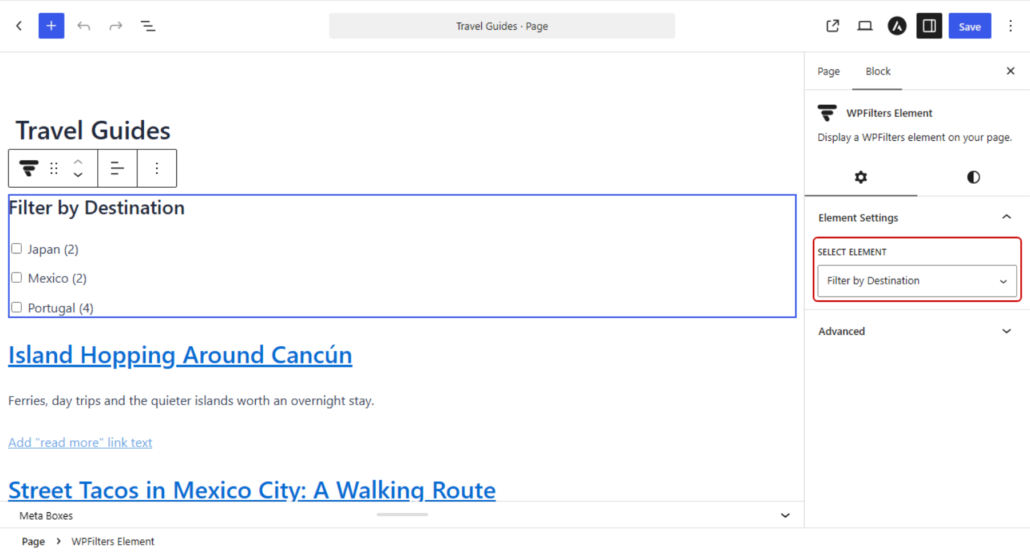
Y
ou can place the filter above the loop, or use a Columns block to put it in a sidebar column beside the loop.
When everything’s in place, go ahead and save or publish the page.
Note: When we tested two Query Loop blocks on one page, both showed the same filtered results, because WPFilters applies the filter to every Query Loop block on the page. If you need a second list that stays unfiltered, like a “Recent posts” section, you can use the Latest Posts block instead.
If you’d rather not use the block, the Embed button on the element’s screen gives you a shortcode and a PHP code option too.
Step 4: Test Your Query Loop Filters
Now you can visit the page on the front end of your site and try the filter.
For the first test, tick the “Portugal” checkbox. The Query Loop should update right away to show only your Portugal posts, without a page reload.
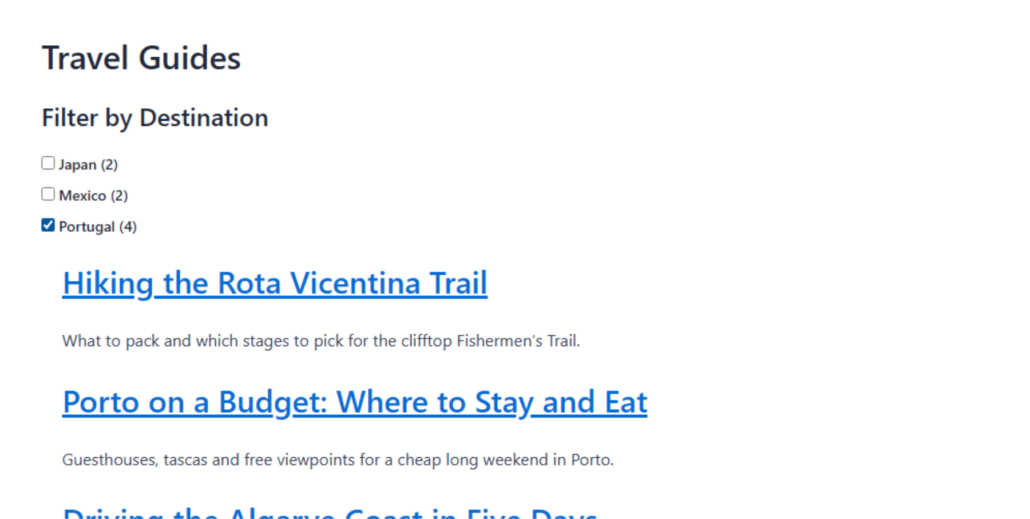
You’ll also notice the page URL changes to include your selection.
For the second test, click through to the next page of results. Page two should still show only Portugal posts, with the checkbox still ticked.
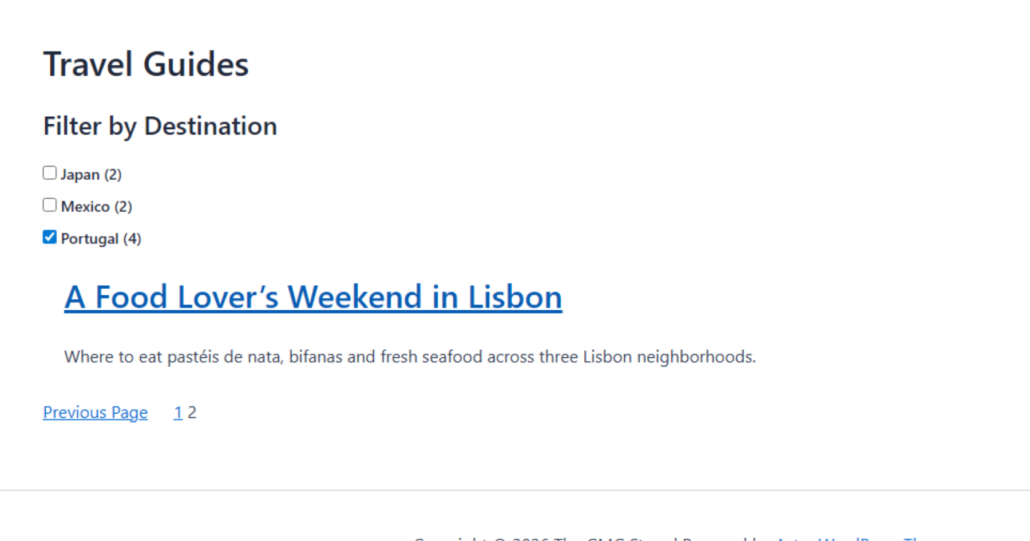
You can also copy the URL and open it in a new browser window. The same filtered view should load, which means visitors can share or bookmark it.
Bonus: Add a Reset Button or Keyword Search
Once your category filter works, you can add more elements next to it.
The Reset element adds a button that clears every selection at once, which we’ve covered in our guide on how to add a reset filter button in WordPress.
The Search element adds a keyword box, so visitors can narrow the list by typing a word, like “beaches.”
When SearchWP is active on your site, that Search element uses SearchWP’s search engine instead of the default WordPress search.
Frequently Asked Questions
1. Can you filter the Query Loop block without a plugin?
Only from the editor side. The Query Loop block’s Filters panel lets you choose which categories, tags, authors, or keywords the loop shows, but visitors can’t change those choices.
Letting visitors filter the loop without a plugin means writing custom PHP with the query_loop_block_query_vars hook.
2. Does WPFilters work with a Query Loop that shows WooCommerce products?
WPFilters connects to WooCommerce’s Product Template block in the same way it connects to the standard Query Loop.
You can build the filter from product data, like Product categories (product_cat) in the Taxonomies group under Data Source.
3. Will my Query Loop filters keep working on the next page of results?
Yes, the selected filters stay in the URL when a visitor clicks through to the next page.
The next page loads with the same filters applied, and the same boxes ticked.
4. Can I filter two Query Loop blocks separately on the same page?
No, WPFilters applies the filter to every Query Loop block on a page, so two loops will show the same filtered results.
If you need a second list that stays unfiltered, you can use the Latest Posts block for it instead.
What’s Next…
You now have a category filter next to your Query Loop block, with results that update without a page reload and a URL your readers can share.
You may also want to see our guides on how to filter by multiple taxonomies in WordPress and set up filters in WordPress without coding.
Ready to let your readers filter your Query Loop? You can get started with WPFilters here. Every plan comes with a 14-day money-back guarantee.