How to Create a Clone of your Site for Support
From time to time support requests are specific enough to warrant delivering a clone of your site to the support staff so it can be set up in a development environment and the issue can be closely examined away from your production environment. Creating a clone of your site is surprisingly easy, you can use a plugin that walks you through the process, or you can generate a clone manually. This KB article will discuss generating a clone of your site using Duplicator.
Step 1: Install Duplicator
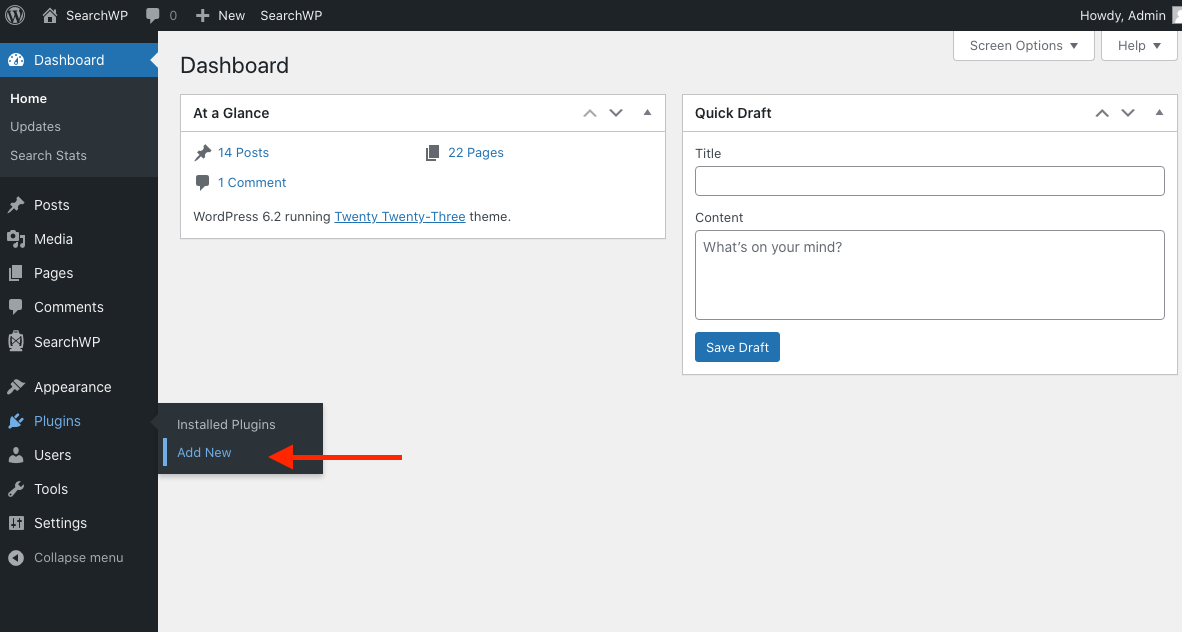
The first step is installing Duplicator, a free WordPress plugin that will build a portable copy of your site. You can install Duplicator by navigating to the Plugins > Add New menu entry in your WordPress admin.
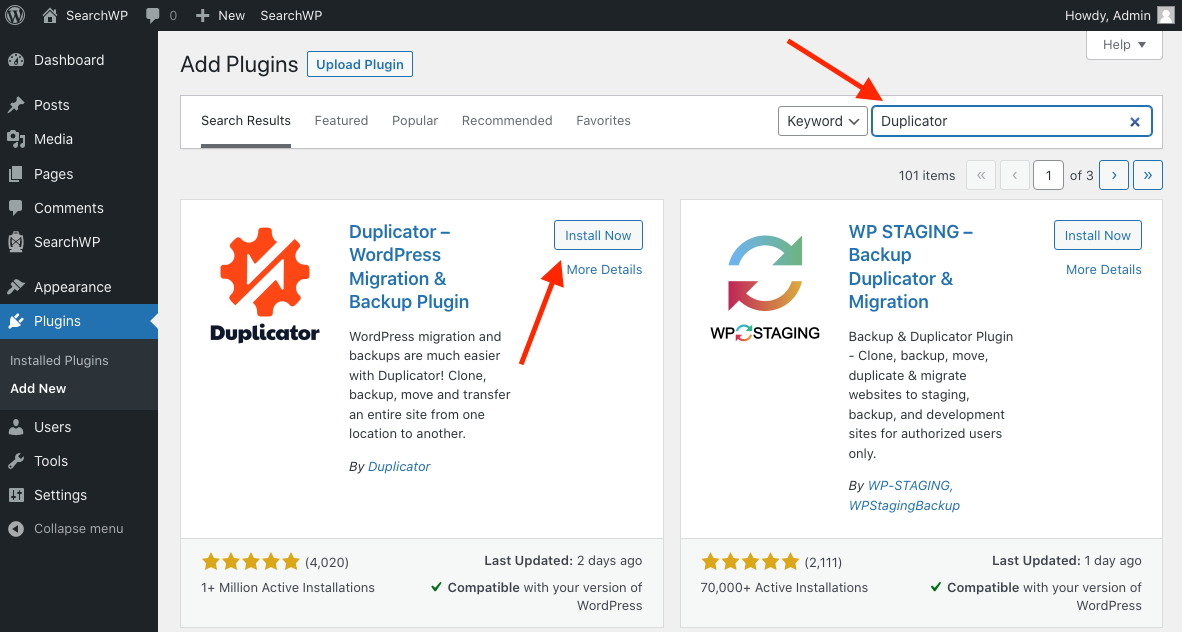
Search for ‘Duplicator’ in the upper right and hit Enter. After finding the result for Duplicator, click Install Now. Once installed, activate the plugin.
Step 2: Generate Duplicator Clone Package
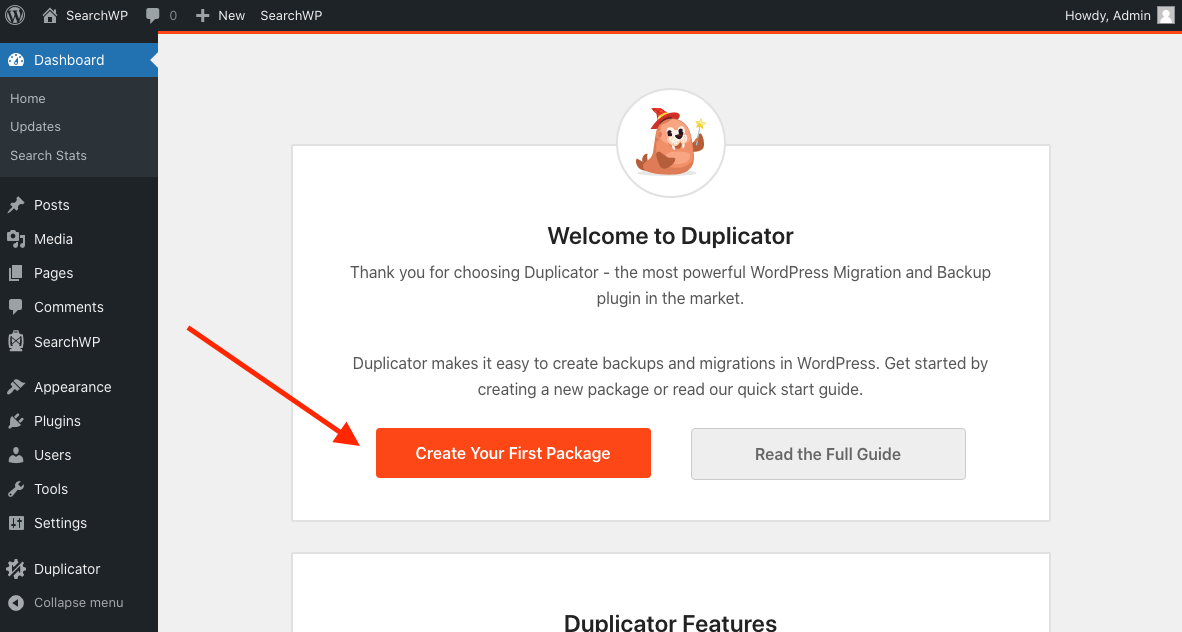
After activating Duplicator click on Create Your First Package in the Duplicator Welcome page.
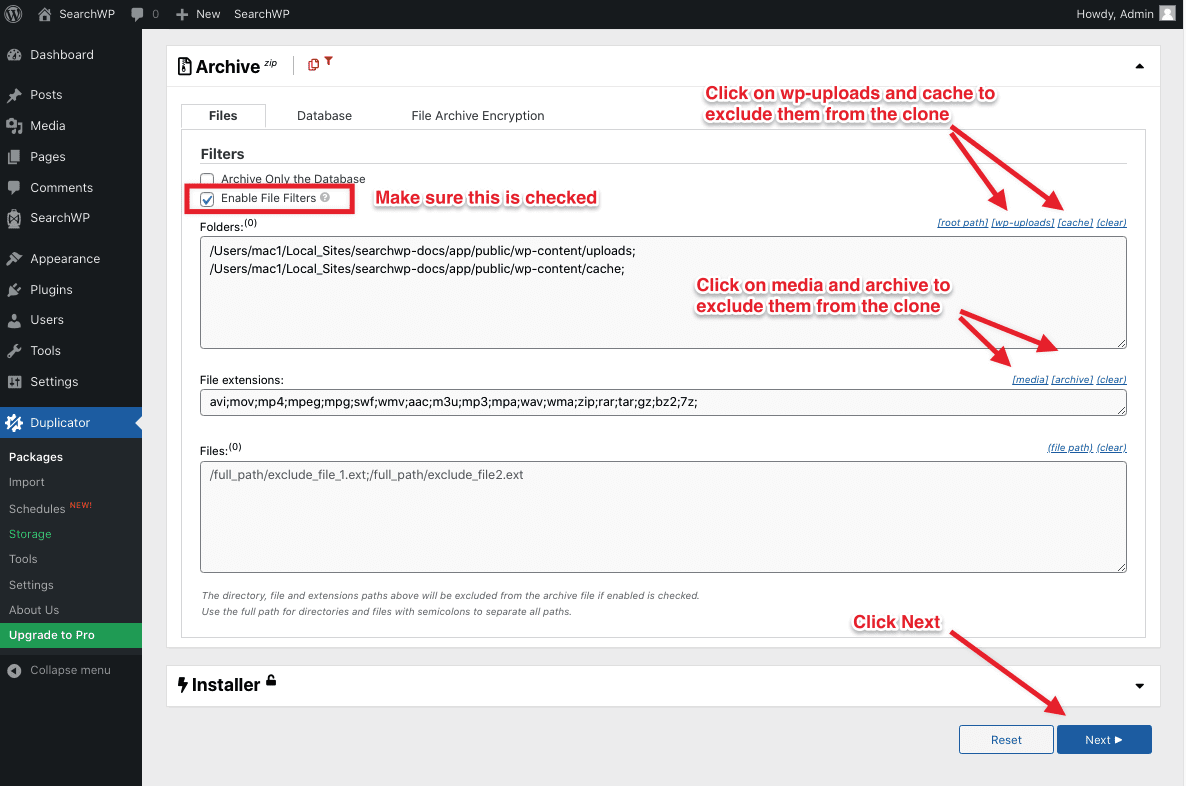
This screen allows you to configure settings for the backup package. In order to keep the size of the archive as small as possible, we are going to exclude the uploads and cache directory from the backup and all media and archive files (these files are usually not necessary).
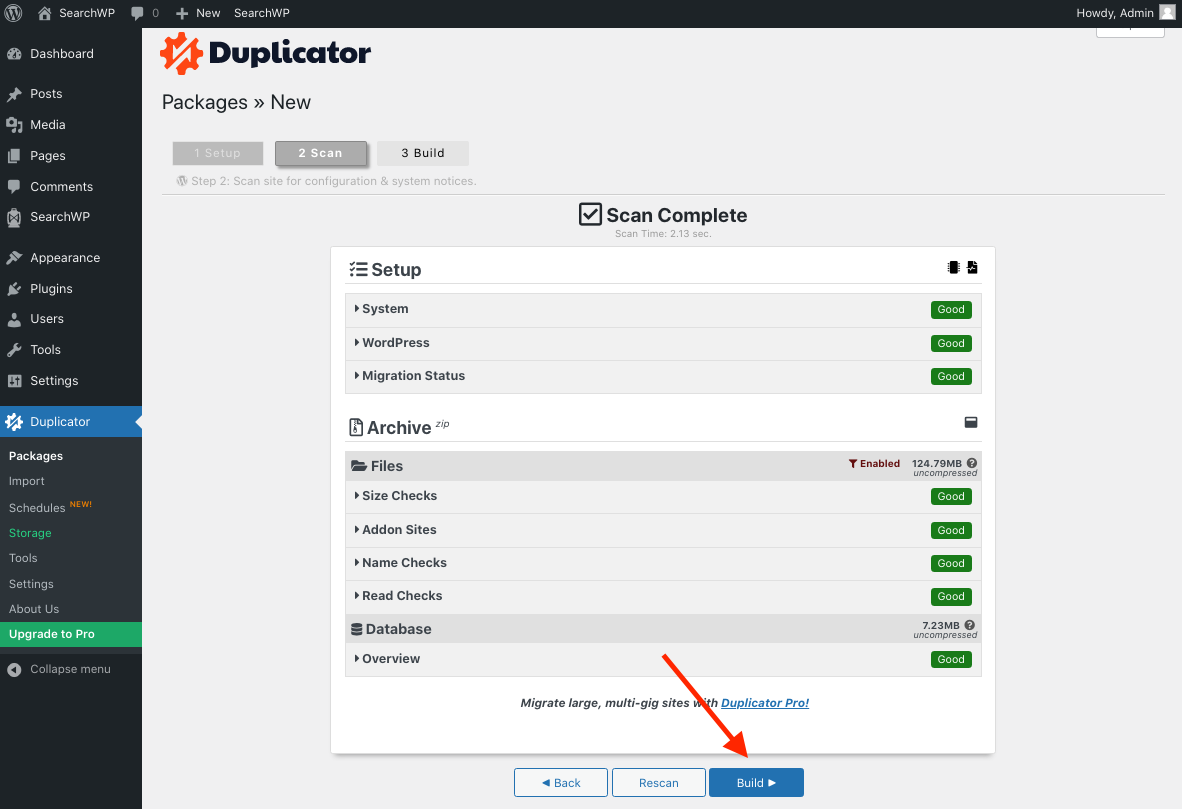
Wait for Duplicator to make a system scan. If there are no issues with the site scan, click on Build.
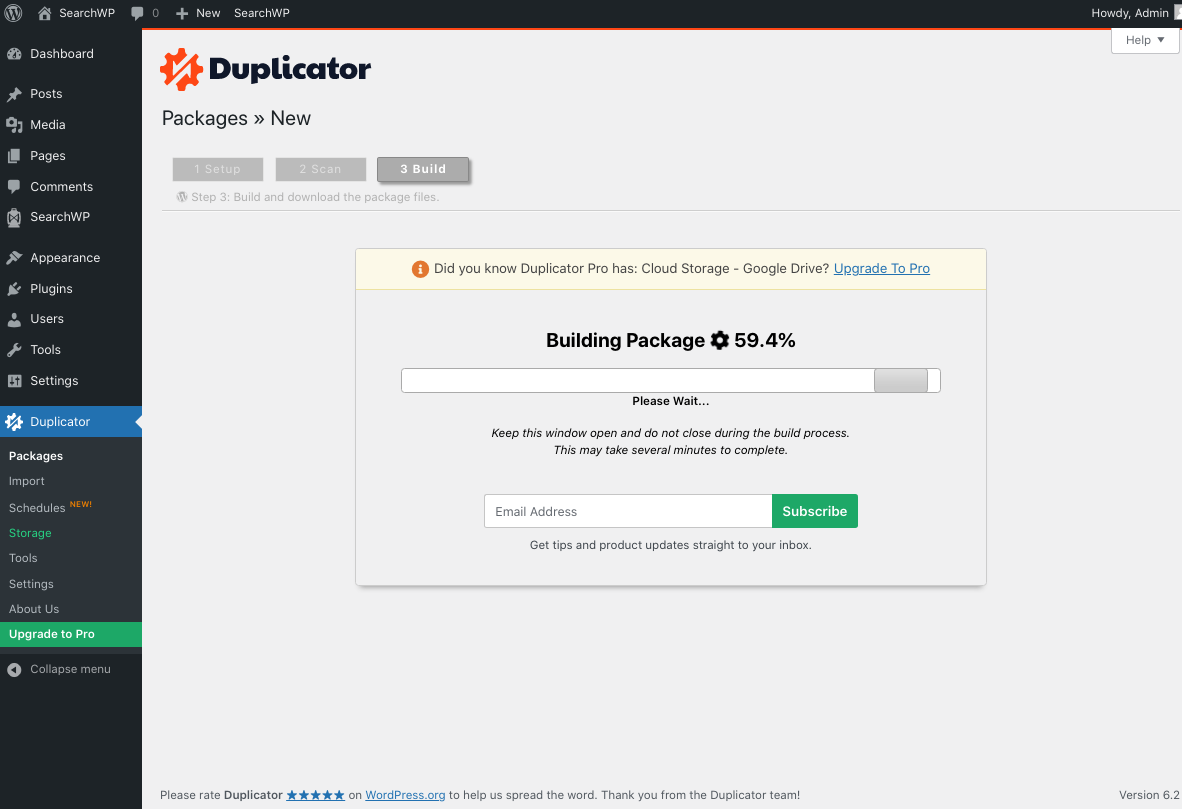
Duplicator will start to build the package. This may take some time depending on the size of the site.
Step 3: Upload Installer and Archive
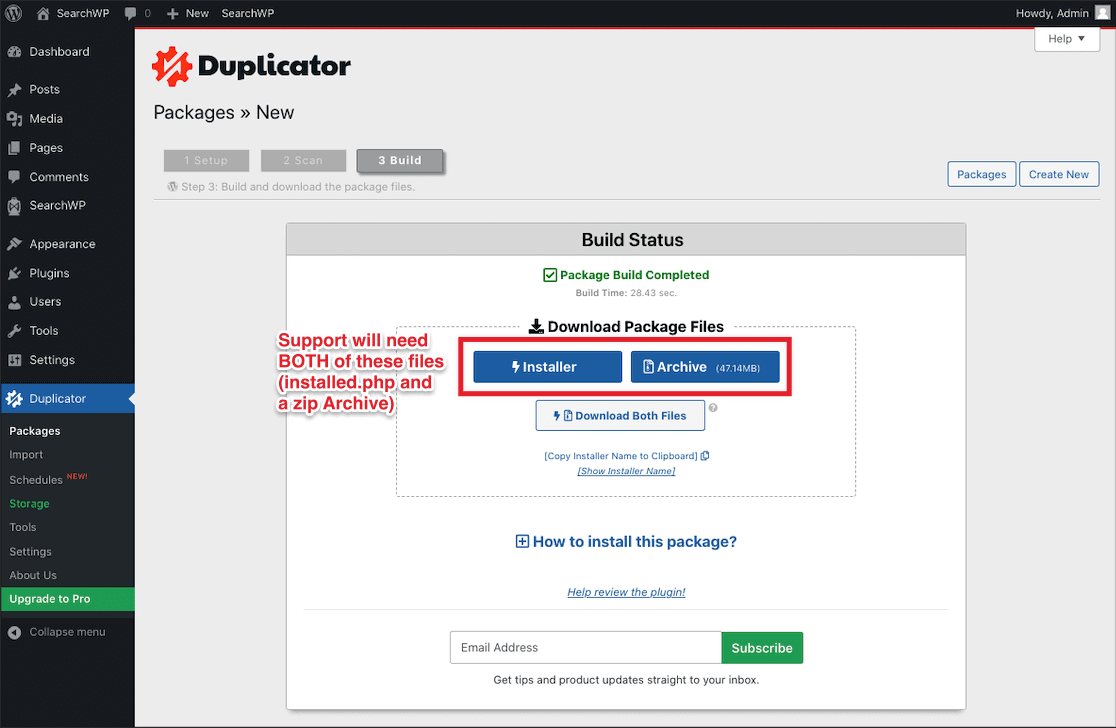
Please upload both installer.php and the Archive to your file provider of choice (e.g. Dropbox, Google Drive) and share the link in your support ticket.
