By creating a custom search results page, you can deliver more relevant search results to your visitors and encourage them to explore more of your content.
One of the easiest ways to do that is to use Divi. This powerful WordPress page builder plugin that allows you to create a custom search results page without being tech-savvy.
However, the default WordPress search has limited features. To improve the search performance, you can combine Divi with SearchWP.
In this article, we’ll show you how you can create a Divi search results page template.
Why Create a Divi Custom Search Results Page Template?
When visitors use the search bar on your site, they expect to see relevant results.
If they see a blank page after entering a search query, there’s a good chance they’ll leave your site right away.
Thankfully, you can easily avoid such situations by customizing your search results page.
You can change the appearance of your search results page to make it user-friendly and more aligned with your website’s needs.
For instance, you can manage the number of results on the page, specify information about the posts’ authors, add a newsletter signup form, and much more.

Beyond that, creating a custom search results page will also help you to:
- Boost your content discoverability
- Increase the number of views per visit
- Reduce your site’s bounce rate
Now that you know why you need to create a custom search results page on your site, let’s talk about how you can do that next.
How to Create a Search Results Page with Divi and SearchWP
The easiest way to create your own unique search results page is to use a WordPress page builder plugin like Divi.
And if you also want to make search on your site smarter, you can use Divi together with SearchWP.
What is SearchWP and Why Use It?
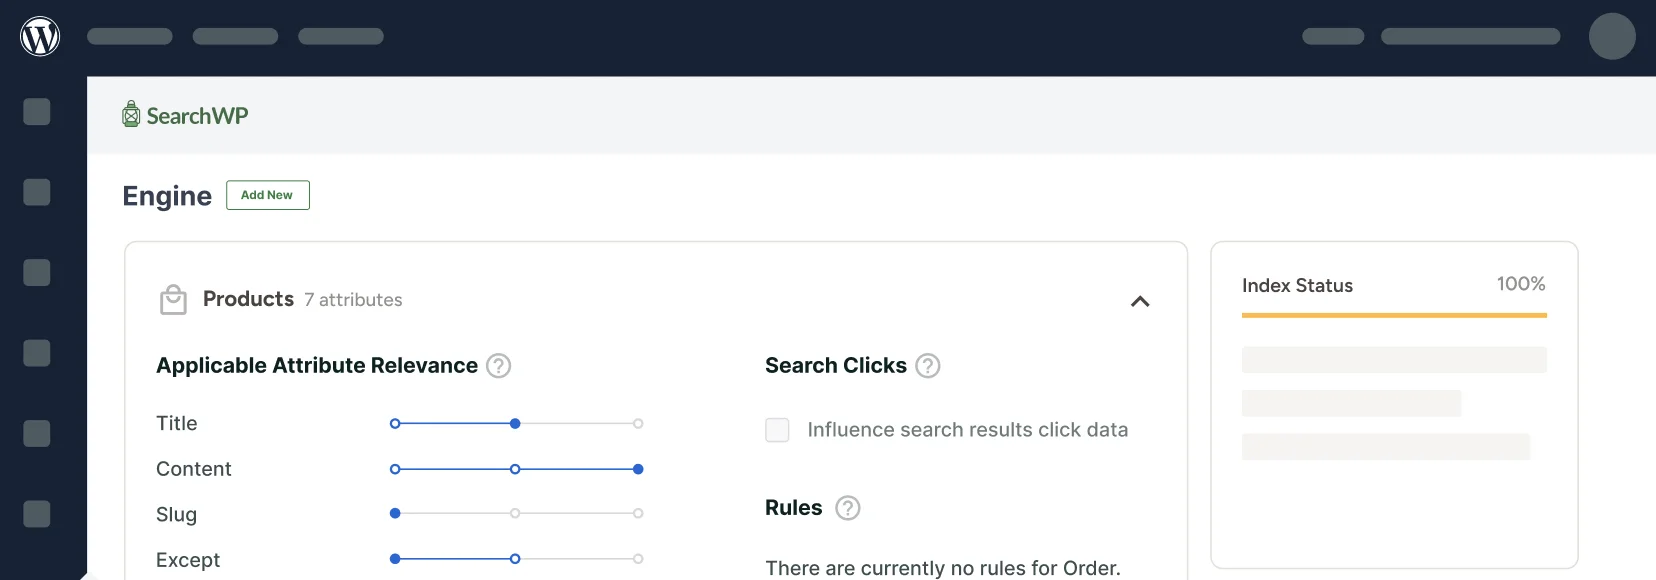
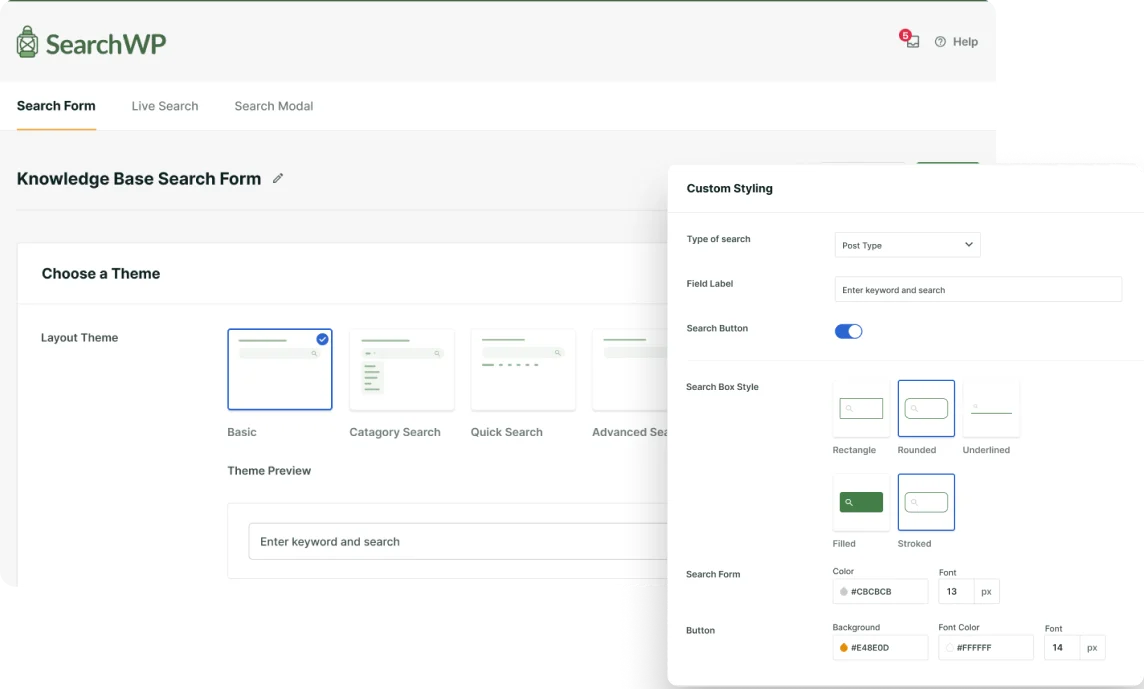
SearchWP is the most powerful and easy-to-use WordPress search plugin on the market.
It allows you to fully customize how search works on your site, even if you’re not a tech-savvy person.
For example, with SearchWP, you can exclude any pages from search results, make post tags searchable, include SKUs for WooCommerce store, and many more.
This way, you can give your visitors more relevant search results and boost your content discoverability.
The best thing is that SearchWP is fully compatible with Divi and automatically integrates with your WordPress theme.
After installing the plugin, you can immediately start customizing your search to make it better.
Let’s see how you can use it with Divi to create a search results page.
Step 1: Install and Activate SearchWP
To get started, you’ll need to visit the SearchWP website and signup for an account.
Simply click the ‘Get SearchWP Now’ button to continue.

After creating an account, the next thing to do is download the SearchWP plugin.
Simply head to your account area and switch to the Downloads tab. From here, you can click the Download SearchWP button and save the plugin file to your computer.
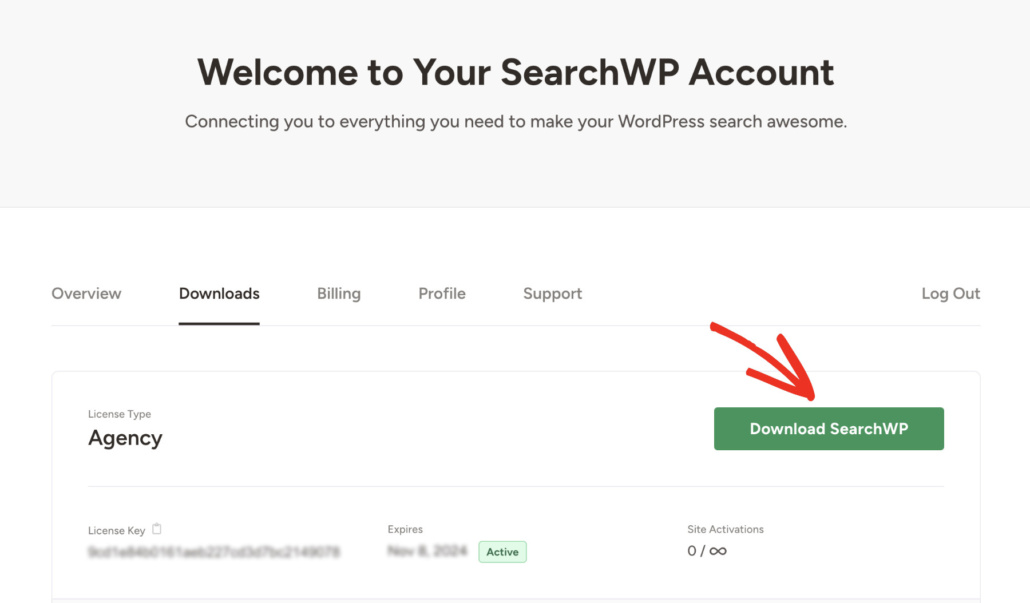
The next step is to install and activate the SearchWP plugin on your site. If you need help with that, you can check out the how to install the WordPress plugin step-by-step guide.
Upon activation, you will see the SearchWP welcome screen and setup wizard. Simply click the ‘Start Onboarding Wizard’ button and follow the onscreen instructions.
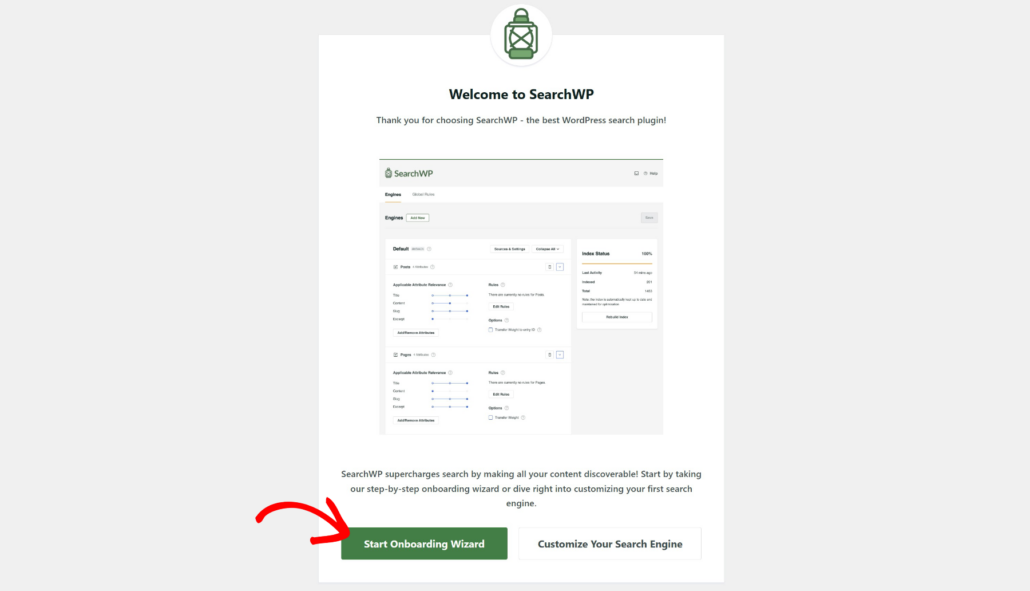
After the plugin activation, SearchWP automatically integrates with any search field on your site.
This way, you can immediately start delivering more relevant search results to your visitors. You can also check out our guide on how to customize your WordPress search results page with SearchWP.
Now let’s move on and see how you can create a search results page using the Divi page builder.
Step 2: Create Your Custom Search Results Page Template
To get started, navigate to Divi » Theme Builder in your WordPress dashboard.
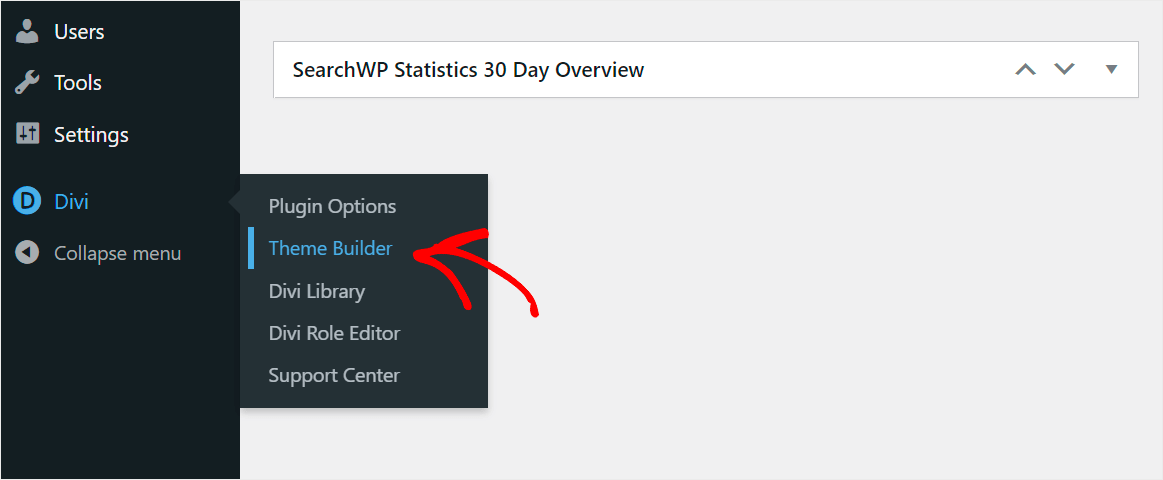
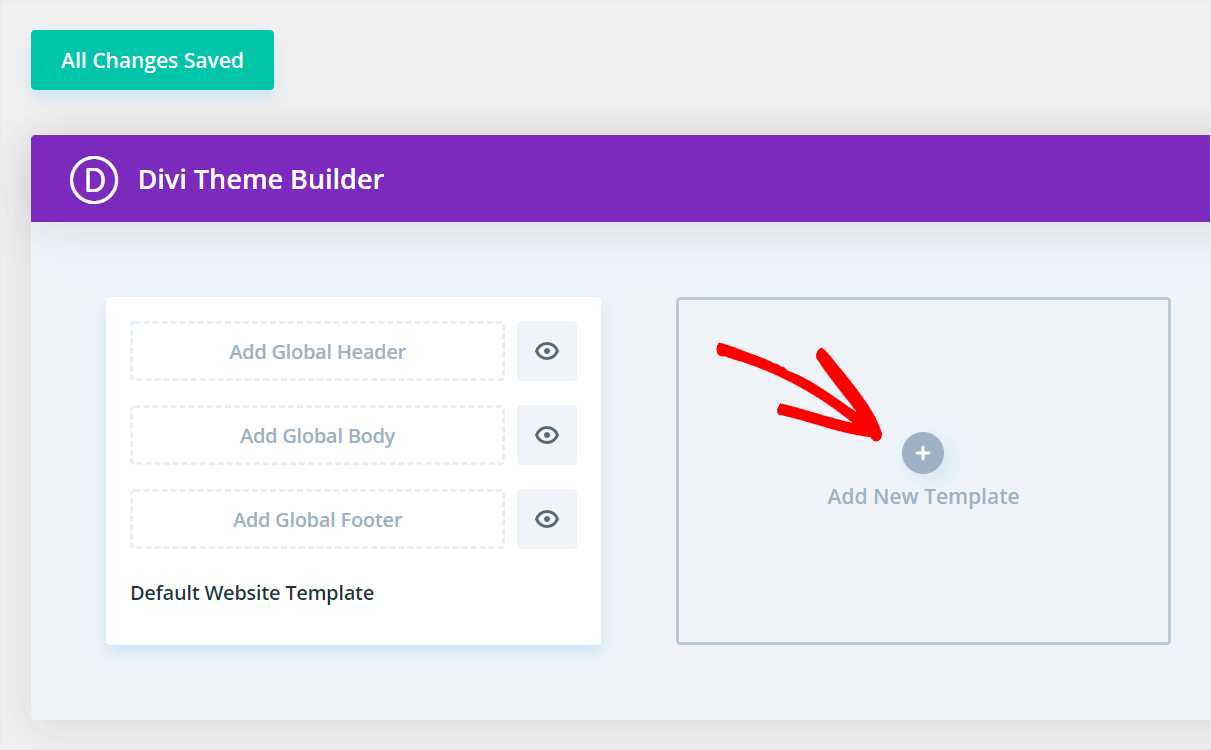
Once you get to the theme builder page, you will see options to edit default website template or add a new one.
Go ahead and click the Add New Template option.
After that, you will see different template settings.
Simply tick the box next to the Search Results option at the bottom of the drop-down menu and click the ‘Create Template’ button.
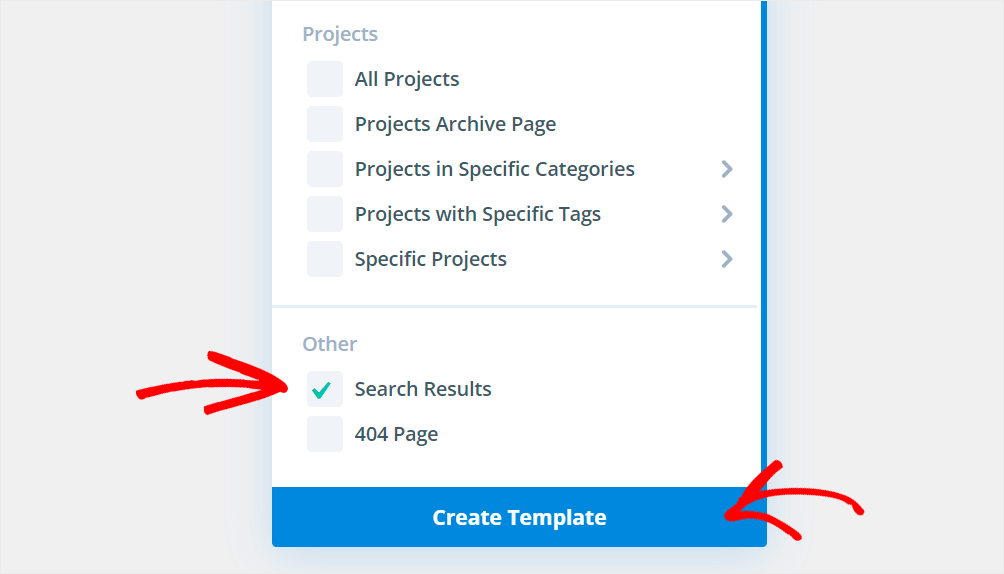
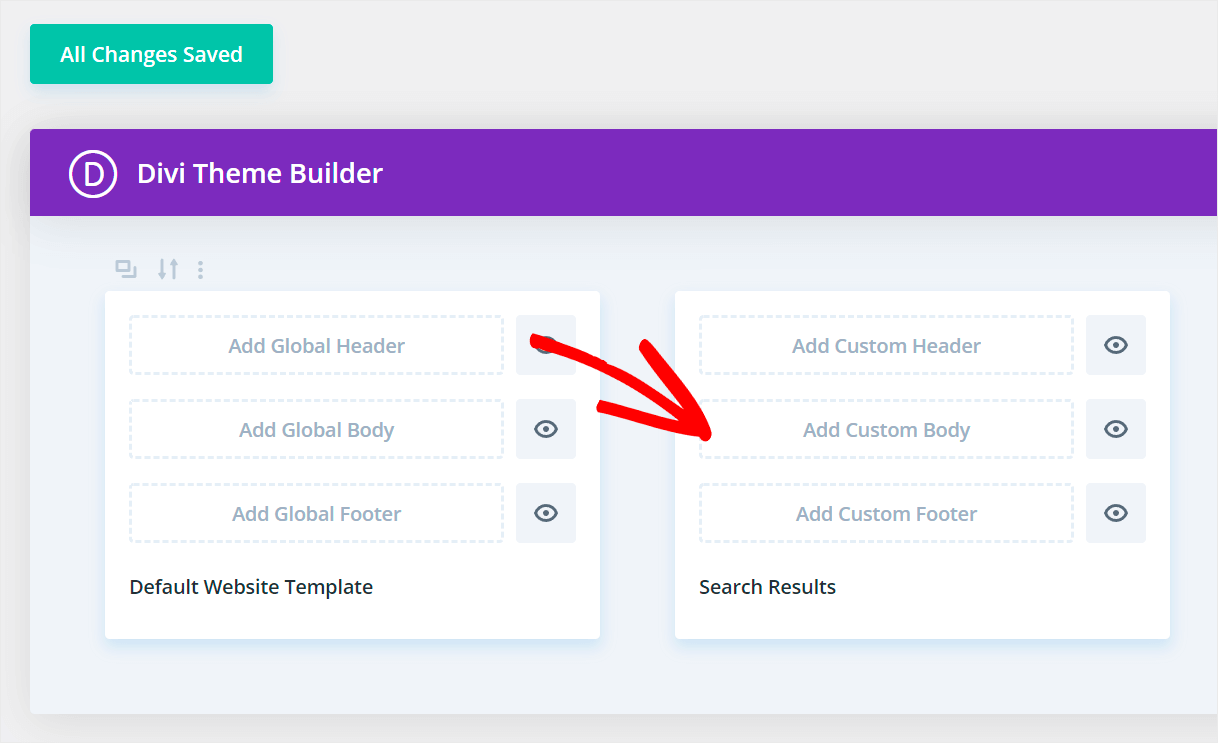
As you can see, our new Search Results page template has now appeared among other templates.
To start customizing it, go ahead and click Add Custom Body.
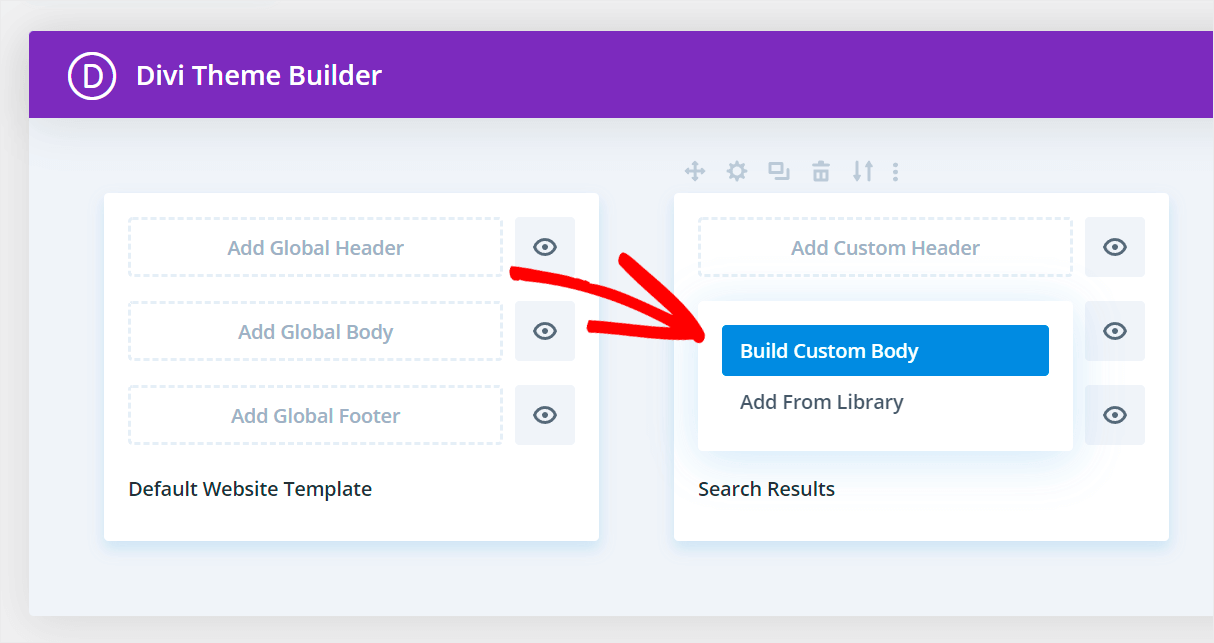
Next, Divi will ask you to build a custom body or select from a library.
You can choose the Build Custom Body option.
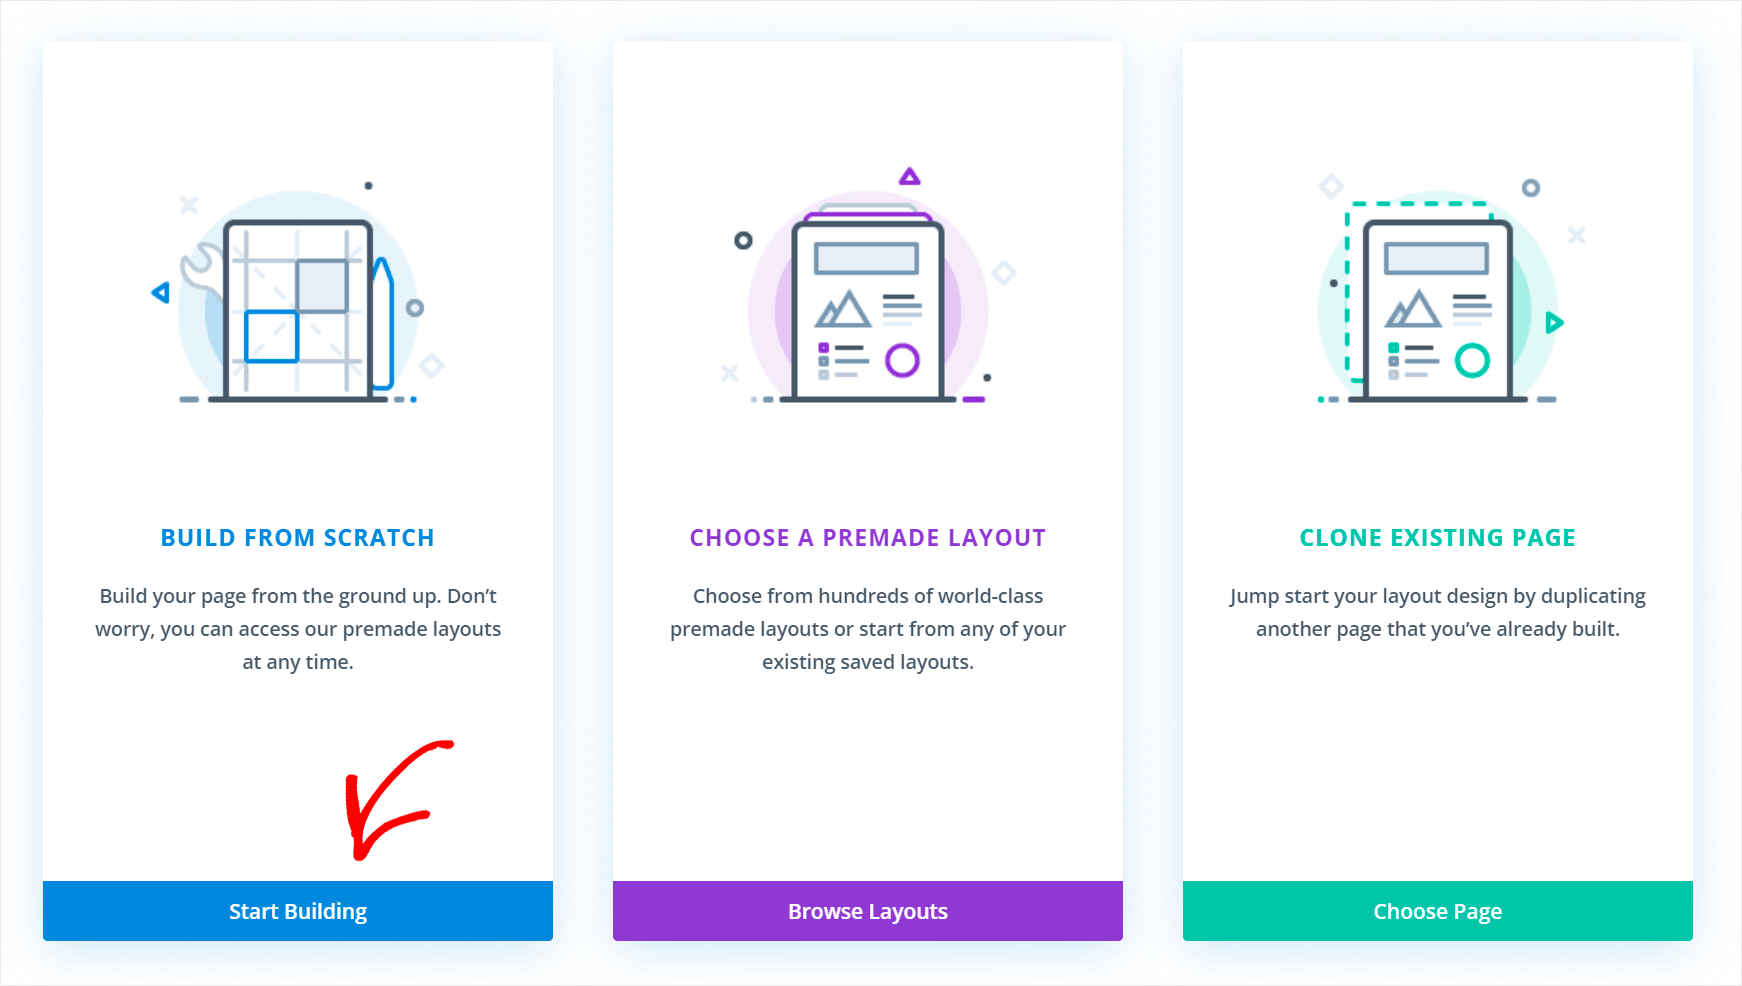
It’ll take you to the page where you can select whether you want to build a page from scratch or use one of the pre-made templates.
In this tutorial, we’ll build a search results page from scratch, so click the Start Building button.
After that, you can select a row for your future page.
For example, we’ll select the first one for this tutorial.

Then, you can add the first module to our new page.
There will be several options to pick from, such as bar counters, blog, button, comments, and more.
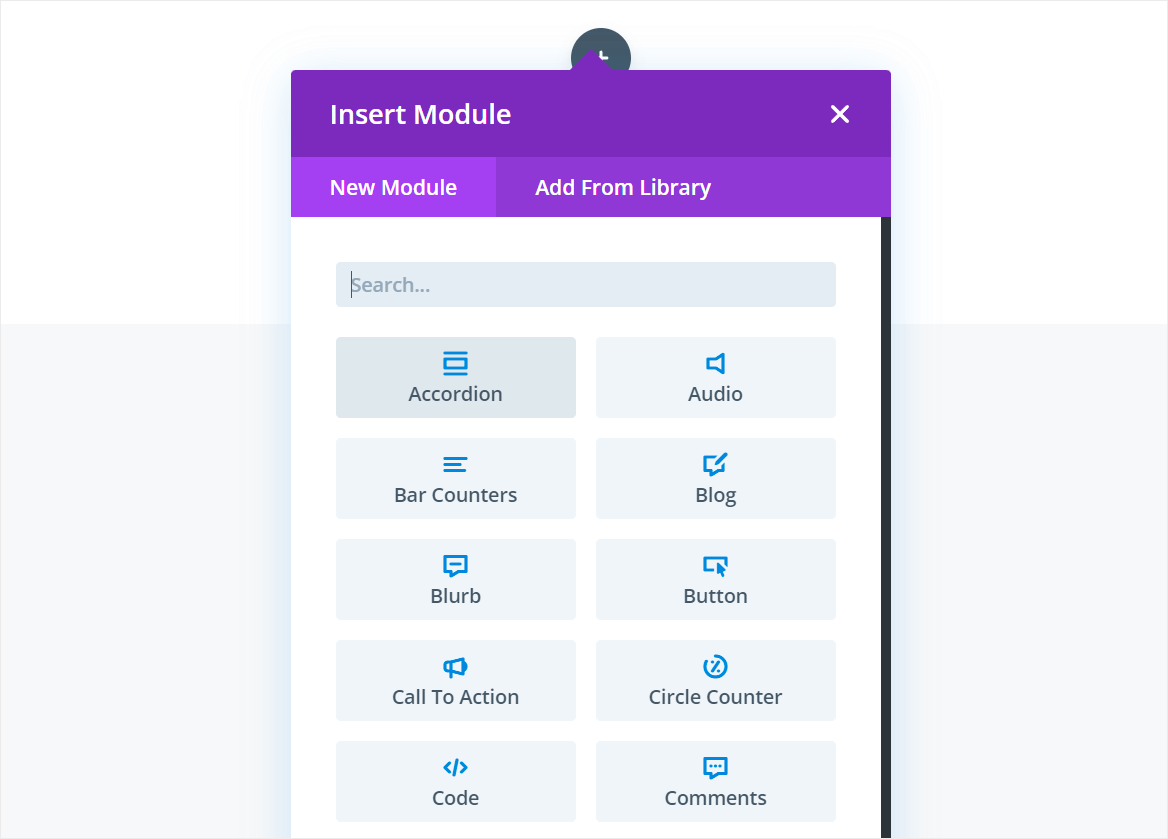
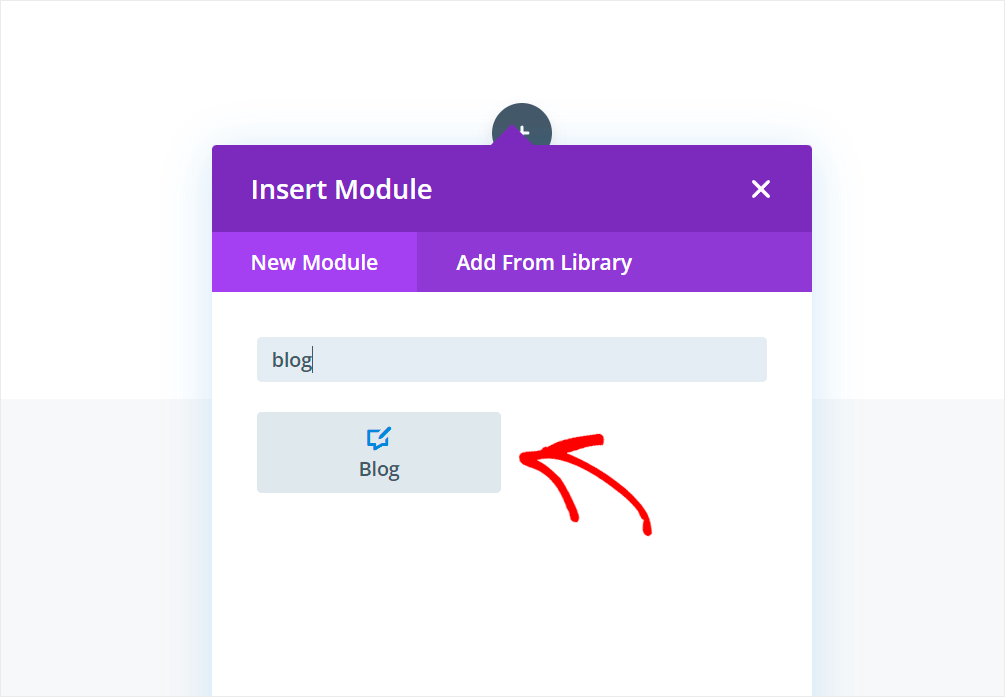
To display search results on this page, you’ll need to add the Blog module.
To get started, you can click on the Blog module.
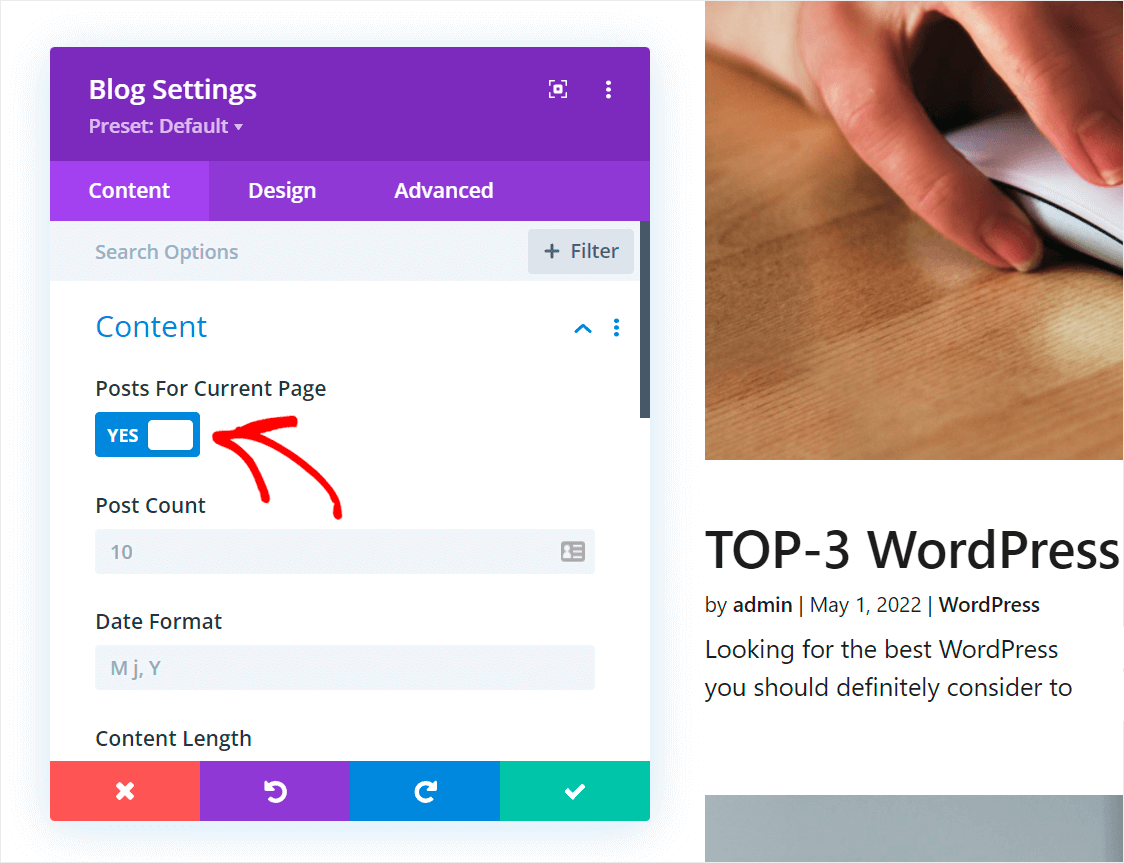
Then, toggle the Posts for Current Page switch to Yes.
It ensures that this module will only display search results.
Step 3: Customize the Search Results Layout
Now you can customize your search results page like any other Divi page.
For example, let’s change the search results layout to Grid.
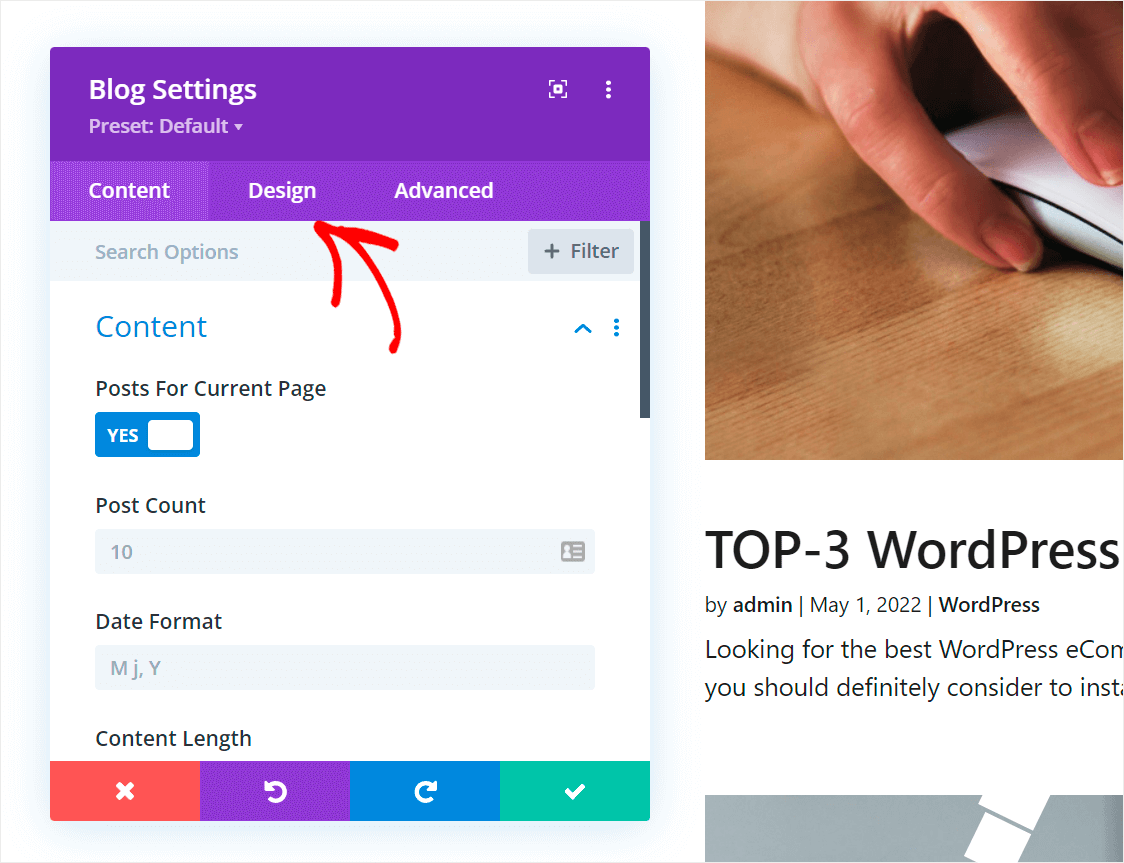
To do that, go over to the Design tab in the Blog module settings
From here, you can click on the ‘Layout’ item to expand its settings.

After that, change the module layout from Fullwidth to Grid.
When you’re finished, click the button with the checkmark to save the changes you made to the Blog module.

Now, let’s also add a heading to our search results page.
To do that, click Plus at the bottom of the Blog module section to add a new module.
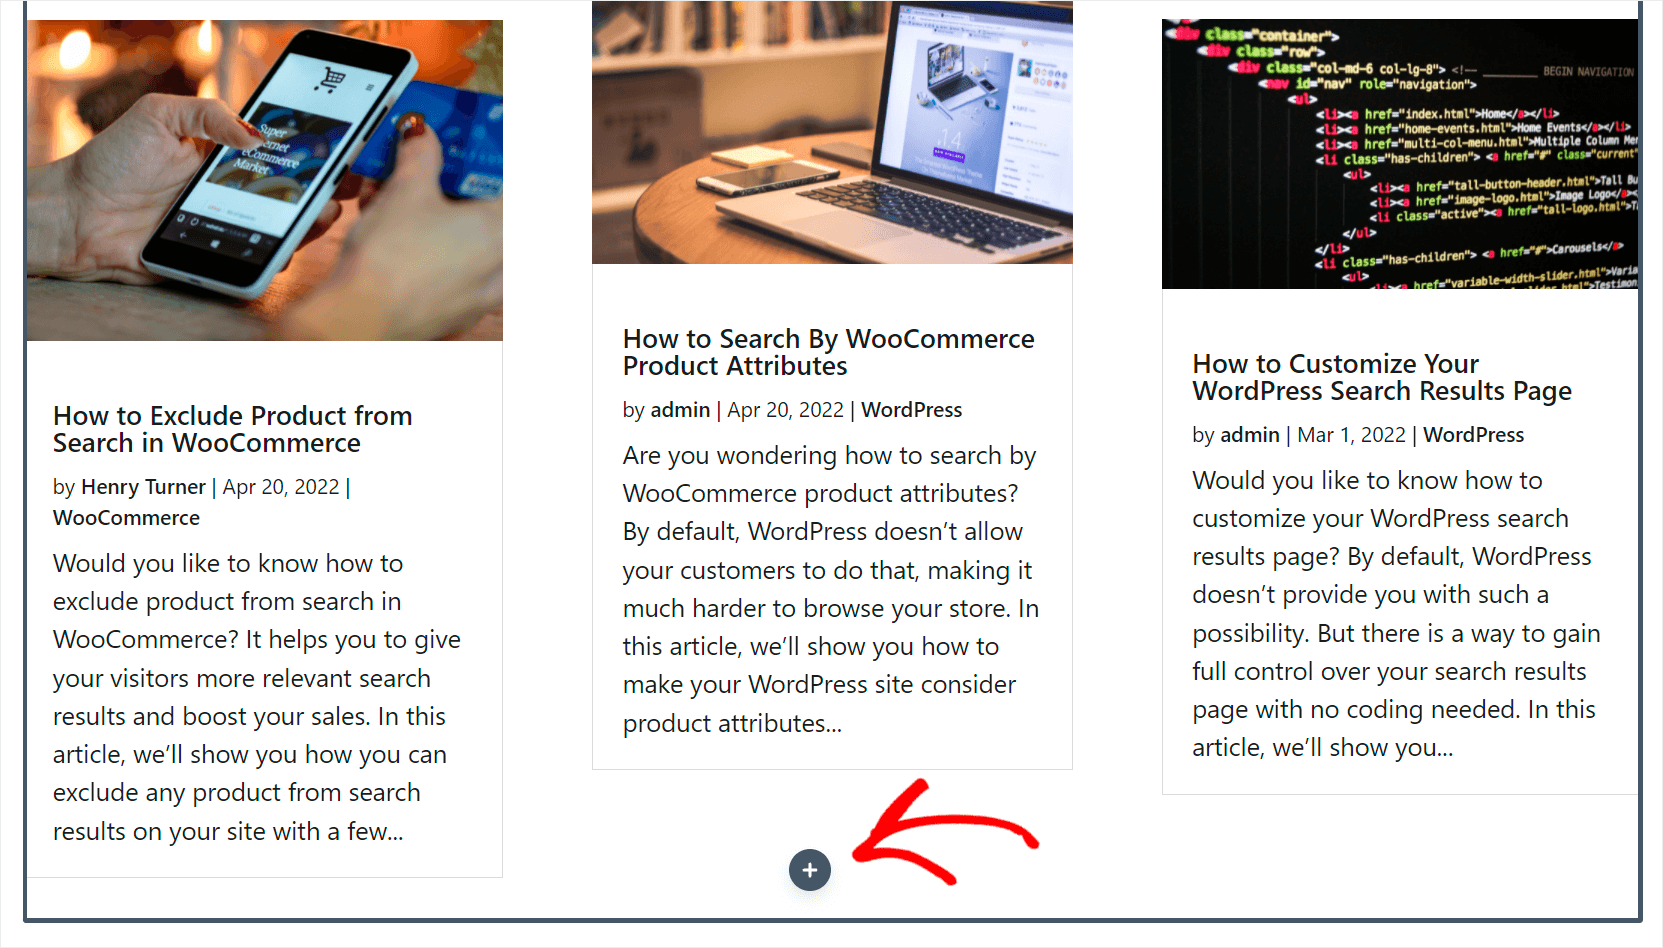
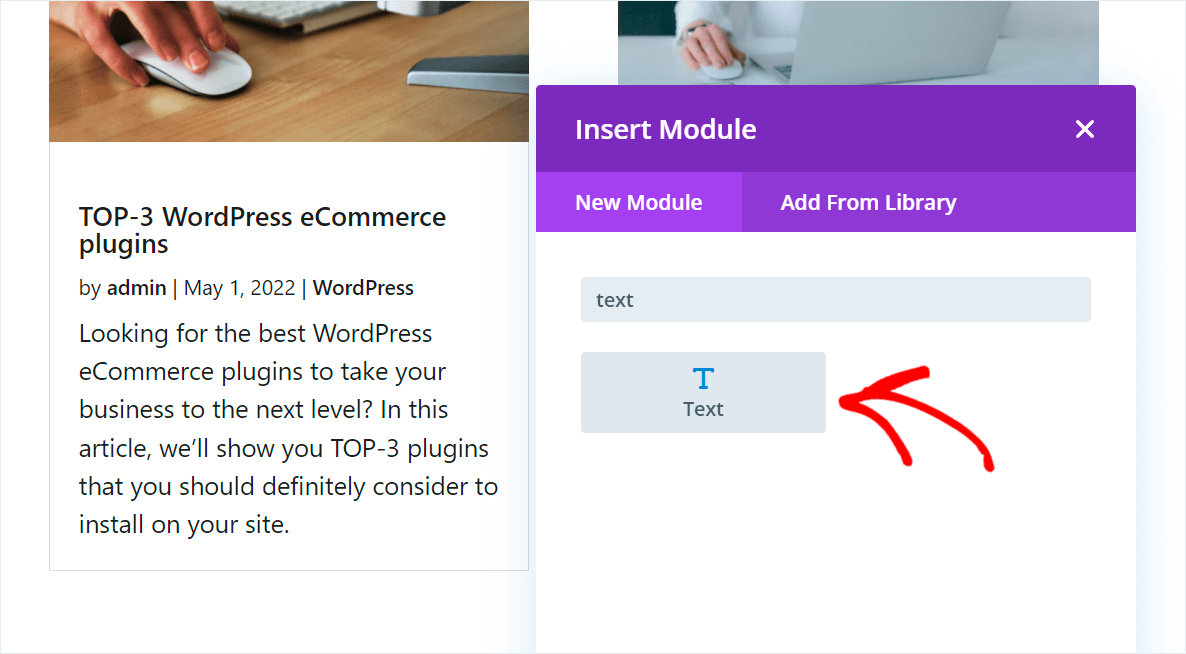
This will show different modules that you can add to the search page.
Simply search for the Text module and click on it to add it to the page.
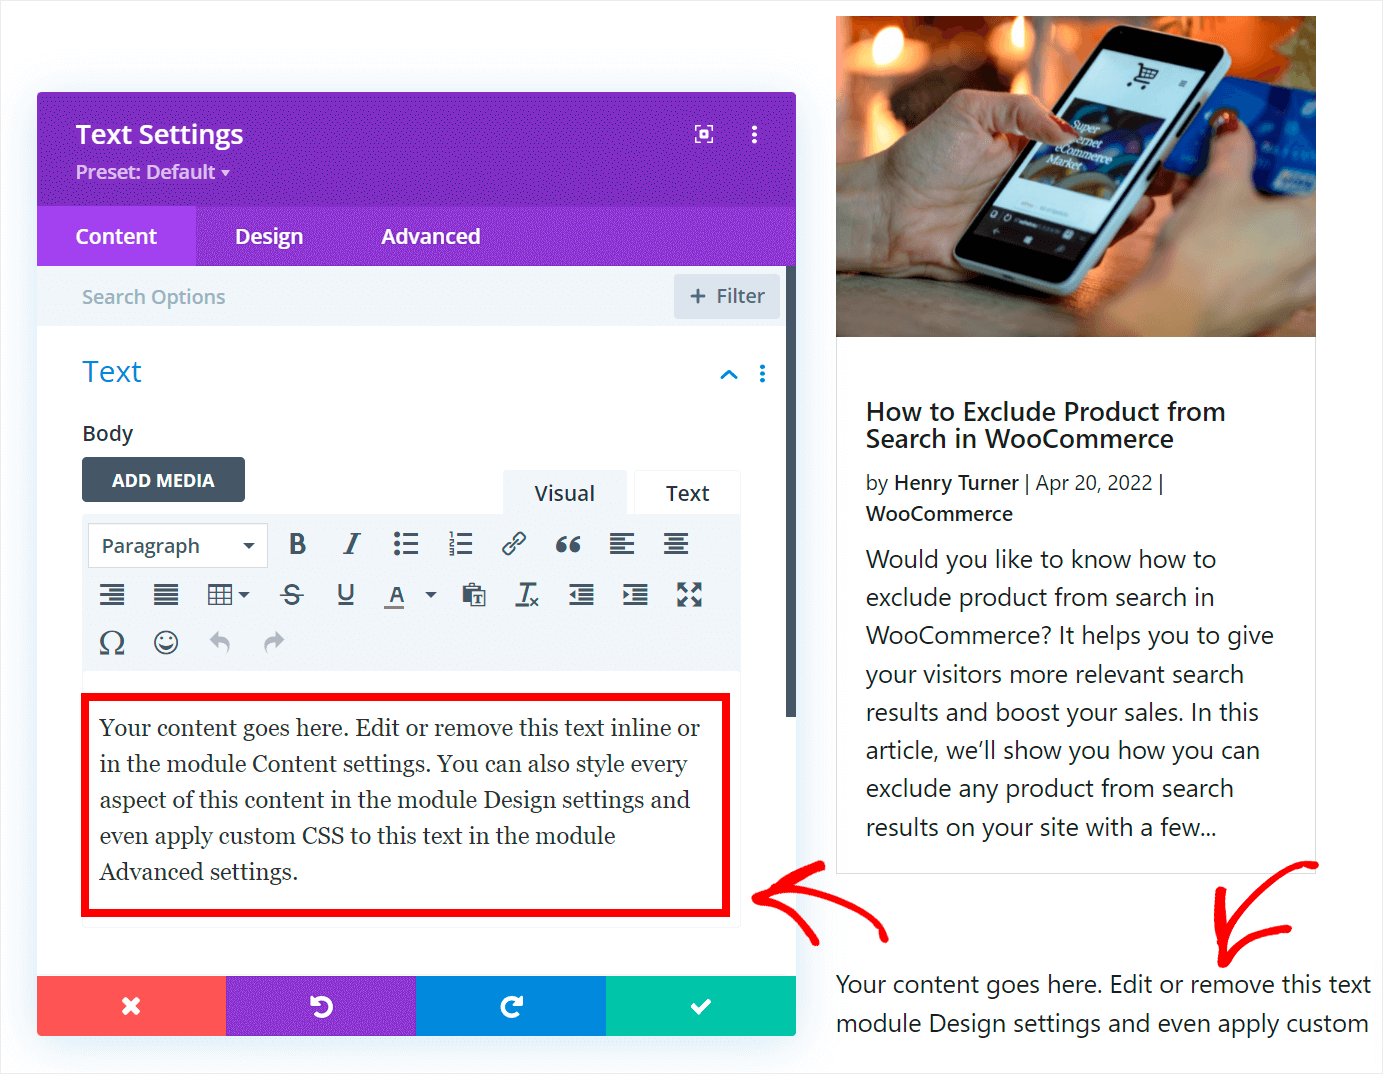
To change the text within the module, click on it and type whatever you want in the appeared setting window.
For example, we’ll change it to ‘Search results’ for this tutorial.
You also get options to change the format of the text.
To transform the text to the heading, click Paragraph and choose the Heading 1 item from the drop-down menu.
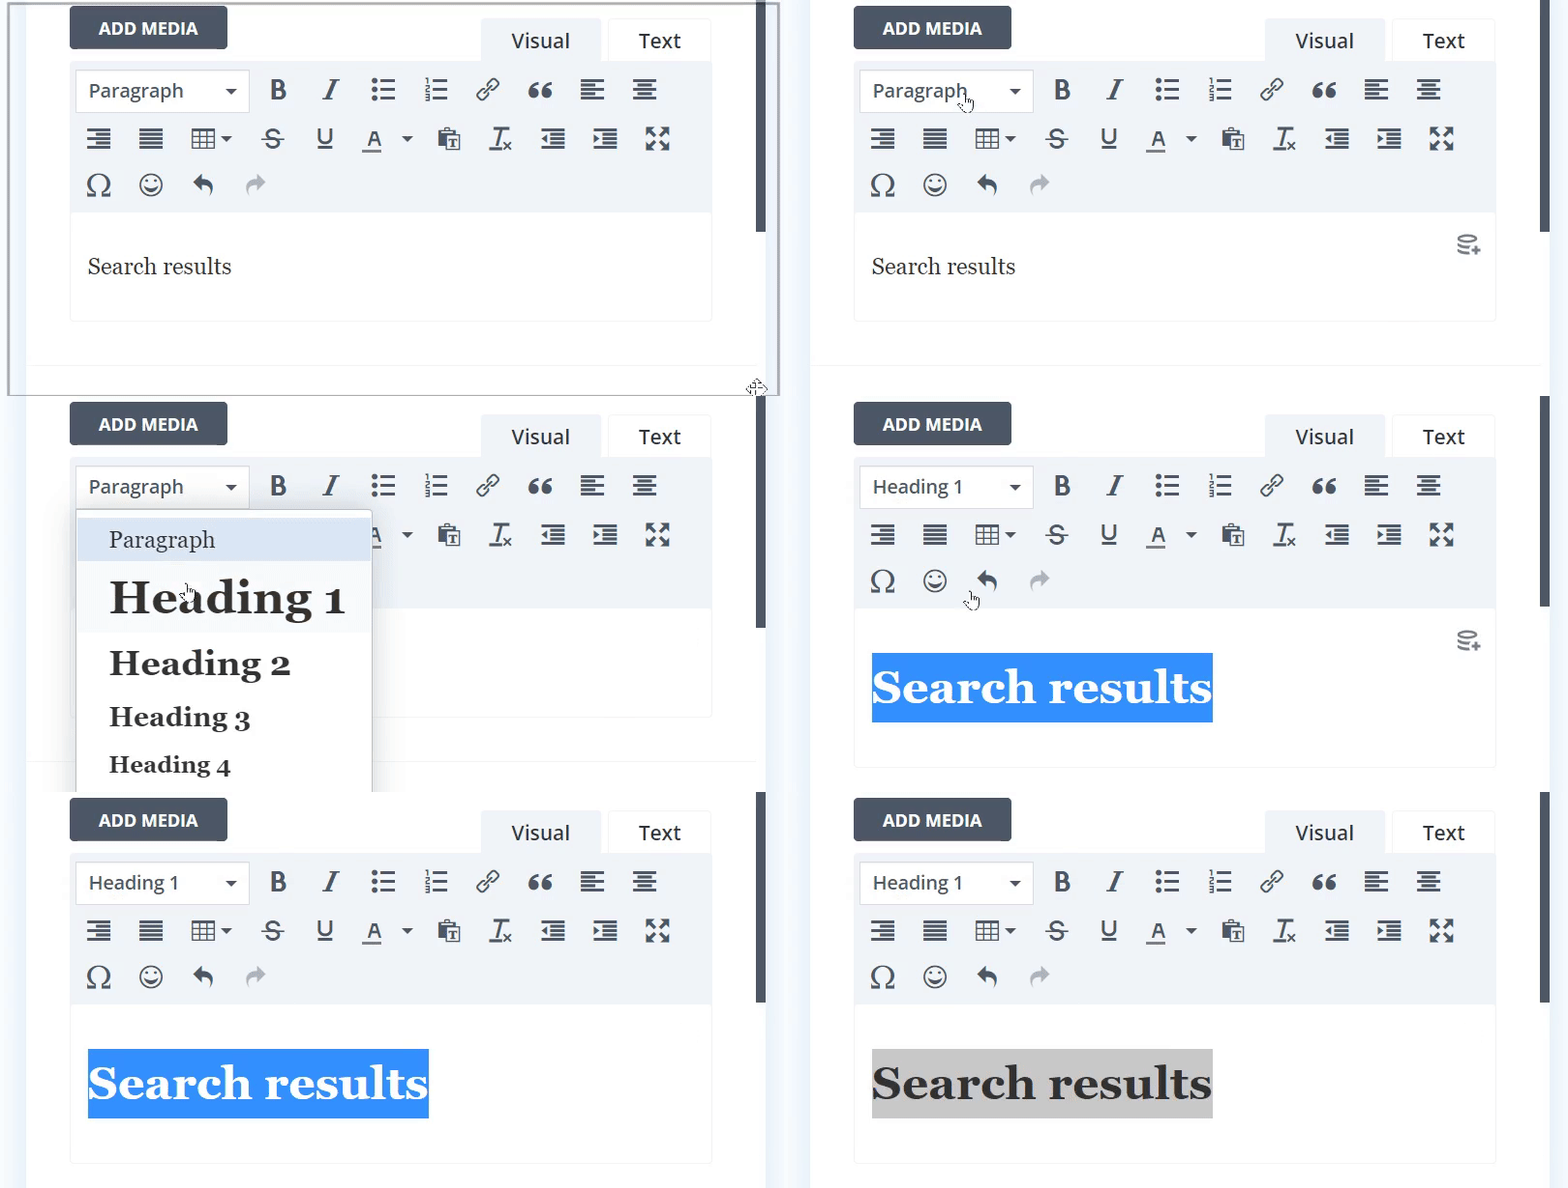
Let’s also align the heading to the center.
To do that, click on the Center button.
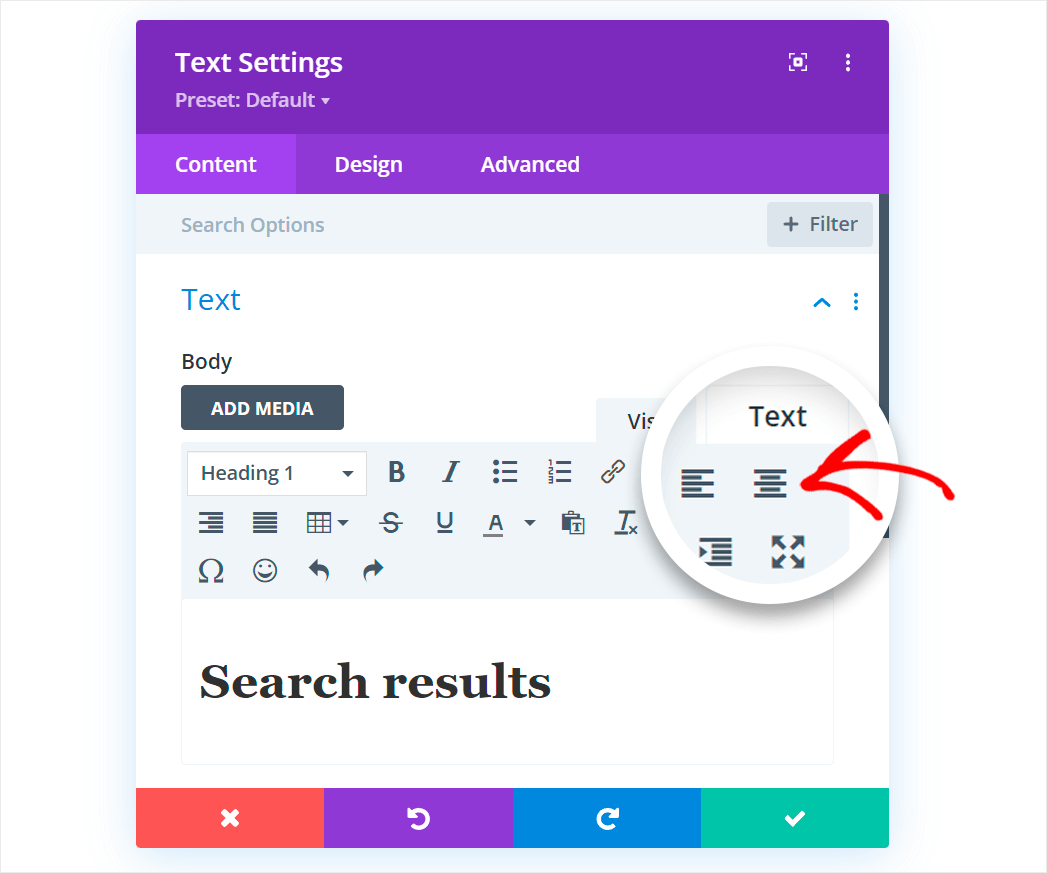
Don’t forget to save the changes when you’re finished editing the heading.
The last step is to change the heading’s position to be above the search results, not below them.
To do that, hover your cursor over the heading until the gray toolbar appears and drag it to the top of the page.
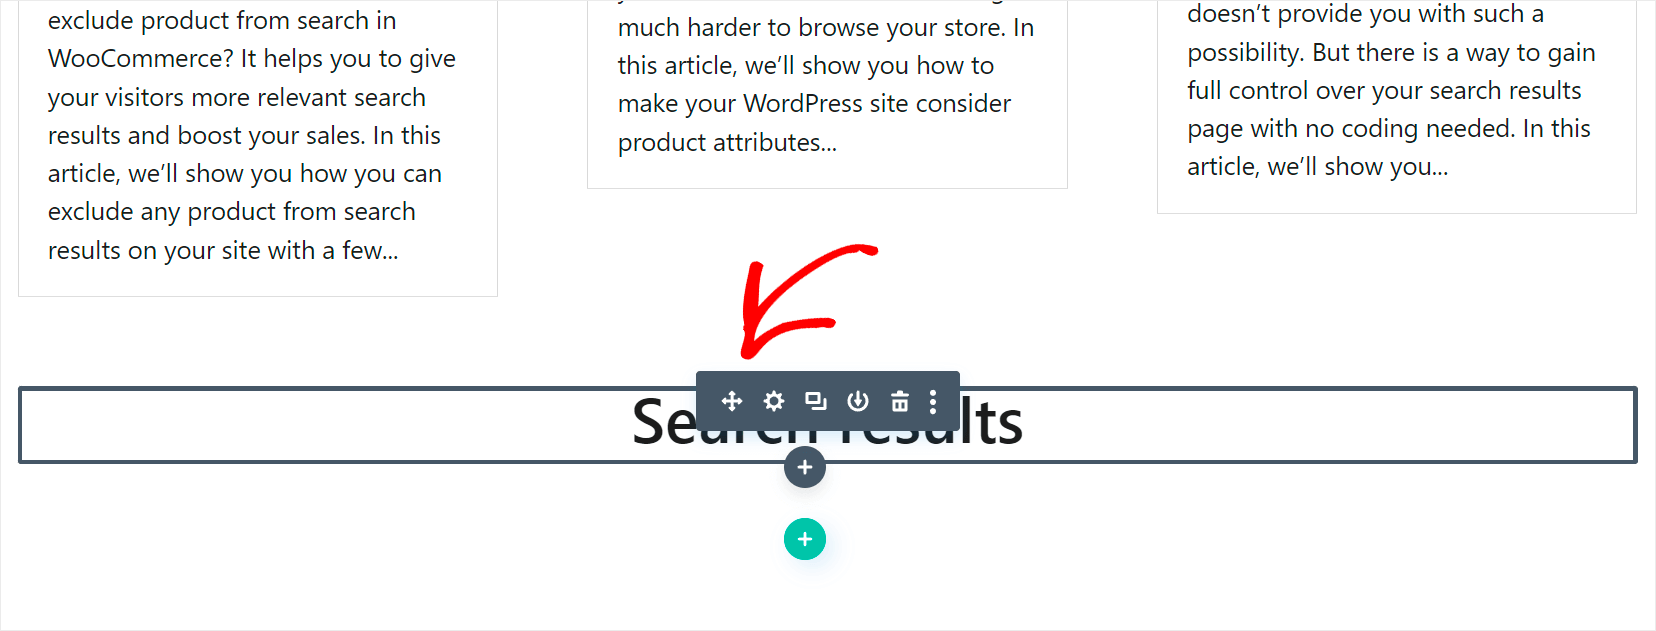
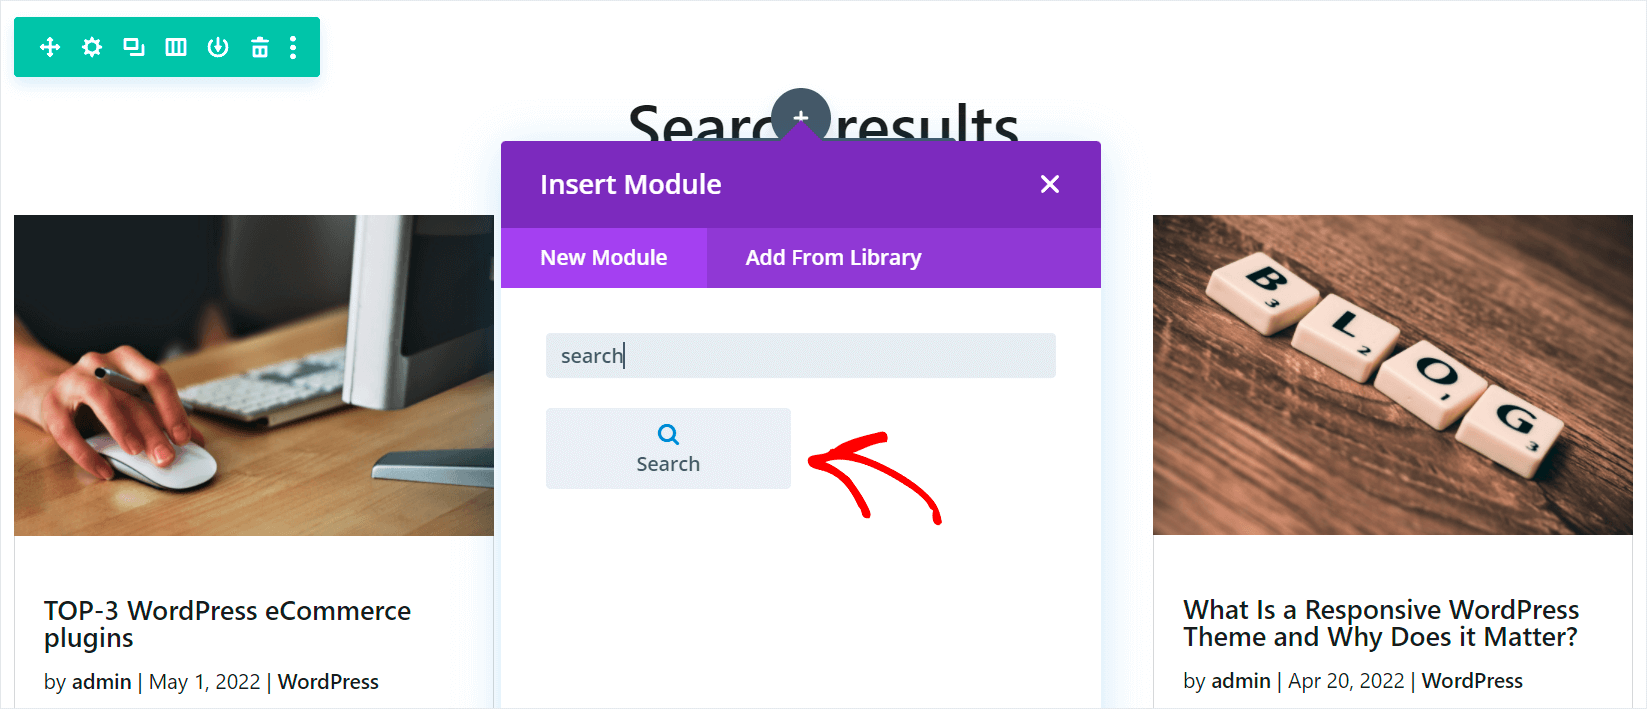
Let’s also add a search bar to our page so that visitors can search again if there are no results for their query.
To get started, click on the Plus button that appears when you hover your cursor over your heading.

Then, look up the Search module in the search bar.
After that, you can click on it to add it to the page.
Next, you can add text to the search form by entering it in the Input Placeholder field.
For example, we’ll enter ‘Try another search’ text.
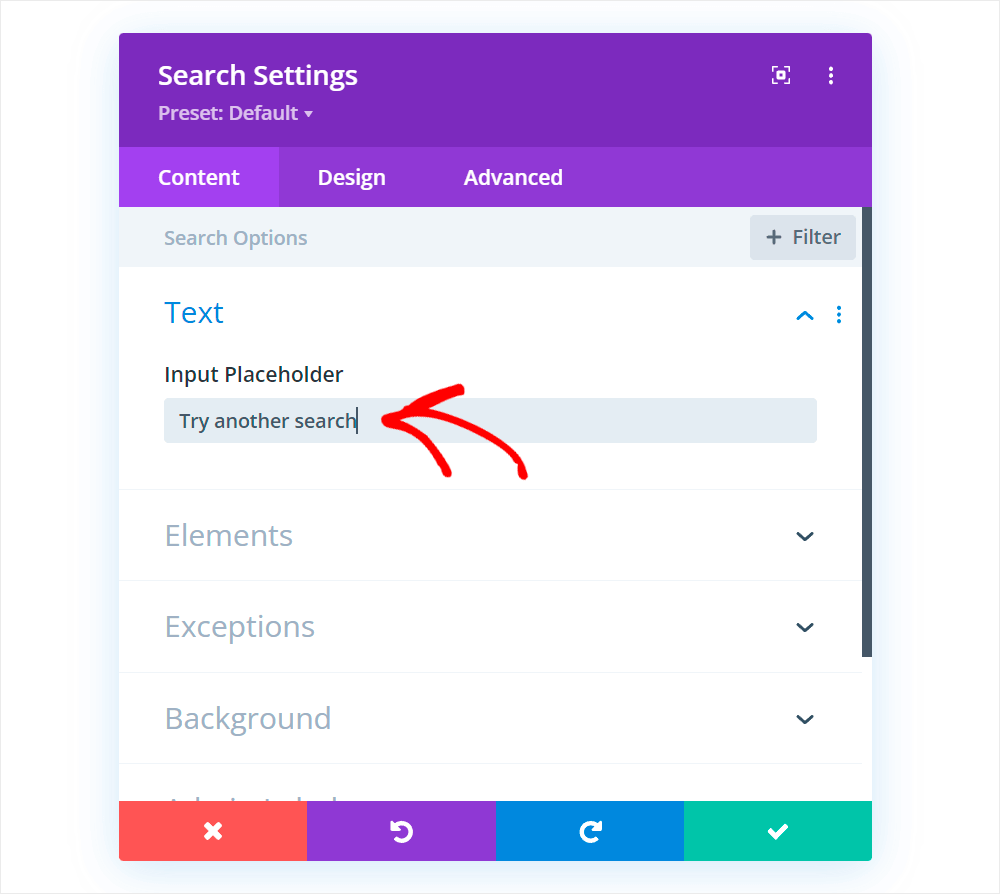
When you’re happy with how your search form looks, click the green checkmark button to save the changes you made to it.
Here’s the final result of what the Divi WP search results page looks like on our test site:

When you’re done customizing the search results page, you’ll need to save it.
To get started, click the purple three-dot button at the bottom of the Divi page editor.

You will now see more options appear in the bottom corner of the page.
Go ahead and press the Save button to store your new search results page changes.
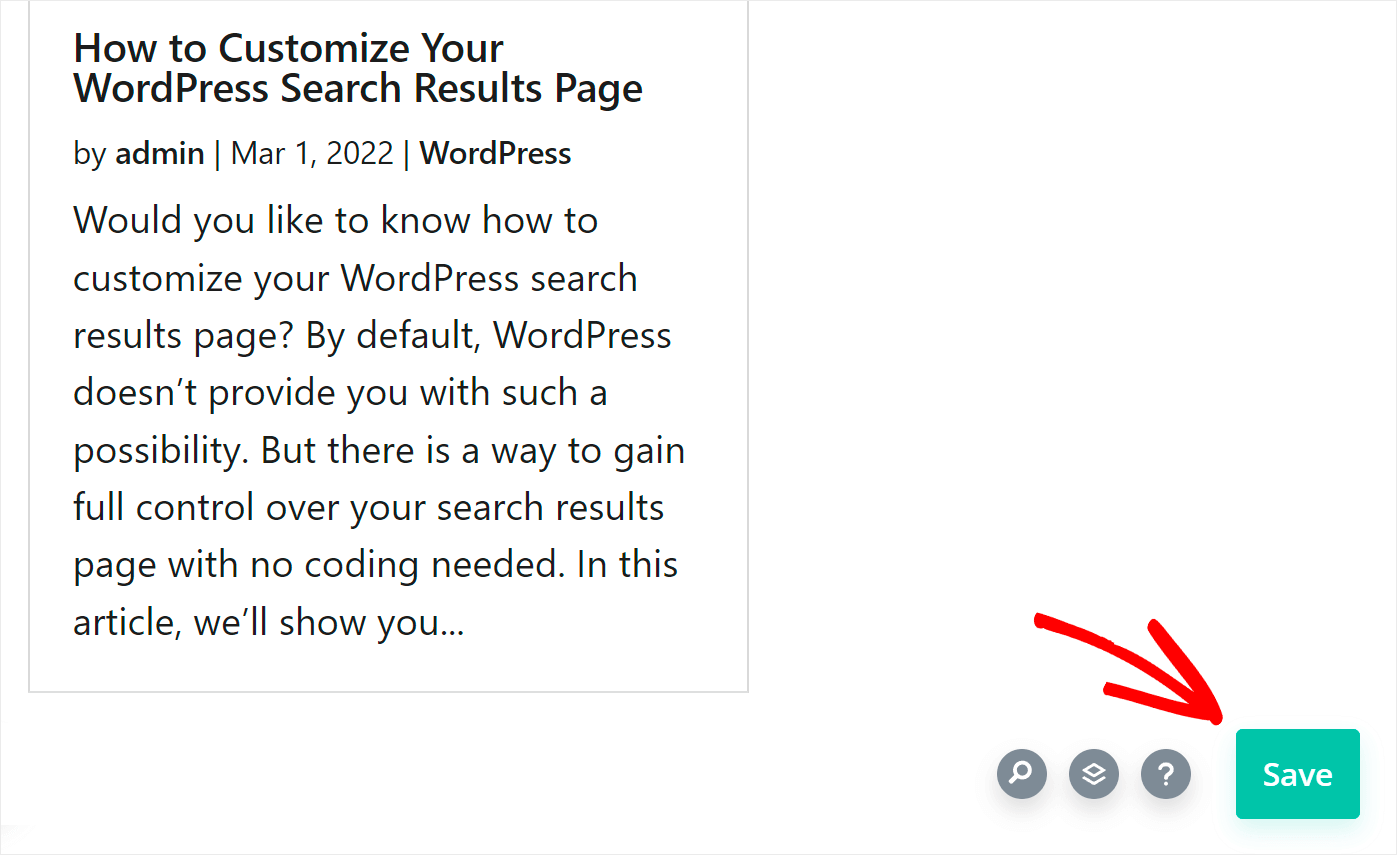
The next step is to close the page editor and go back to the Theme Builder page.
To do that, simply click the cross in the upper right corner.

Next, the page builder will ask you to store your new template.
Once there, you can click Save Changes in the top left corner.
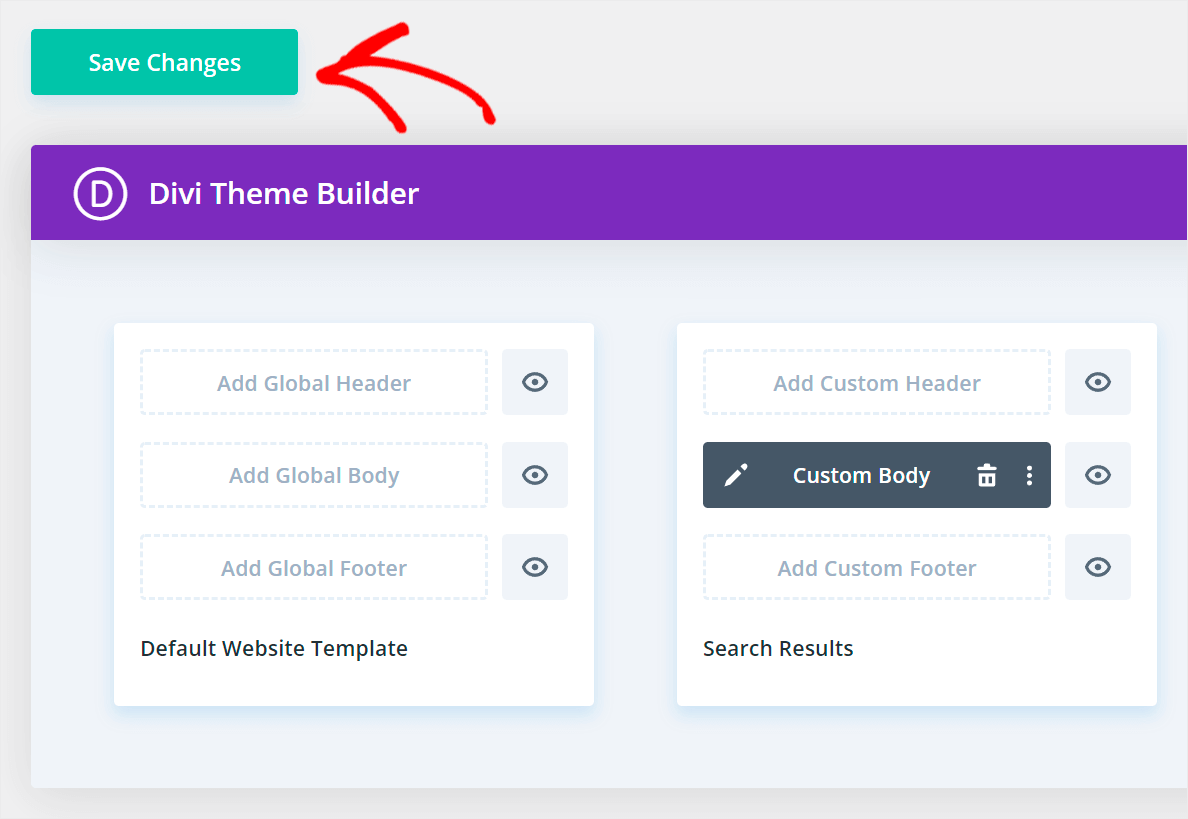
The final step is to check out how your search results page looks on your site.
Step 4: Check Out Your New Search Results Page
The fastest way to do that is to press the Visit site button under your site’s name in the top left corner of your WordPress dashboard.
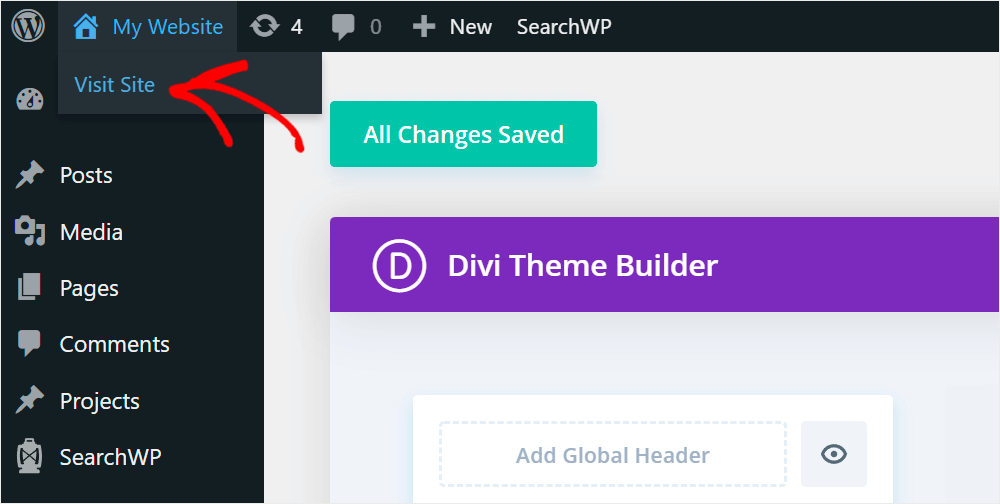
Once you get to your site, enter a search query in the search field to see the search results for it.
For example, we’ll search for the ‘WooCommerce’ search term.

After entering what you’re looking for, simply click the ‘Search’ button.
As you can see, the search page on our site looks like the way we customized it with Divi.

That’s it! Customizing the appearance of your search results page will help you encourage visitors to view more of your content and grow your business.
We hope this article helped you learn how to create a Divi search results page template. You may also want to see our guide on how to fix WordPress tags not searchable and how to exclude category from WordPress search.
Ready to create a better and more personalized WordPress search experience? Get started with SearchWP today!
