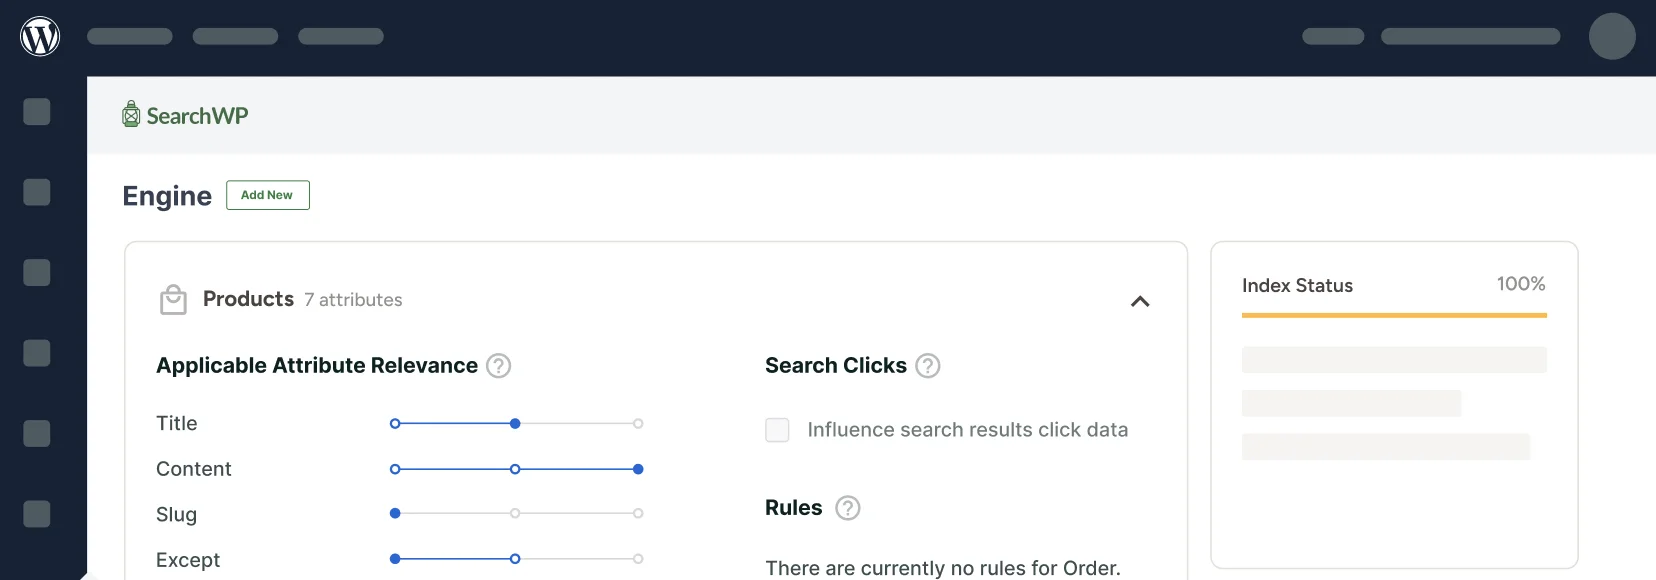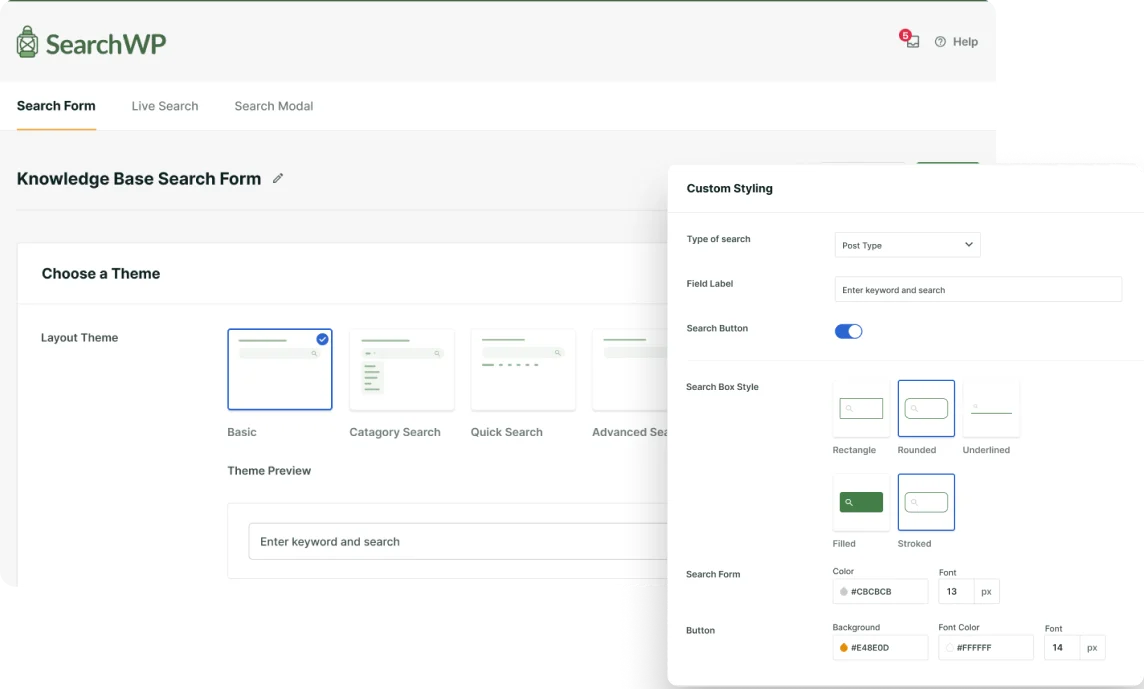
Over the years, we’ve learned that the default WordPress search barely scratches the surface of what users need. When visitors couldn’t find specific details in custom fields, it would leave them frustrated and they would eventually abandon our website.
Custom fields are a useful WordPress feature for adding extra information to your site content. If your site users can search your custom fields, they’ll get to see more relevant results. This can help you boost sales and customer satisfaction on your site.
Sadly, WordPress doesn’t include custom fields in the search process by default. But you can easily include them by using a plugin like SearchWP.
In this article, we’ll show you how to add custom fields search in WordPress the easy way and without writing a single line of code.
What Are WordPress Custom Fields?
A custom field is a content attribute that WordPress uses to store information about a particular post, page, or any content type.
Each time you add content to your site, WordPress automatically saves it in two different areas.
The first area is the body of the content and the second area is the extra information related to the main content. Typically, this is where you save information like the title, description, tags, and categories. This area is also called the metadata.
WordPress offers specific metadata fields by default. But you can add even more information to your content by adding custom fields to WordPress.
To add new custom fields to your site, you can use dedicated plugins like Advanced Custom Fields. This way, you get to separate your content details into more areas than WordPress offers by default.
For example, you may have a WordPress movie review website. By default, WordPress allows you to add metadata fields like titles, tags, and categories to your posts. But with custom fields, you can add more details like rating, genre, and producer.

So, WordPress will include these information fields each time you’re adding a movie review to your site.
This makes it easy to maintain the same styling and formatting across all your movie review posts. Custom fields can also come in handy for many other purposes, like user account management and WooCommerce inventory management.
Now, let’s talk about why custom fields search is important.
Why Add Custom Fields Search to WordPress?
WordPress custom fields help you to add more information to your site content. With WordPress custom fields search, your site can search these extra information fields.
This means your WordPress site users can now look for search results in more ways than before. This automatically improves your site search and makes it more flexible.
For example, you can have a movie review site with custom fields like ‘Genre’ and ‘Producer’. With custom fields search, a site visitor can easily type a producer’s name in the search bar. Your site will then display all the movie reviews from that producer.

This makes it super easy for your readers to navigate your movie review site.
Similarly, you may have a WooCommerce store with custom fields like ‘Brand’ and ‘Manufacturing Year’. Your site users can easily use a custom search form to find products from a specific brand or manufacturing year.

That said, let’s look at how you can easily make custom fields searchable in WordPress without editing code.
How to Add WordPress Custom Fields Search
The easiest way to add custom fields to WordPress search is by using SearchWP.

As the best WordPress search plugin, SearchWP allows your site visitors to search every custom field on your WordPress site. This can be super useful for finding the site content they need.
The tool integrates well with other plugins, like Advanced Custom Fields. So, even if you added custom fields with a third-party plugin, you can still search them in WordPress.
Here are other features SearchWP offers:
- Search Everything on Your Site – SearchWP is not limited to custom fields only. Unlike the default WordPress search, your site can include categories, tags, product details, media files, PDFs, documents, SKUs, and more in the search process.
- Seamless WooCommerce Integration – The plugin allows you to combine the power of WooCommerce and custom fields. This helps keep your online store as organized as possible. Even if you have thousands of products in your store, your visitors should be able to find products fast.
- Site Statistics and Insights – SearchWP logs all your site visitors’ searches. This way, you can monitor what they’re looking for on your site. You can even use these statistics to decide whether your site needs custom fields search or not.
Now, let’s use SearchWP to add custom fields search to your WordPress site in 3 easy steps.
Step 1: Install and Activate SearchWP
To set your custom fields search, you can get started by visiting the SearchWP website and signing up for a new account.
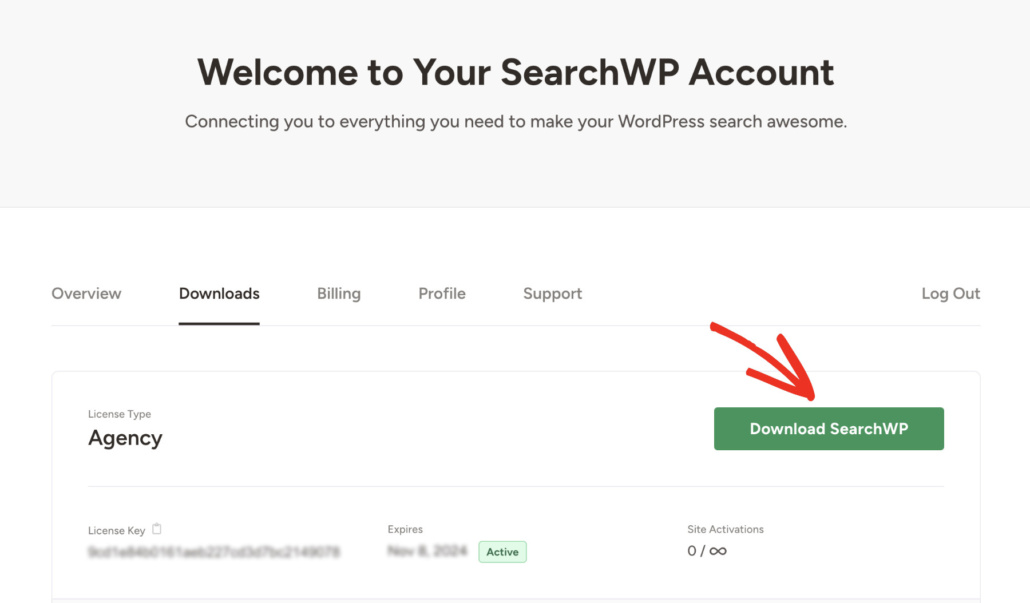
Next, you’ll need to sign in to your SearchWP account and download the plugin.
Simply navigate to the ‘Downloads’ tab within the dashboard. Then, you can click the Download SearchWP button and save the plugin files on your computer.
Next, it’s time to upload the plugin to your WordPress site. If you need help with this, then you can use this detailed step-by-step guide on how to install a WordPress plugin.
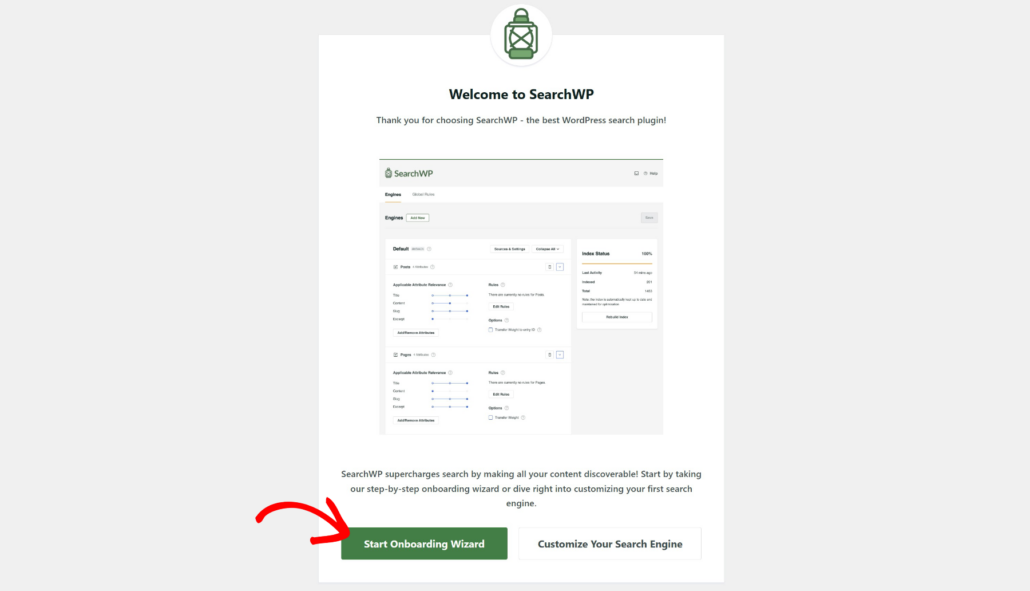
Upon activation, you’ll see the SearchWP welcome screen and setup wizard. Go ahead and click the ‘Start Onboarding Wizard’ button and follow the onscreen instructions.
Now that you’ve set up the plugin, let’s use it to set up custom fields search. You can do this by setting up your WordPress search engine.
Step 2: Add Custom Fields as Attributes in Your Search Engine
SearchWP uses search engines to help you customize your site search behavior. You can decide how your site looks for search results by simply making changes to the search engine.
A WordPress search engine works like a small Google search algorithm. It determines where to look for matches during site search and which content attributes to check first.
The best part about using SearchWP is that you can edit the default WordPress search and also add your own custom engines. For this tutorial, we’ll simply edit the default engine.
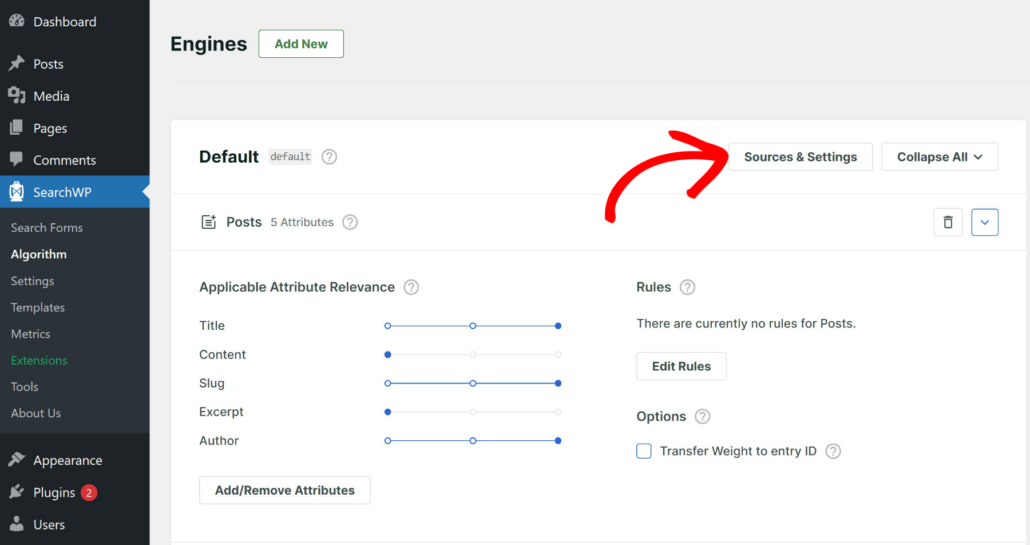
To get started, you can navigate to SearchWP » Algorithm from the WordPress dashboard and then click the ‘Sources & Settings’ button.
On the next screen, you’ll see the default sources that the engine will use to search content on your site. These include posts, pages, and media files.
Simply select which sources the search engine should consider when finding content or products on your site.
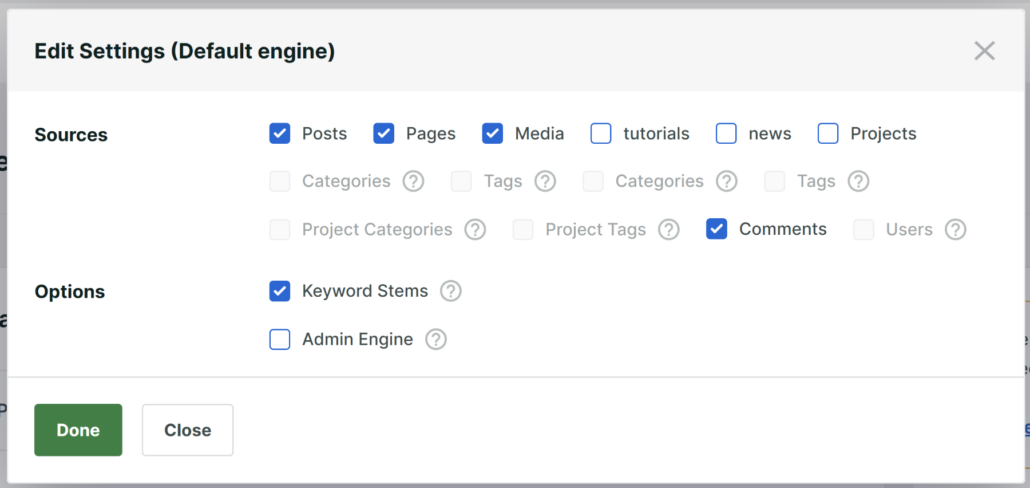
Go ahead and click the ‘Done’ button when you’re done.
Next, you can add or remove content attributes for each source from your WordPress search engine. This decides which content details to consider when your site is looking for results.
Attributes are the fields you want to search for a given source, like title, content, excerpt, slug, custom fields, taxonomy terms, and more.
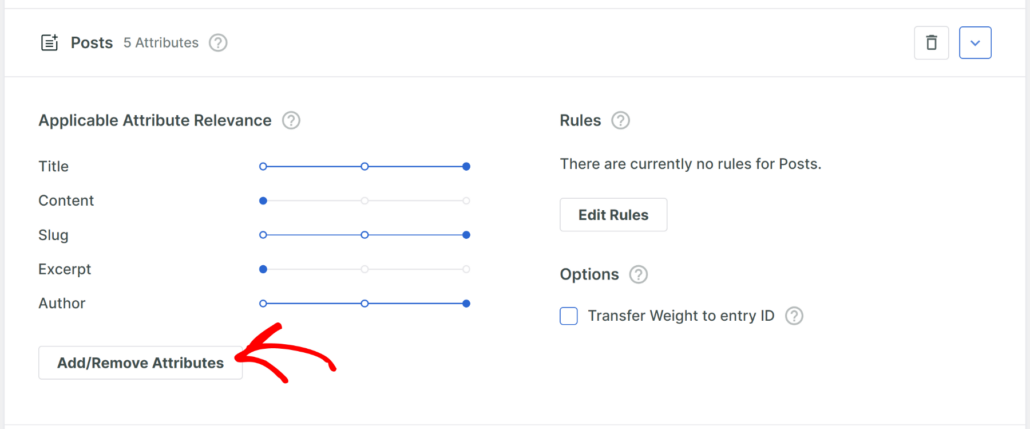
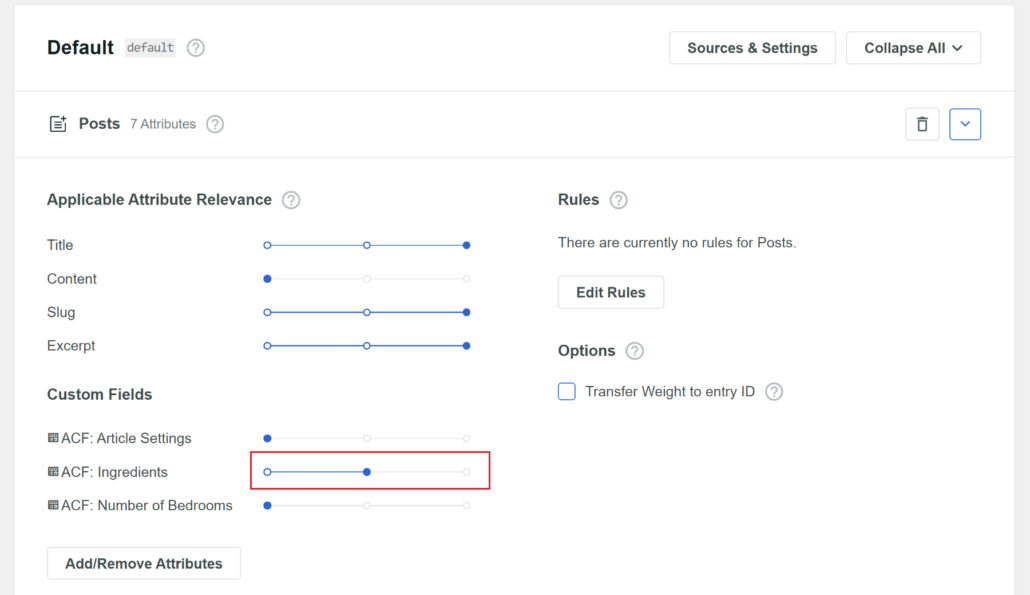
To add custom fields as attributes for any source in your search engine, click Add/Remove Attributes.
Next, a popup window will appear, where you can select all the custom fields you want to add to your WordPress search.
SearchWP will show you all the available custom fields, no matter the plugin you used to add them. For example, on our demo site, it automatically detected the Advanced Custom Fields (ACF) we’ve set up.
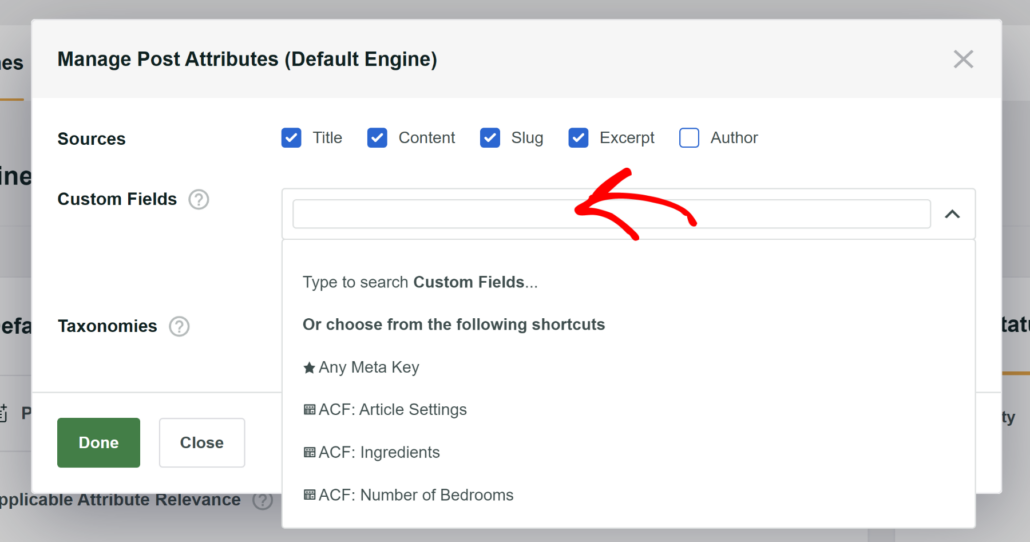
You can also select taxonomies like categories and tags to include as a source attribute. When you’re finished, simply click the ‘Done’ button.
You can also rank each custom field value according to how relevant you want it to be by moving the slider. The further right the slider, the more importance or relevance that particular Attribute will be given in the search algorithm.
The last step is to scroll back to the top and click the ‘Save’ button to store your settings.
Once that’s done, you may also need to click the ‘Rebuild Index’ button.
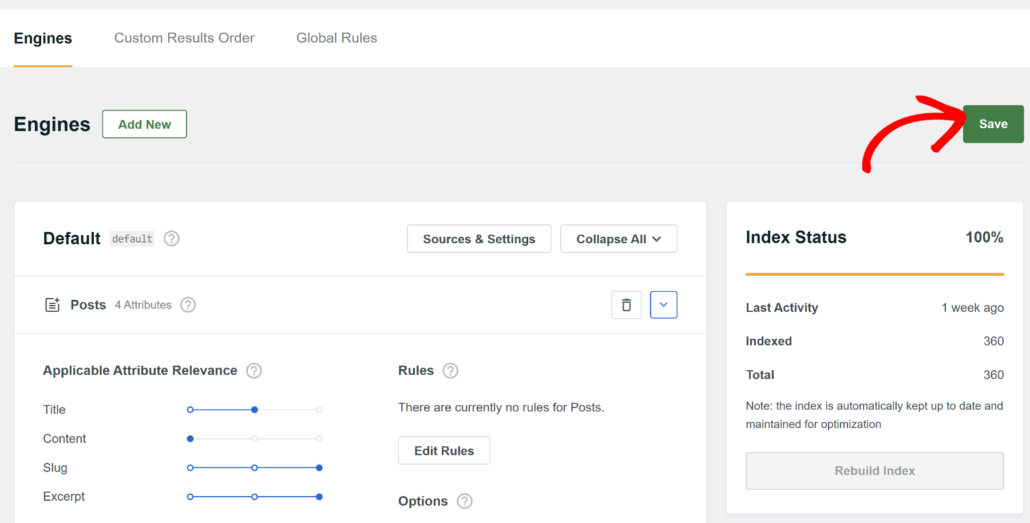
SearchWP will now start applying your new changes by building a new search index.
Now, let’s test if everything works fine on the user’s end.
Step 3: Test Your New Custom Fields Search
To see how effective your WordPress custom fields search is, simply visit your website.
Next, type a custom field value in the search bar and click Search. For example, ‘Sci-fi’ is one of the values we added to the ‘Genre’ custom field in this tutorial. Your site should then show you relevant search results like this.

Congratulations! You’ve successfully added custom fields search to your WordPress site.
We hope this article helped you learn how to add custom fields search in WordPress. You may also want to see our guide on how to make WordPress search PDF files and how to fix WordPress search not working.
Are you ready to add custom fields search to your WordPress site? Get started with SearchWP here.
