If you use Advanced Custom Fields (ACF) on your site to create custom fields, then you should know that the default WordPress search won’t include them in the searching process. This can be a major roadblock when it comes to providing a smooth user experience.
By making data in custom fields searchable on your site, you give your visitors a new way to search for content and help them to get more relevant search results.
In this article, we will show you how to include ACF fields into search results on your WordPress site with no coding needed.
Why Include ACF Fields in WordPress Search
ACF, or Advanced Custom Fields, is one of the most popular WordPress plugins for managing custom fields on your site.
With it, you can easily create and set up custom fields for your posts, users, taxonomy terms, and media.
For example, you can create a custom field to include calories and serving sizes on your food blog, show reading time for guides, display number of bedrooms for real estate listings, and more.
Making these fields searchable on your site will make it easier for visitors to find the desired content, since they usually contain a lot of valuable data.
Now, the default WordPress search will not include the custom fields in the search process.
With that, let’s see how you can make ACF fields searchable on your site in a few clicks, even if you’re a complete WordPress beginner.
How to Make ACF Fields Searchable on Your Site
The easiest way to include Advanced Custom Fields in search results on your site is to use the SearchWP.
It is the best WordPress search plugin that allows you to drastically enhance search on your site and make ACF fields searchable.

In addition to ACF, you can also use SearchWP to make any post custom fields, attributes, or taxonomies searchable.
And this is just one of the many SearchWP features that will help you grow your business.
For example, you can use this plugin to track your visitors’ searches, limit search to specific post types and categories, change the order of search results, and much more.
Over 50,000 WordPress website owners use SearchWP to deliver their visitors the most relevant search results.
Here are some other amazing things you can do with this plugin:
- Turn on fuzzy search: Make WordPress search for partial matches in case there are no exact ones, to keep your visitors from leaving your site unsatisfied.
- Exclude specific pages from search results: Get rid of redundant pages in your search results to make it easier for visitors to find the right content.
- Enable search for PDF files: Make PDFs and office document files searchable on your site, so visitors can quickly find them using a search bar.
- Add search by categories: Allow your visitors to choose in which category they want to search for content to give the most relevant search results.
Now, let’s take a step-by-step look at how you can do it.
Step 1: Install and Activate SearchWP on Your Site
The first thing you need to do is visit the SearchWP website and sign up for a new account.
Once you’ve created a new account, you’ll need to download the plugin files from the account area.
Simply head to the ‘Downloads’ tab and click the Download SearchWP button to save the plugin file to your computer.
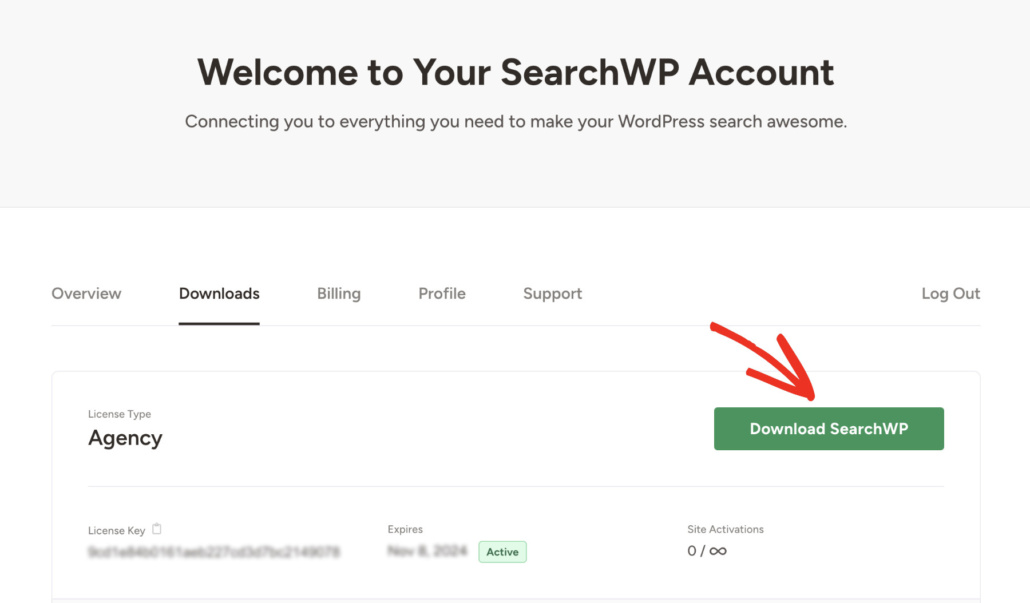
Once the download is finished, copy your SearchWP license key on the same tab as well. You’ll need it when installing the plugin on your website.
The next step is to install and activate SearchWP on your site. You can follow the step-by-step instructions on how to install a WordPress plugin if you require assistance.
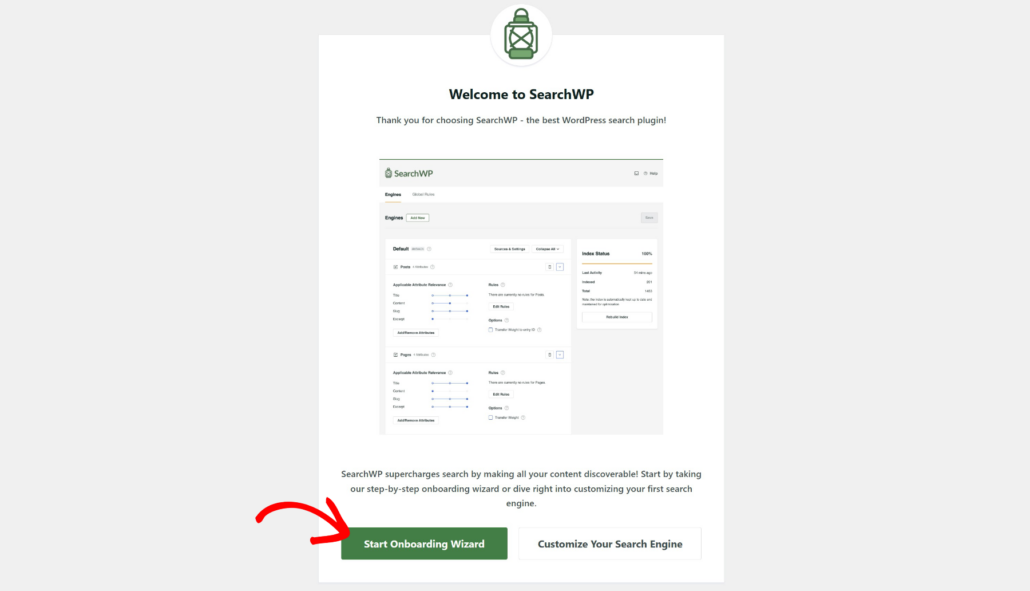
Upon activation, a SearchWP welcome screen and setup wizard will appear in your WordPress dashboard. Go ahead and click the ‘Start Onboarding Wizard’ button and follow the onscreen instructions.
After you activate SearchWP on your site, you’re ready to enable search by ACF fields on your site.
Step 2: Start Customizing Your Search Engine
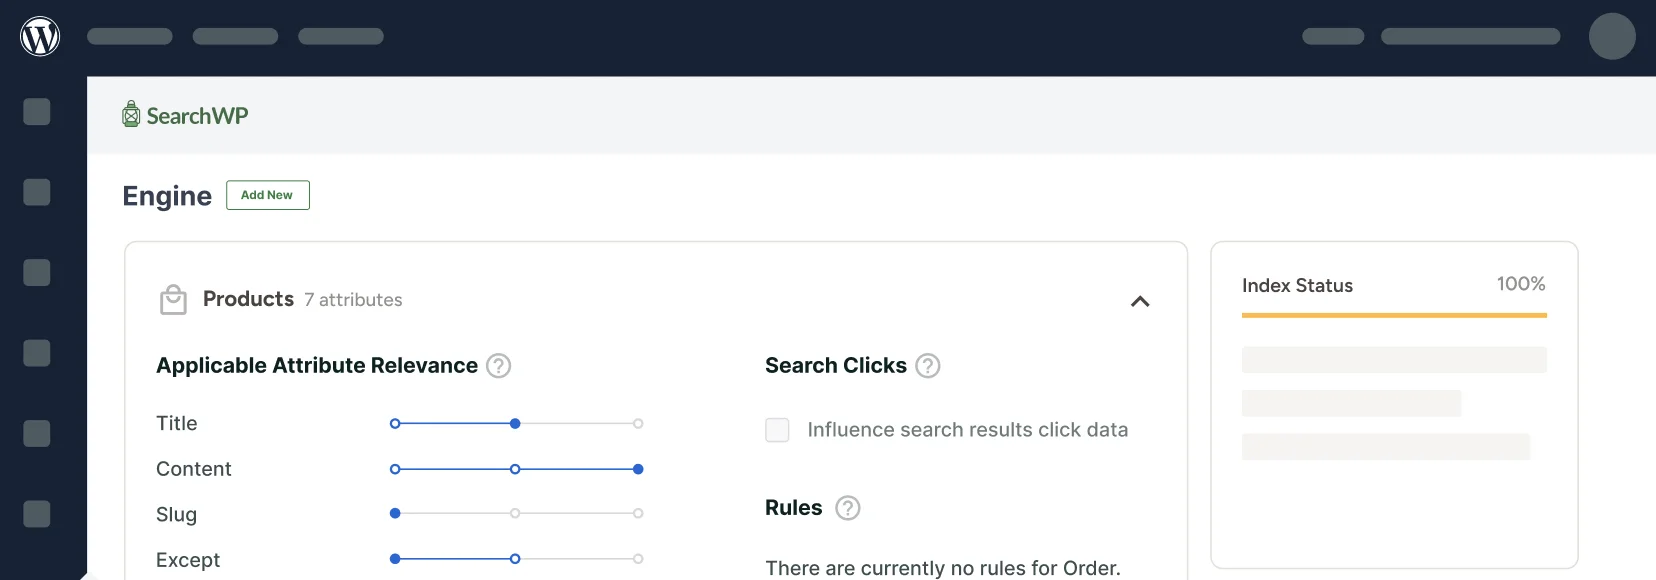
To get started, you will need to go to SearchWP » Algorithm from your WordPress dashboard and click the ‘Sources & Settings’ button.
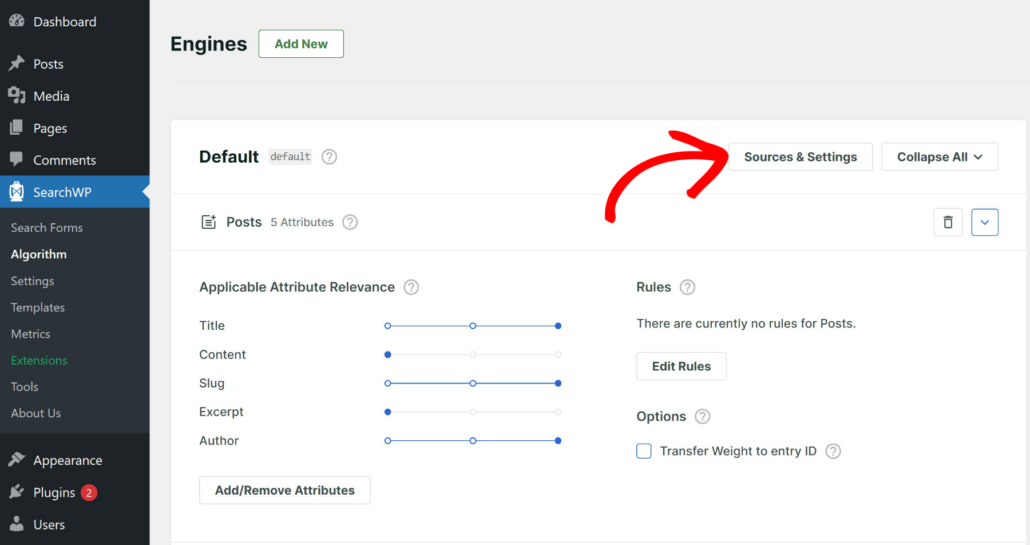
Next, a popup window will open with the default sources.
These include posts, pages, and media.
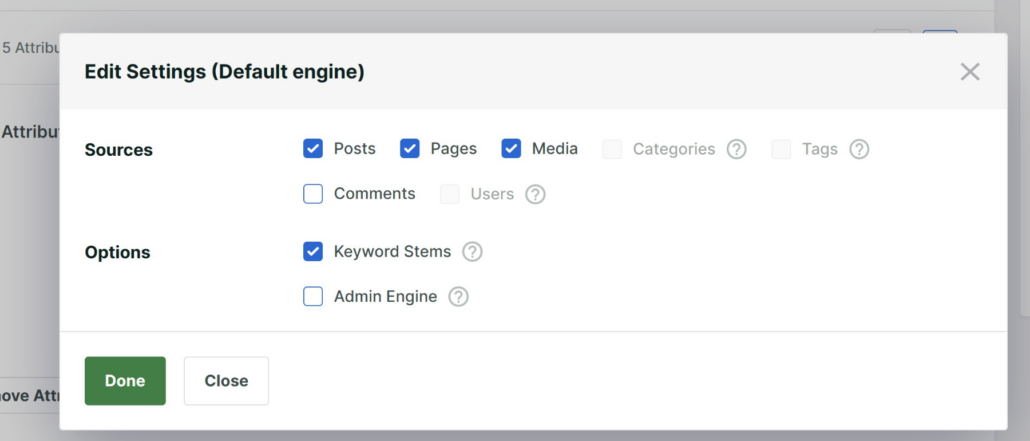
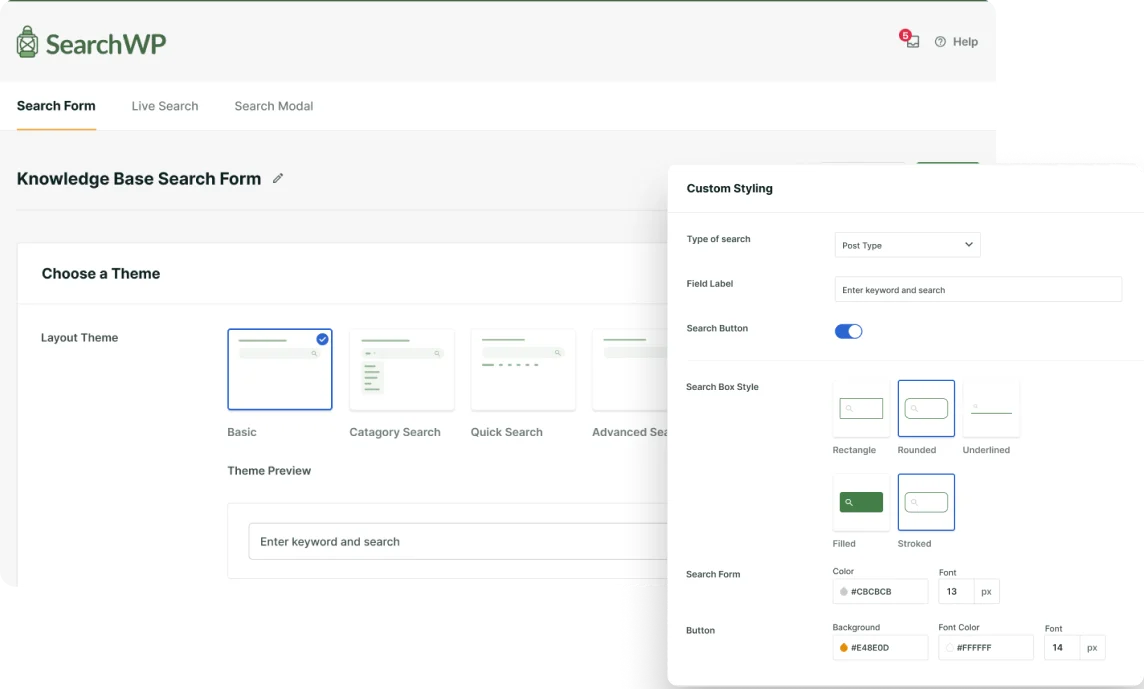
However, SearchWP allows you to add an unlimited number of search engines and link them to individual search forms.
This way, you can create fully customized search forms and place them anywhere across your site.
Since you want to make custom ACF fields searchable, you will need to configure the Default search engine.
Step 3: Make ACF Fields Searchable
To get started, select the type of content you want to make searchable by ACF fields among the Default search engine search sources.
It can be the Posts, Pages, or Media sources.
For example, let’s make an ACF field searchable for posts. Simply head to the Posts section and then click the Add/Remove Attributes button.
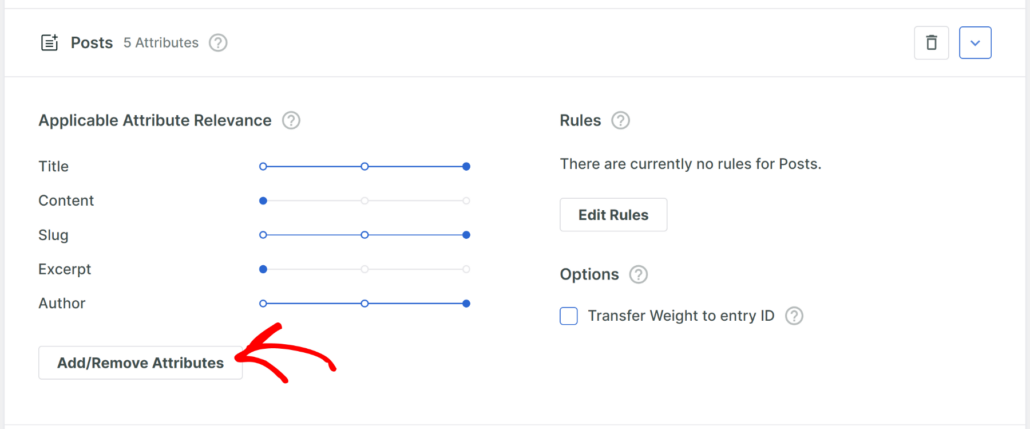
Next, you will see a new popup open where you can manage the Posts search attributes.
To include ACF fields in your site search, first click the Custom Fields field and then choose the ACF field you want to make searchable from the drop-down menu.
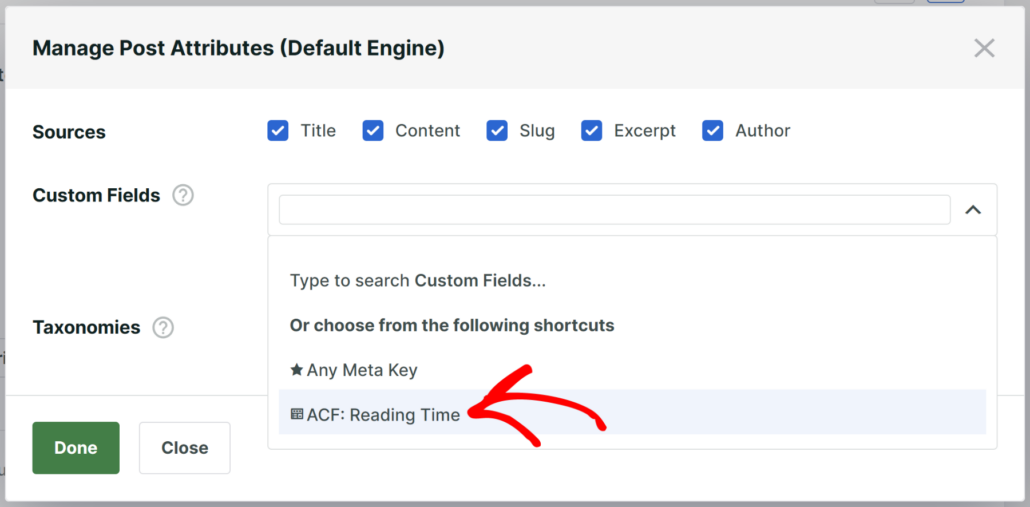
When you’re finished managing the Posts search source attributes, press Done to save your changes.
The last step is to save the changes you made to the Default search engine. You can do that by pressing the Save button in the top right corner of your SearchWP dashboard.
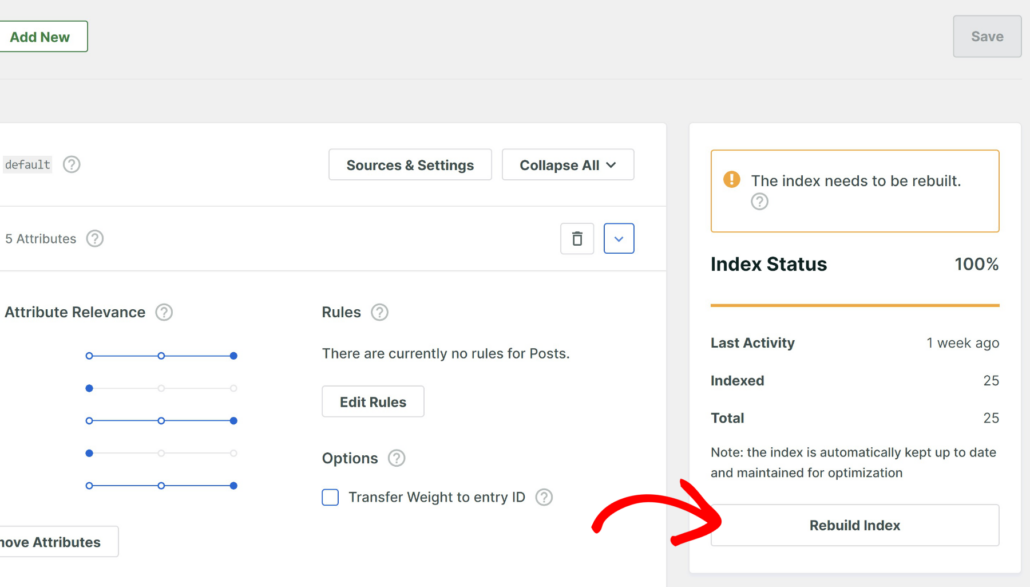
Next, you will need to click the Rebuild Index button next. It’ll make WordPress to reindex all your posts and check if they have any custom fields.
After you’ve enabled ACF field search on your site, let’s test your new search.
Step 4: Test Your New Search
To do that, go to your site and search for any content placed within the ACF field you made searchable on your site in the previous step.
For example, on our test site, we included a custom field called Reading Time in the search.
Let’s try to find a post named ‘The 10 Best WordPress Analytics Plugin’ that takes 15 minutes to read.
As you can see, WordPress will look for the phrase ’15 minutes’ in the custom field created with the ACF fields plugin and display relevant posts.

What’s Next…
We hope that this guide helped you learned how to include ACF fields in WordPress search. You may also want to see our guide on how to search posts by tags in WordPress and how to add a WordPress search bar with a shortcode.
Ready to make ACF fields searchable on your site? You can get started with SearchWP here.
It’ll help your visitors faster find the right content and improve their user experience.
